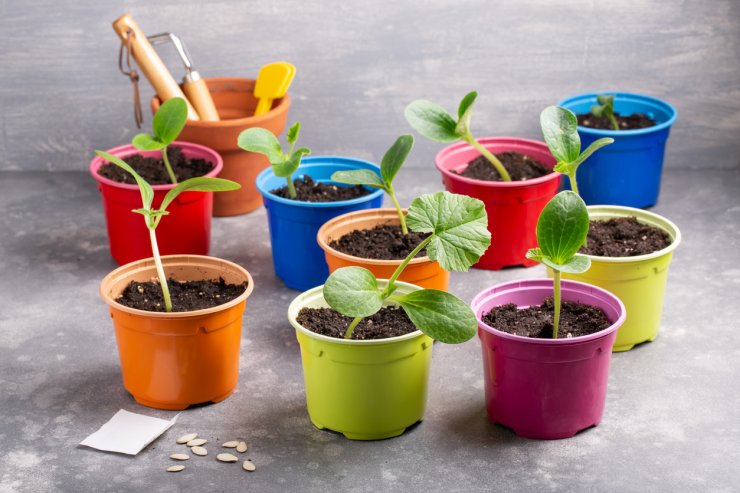
Squash seedlings in small colorful pots, waiting to be replanted.
Getting your squash garden started every season begins with the choice of how to grow your plants—from seeds or seedlings? Buying seedlings at your local nursery is quicker and easier, but your choices are limited to what they carry, and the cost of seedlings will likely exceed the cost of starting from seeds.
It’s also easier to find different varieties of squash when shopping for seeds. Online resources have a huge range of squash varieties to choose from. In fact, you may have trouble choosing! See the Resources section at the end of this collection for some great places to buy seeds.
In addition, the fact is that squash doesn’t like to have its roots disturbed, which makes success more likely to come from starting with seeds. Your choice also depends on your summer growing season; you’ll need to have enough warm, sunny days to go from seed to maturity. Your seed package should tell you how many days you’ll need.
If you still want to grow from seed but worry that your growing season is too short, you can still start seeds indoors. If starting seeds indoors, sow seeds four to five weeks before the last spring frost. Seeds sprout in three to 10 days. If you’re saving seeds from a previous crop, squash seeds last about four years.
If you’ve chosen to grow starter plants, remember to handle the plants with care to avoid disturbing the roots as much as possible. Most plants should recover from transplant shock.
When growing from seeds, you’ll need the right tools and a disciplined process for getting from seeds to plants that will produce a good harvest for you.
Besides your seeds, tools might include:
- Starting soil
- Containers
- Widger (a spatula-like tool for lifting seedlings without damaging them)
- Germination station
- Grow lights
- Heat mats
Depending on your set-up, you might not need all of these items—or you might be able to do-it-yourself (DIY) on some things.
Planting methods for seeds and starters

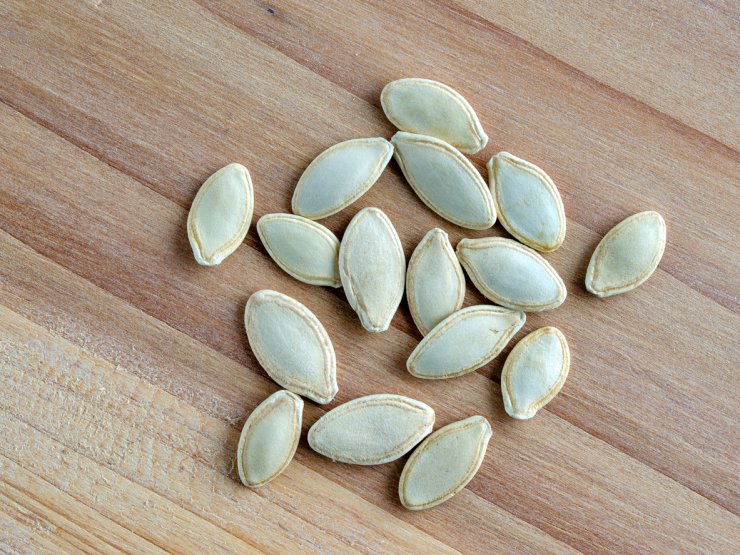
Summer squash seeds.
Plant seeds in the ground about 1-inch deep and drop in two seeds. In cold climates, pop a clear jar or half a plastic bottle over the top for warmth, and leave it until the seedlings are up. Remove the weaker seedling.
Another popular planting method is the “hill” method. This keeps the seeds off the ground and therefore warmer. To prepare, dig 18-inch-deep holes, fill partly with well-rotted manure and/or compost, and complete filling the hole and building your hill with a mixture of soil and compost.
Summer squash hills should be placed 3 feet apart each way; plant six or seven seeds per hill and thin to the three strongest seedlings when the plants are 3 inches high.
- Tip: For planting starters that you’ve grown indoors, don’t set them out until you’ve hardened them off. This involves putting them outside in their pots for a week or two for a short time, increasing the time daily.
Water your starters and seeds thoroughly after planting. Add a layer of mulch around starters to lock in soil moisture.
Have you tried growing squash from seeds, starter plants, or both? Which method do you prefer—and why? Do you use the hill method? Please tell us how you get your squash garden started every year.


 Previous

