A green onion seedling
Getting your scallion garden started every season begins with the choice of how to grow your plants—from seeds or seedlings. Buying seedlings at your local nursery is quicker and easier, but if you’re patient and want to try a variety of scallions, you can start from seed. Truth is, you can do a little of both: order some interesting seeds and pick up some local seedlings.
Seeds
When starting from seeds, you need the right tools and a disciplined process for getting from seeds to plants that will produce a good harvest for you.
Besides your seeds, tools might include:
- Starting soil
- Containers
- Widger (a spatula-like tool for lifting seedlings without damaging them)
- Germination station
- Grow lights
- Heat mats
Your growing station may be more or less complex than this. There’s a lot you can do yourself to save your money for seeds and seedlings. The great thing about growing from seeds is that you can choose from a wider variety of cultivars, depending on your hardiness zone.
Start your seeds eight to 10 weeks before the last heavy frost. Sow the seeds thinly and cover with about a quarter inch of seed starting soil. Keep the seeds moist and keep the temperature around 60 to 65 degrees F. Seedlings will emerge in a week or two.
Once they emerge, give them plenty of light on a sunny windowsill, or put them under fluorescent lights for 16 hours a day—making sure to give them some down time of dark for about eight hours. They need this dark time to grow properly.
Seedlings don’t need much in the way of fertilizer until they’re about three to four weeks old. Even then, use just a starter solution at about half the strength of what you’d normally give houseplants.
You can plant them when the danger of heavy frost is past. Seedlings should be about the thickness of a pencil. Before you just up and transplant them to your garden, raised bed, or containers, give them an opportunity to harden off.
In the same way that you wouldn’t bring a fish home from the pet shop and just pour it out of the bag and into the fish tank, you need to give your new plants a little time to adjust to being outside.
Put seedlings in a sheltered space outside for about a week. Protect them from wind, hot sun, and excessively low temperatures. If there’s a risk of frost overnight, bring them in.
Seedlings

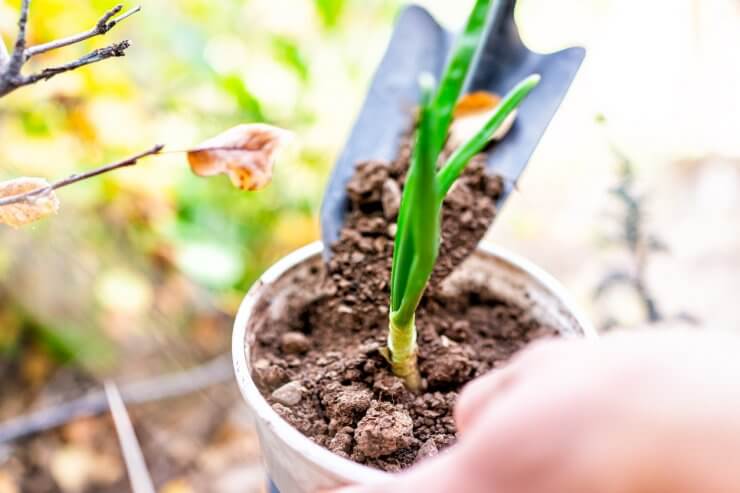
A scallion seedling ready for replanting
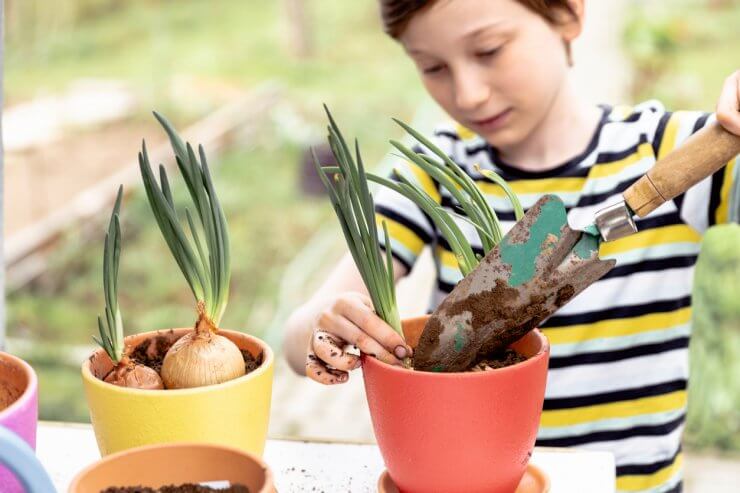
Starting from seedlings gets you a couple steps closer to harvest, since someone else will have done that planting and thinning part. You can get scallion starts from your local nursery. Keep in mind that the root system of your starting plants may be more than you need to transplant them. It sounds a little contradictory, but trimming the roots to a length of about 2 to 3 inches will help the transplants settle in without getting in each other’s way.
Scraps

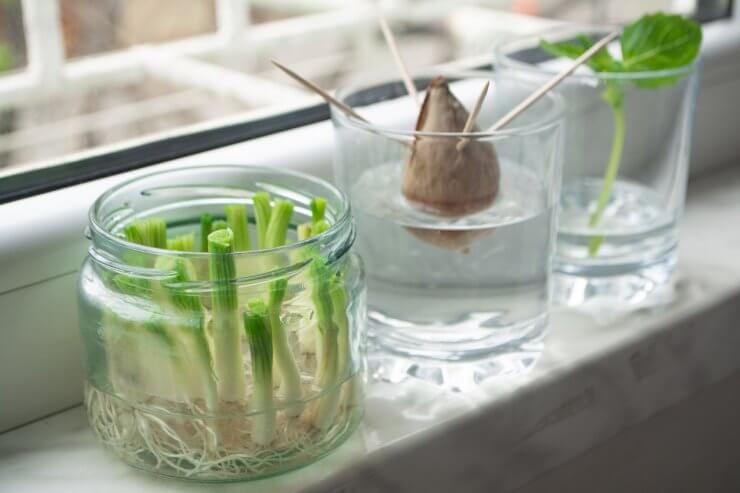
Re-growing scallions from the root end
Now, there’s another way you can start you scallion garden: check your fridge. If you have scallions you bought at the market, all you need to do is not eat the whole plant, and make use of what you would otherwise have tossed into the compost. Trim the plant a couple inches above the roots, close to the border between the leaves and the shank. Use the green tops in your next favorite recipe, and plant the rest in some fertile soil. Water and watch: in about two to three weeks, you’ll have fresh greens. You can repeat this process over and over.
Some people say you can just toss the root ends of the scallions in water. You can, but you want to keep them from getting overly wet. The best way to do that? Put them in some soil and monitor their watering.
Have you tried growing scallions from seeds or seedlings? Have you regrown your grocery scallions? Which method do you prefer—and why? Please tell us how you get your scallion garden started every year.


 Previous


I have grown re-grown celery by placing the base in water until roots developed then transplanted in soil. Works great!Now I have grocery store scallions and will plant the root base in soil instead of throwing away . Fingers crossed ????????