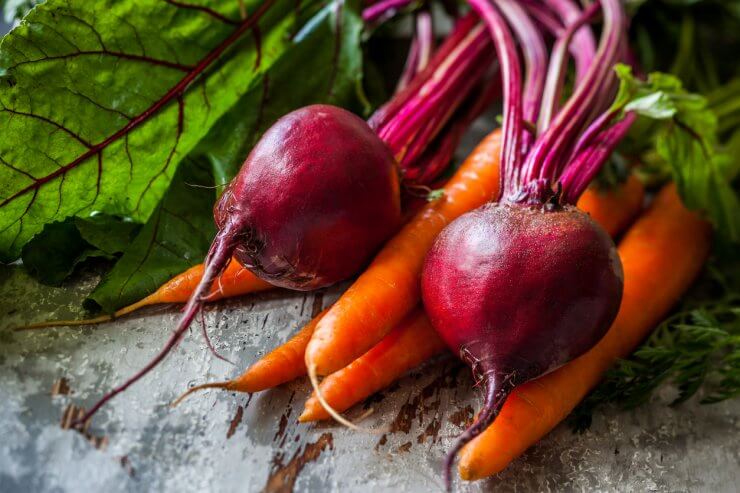
As someone who loves to cook and does it a bit for a living, I always need fresh ingredients, especially herbs. As much as I love going to the garden in the summer and fall to pick vegetables for dinner, I also love sorting through my stored vegetables in the depths of winter. Planting for a late season harvest means I can enjoy a butternut squash soup anytime I want. And for a tray of roasted root vegetables, all I have to do is grab some beets, carrots, rutabaga, and parsnips from my basement.
For that matter, some greens, like kale, will grow right in the garden until the temperature dips down to 20 degrees. But once we really get into winter here in New England there isn’t much happening in the garden. That’s when all those stored veggies come in handy.
A beginner’s guide to winter planting, harvesting, and storing garden vegetables
There are two big factors in winter planting and storing vegetables. The first, of course, is when you plant the vegetables. The other is when and how you harvest them. Proper harvesting and prepping is perhaps the make-or-break point for winter vegetable storage.
Kale aside, your best bets for vegetables that will keep over the winter are root vegetables and winter squash. Though each plant is different, you’ll want to do most of your winter planting between late summer and mid-autumn. Timing is also dependent on where you live. The main factor here is that you want to give your vegetables time to grow and mature before you need to harvest them.
For some vegetables, like carrots and turnips, you can leave them in the ground until either you are ready to enjoy them or before the ground freezes and you’re unable to get them out of the ground. When you do harvest your vegetables, though, be very careful not to damage them. If you break the skin or bruise them, they won’t last in storage, and may even ruin other nearby vegetables. It’s also ideal to harvest vegetables in the morning after a few days of dry weather, as too much moisture can lead to mold and mildew. Cut the greens just above the root, but Do NOT wash your vegetables, as that will shorten their storage time.
Now, before you just toss all your winter squash and potatoes into a box, there is one very important step: curing. Some of your vegetables, such as potatoes, sweet potatoes, onions, garlic, and most winter squash will need to be cured before they can go into storage.
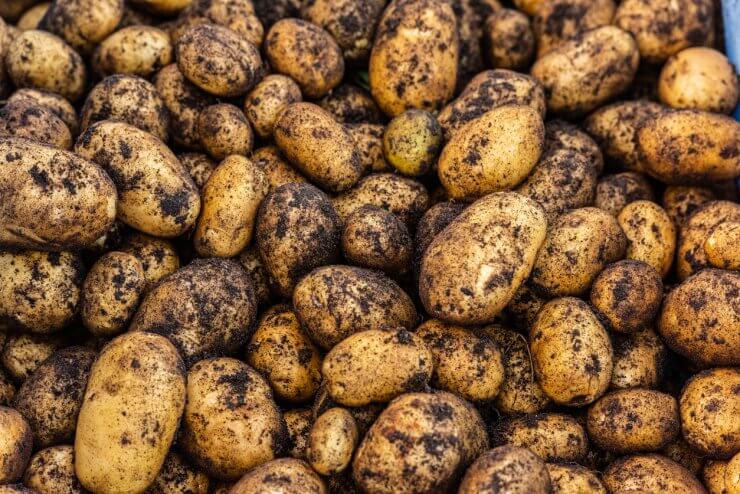
Curing and storing potatoes
For potatoes and sweet potatoes, brush off any excess dirt, then lay them in a single layer in a dark, cool (around 55 degrees), humid location for about two weeks. When they’re ready, pack them in layers, with newspaper or shredded paper between each layer. Use a wooden crate or cardboard box so there can be some air circulation. Once they are cured, store your potatoes in a cool, dark place like a basement.
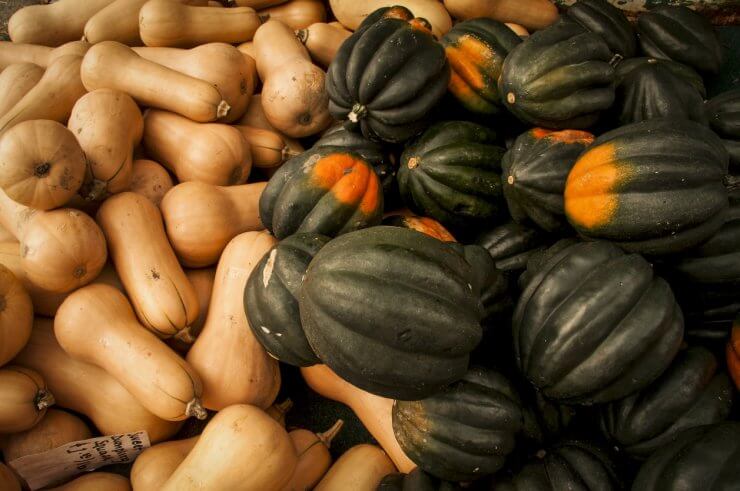
Curing and storing winter squash
Leave an inch or two of the stem when you harvest your squash so it doesn’t rot. Wipe off any excess dirt with a dry towel and set the squash in a warm, dry spot with good air circulation. If you lay them on a table, be sure to rotate them each day. You’ll need about two weeks before the squash is cured. Storage for winter squash is just like potatoes: Find a cool, dark place and layer them in a crate with a buffer of shredded paper or hay between them. One note here: Acorn squash will store better if they are not cured.
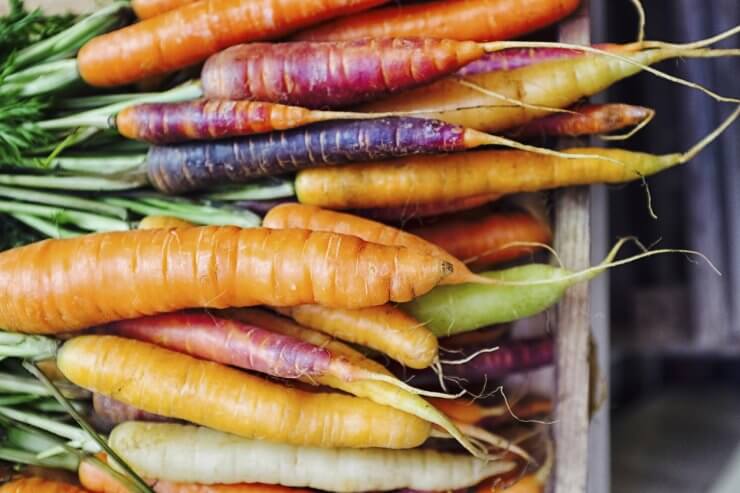
Storing carrots, beets, turnips and parsnips
Good news! No curing needed here. Just take them straight to storage in a cool, dark place.
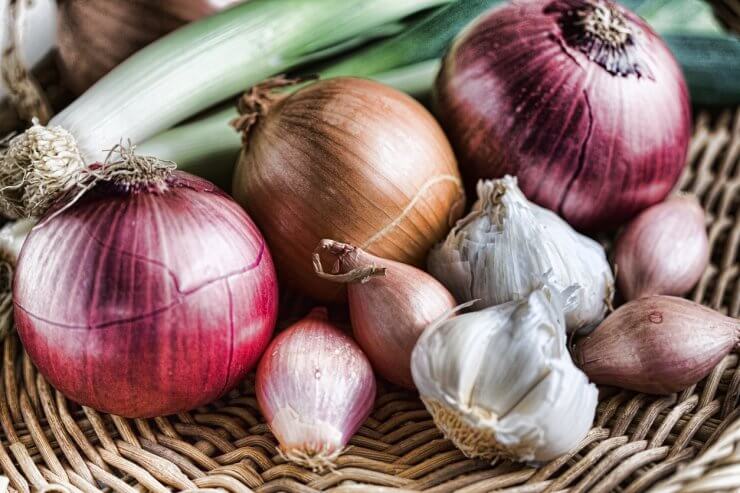
Curing and storing onions and garlic
Unlike the other vegetables here, leave garlic and onions in natural light for about a week to cure them. For storage, you can pack them loosely in boxes or hang them in bags.
The common factor here is that all your vegetables need to be completely dry for curing and storage. And they all taste great! That’s the real joy of winter planting and storing.
I’d love to hear your opinion. What has your experience been with storing vegetables over the winter?


 Previous

