If you think the idea of saving heirloom seeds sounds special, well, that’s because it is. An heirloom conjures the magic of something sacred passed down from one generation to the next. That Persian rug that belonged to your great-grandmother, your grandfather’s military medals, that bureau that’s been in the family since 1674 … these are all heirlooms.
The Merriam-Webster Dictionary defines an heirloom as “something of special value handed down from one generation to another.” Value is, naturally, subjective. Some family heirlooms might have minimal monetary value, though they hold significant sentimental value.
Heirloom seeds are similar. They are prized for a particular reason, such as flavor or that they grow exceptionally well in an area. The seeds from these prized plants are saved and passed along through multiple generations.
Discover 7 top tips for growing, harvesting, and enjoying tomatoes from your home garden—when you access the FREE guide The Best Way to Grow Tomatoes, right now!

Heirloom vs. Hybrid: What’s the difference
Here’s how Burpee defines heirloom plants: “While the term ‘heirloom’ is often associated with tomatoes, the word may also be applied to any open-pollinated fruits, vegetables and flowers that were introduced at least 50 years ago. Open-pollination occurs when bees and other natural pollinators fertilize the plants.”
North Carolina State Univerisity Cooperative Extension points out that “Many heirlooms have been grown, saved and passed down for over 100 years. There are even some with a history of more than 300 years.”
In fact, one such heirloom is the Black Spanish Round radish, which dates back to the 1500s!
By contrast, “hybrid plants have been bred from two different types of parent plants to create a new plant that exhibits favorable traits that come from each parent,” according to the University of Maryland Extension. Hybrids are bred under very controlled conditions and generally for a specific trait, such as disease resistance, size, uniformity, or, in the case of many supermarket varieties, a long shelf life.
This isn’t to say hybrids or heirlooms are at odds with each other. They can coexist, and there are good reasons to grow both. However, saving and planting hybrid seeds won’t necessarily give you a plant with the same characteristics as the parent plant. There’s a lot of biology and genetics involved here, and truthfully, there are people out there who are probably much better at explaining the finer details than me.
For now, I’ll say that if you want to grow your favorite vegetables year after year and you want to save money in the process, saving heirloom seeds is the way to go.
What you need to know about saving heirloom seeds
Fortunately, saving heirloom seeds is a simple task. After all, if we can pass radish seeds down for 500 years, it’s probably safe to assume that most of us gardeners have what it takes to save seeds. Here are some tips to help you succeed.
1. Make sure your vegetable is an heirloom. The very first step in saving heirloom seeds is ensuring that the vegetables from which you are obtaining seeds are, in fact, heirlooms and not hybrids. This usually isn’t too difficult. Some places like Seed Savers Exchange and Baker Creek Heirloom Seeds specialize in heirloom varieties. Other sources, such as Burpee, signify whether their seeds are heirlooms or hybrids.
2. Separate your crops–maybe. This one is a somewhat optional step. If you want to be super serious about saving heirloom seeds and making sure they aren’t cross-pollinated with other varieties, you’ll want to separate your crops. So your Mortgage Lifter tomatoes will go in one section of your garden, and maybe on the other side of your home, you can plant your Black Krim tomatoes. Except, let’s be honest. It’s hard to imagine a 1930s family farm going to that kind of trouble. Seed Savers points out that most self-pollinated crops, such as beans, tomatoes, and peas, will likely be fine with just a little extra space between varieties.
3. Start with easy plants. There’s a reason there are so many heirloom tomatoes–it’s easy to collect the seeds. The same is true for plants like squash, peppers, and beans. Not only that, but these are all annual, self-pollinating plants. Biennials (those that don’t flower until the second season) are a little more challenging to work with.
4. Don’t harvest your fruits and vegetables too early. In almost all cases, you’ll want to leave the fruits on the vine beyond when you would usually harvest them for eating. With seed pods, let them turn brown and fragile. Eggplants will lose their shine and start turning yellow. Essentially, you’re letting them get to a point where your neighbors wonder why the heck you’re letting your delicious veggies go bad.
5. Choose seeds from the healthiest plants. This tip seems pretty self-explanatory. Healthy, vigorous, productive plants will produce offspring that are also, hopefully, healthy, vigorous, and productive.
6. Label your seeds! Even though they aren’t yet dry or in storage, it’s easy to get things mixed up. As you move into the next step of collecting seeds, label your container with the plant and variety so you can keep them all separate.
7. Collect seeds. Now the fun of saving heirloom seeds begins! First, it’s important to point out that there are “dry” seeds and “wet” seeds. Beans, for example, have dry seeds, while tomato seeds are wet. And in fact, tomato and cucumber seeds both have some extra steps.
- To collect dry seeds, simply allow the pod to dry on the vine and handpick them. Bring the seed pods indoors and spread them out to continue drying. Once the seeds are completely dry, you can separate them from the pod and store them.
- Wet seeds require some extra cleaning, and fermenting in some cases. For seeds that you can easily clean and separate, such as cucumbers and peppers, simply place them in a container and wash them with water until they are clean, then lay them on a screen or plate for a week or two until they are completely dry.
- For tomatoes and cucumbers, you need to ferment the seeds, but it’s easier than it sounds. Place the seeds in a glass jar and add water. Swirl the mixture one or two times each day. About four or five days in, the mixture will develop a moldy layer, and the viable seeds will sink to the bottom. Add more water, stir, and once the seeds settle, pour off as much liquid as possible, leaving the viable seeds. Add more water, stir, and pour off the liquid again. Continue doing this until you’re left with clean seeds. Then lay them on a screen or dish to dry.
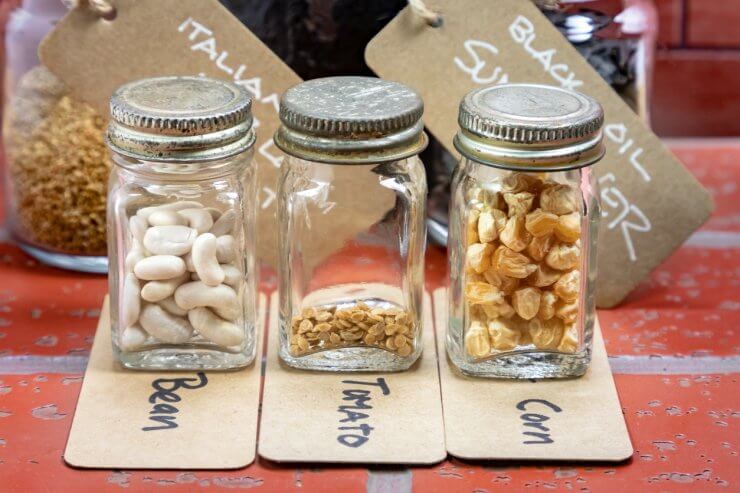
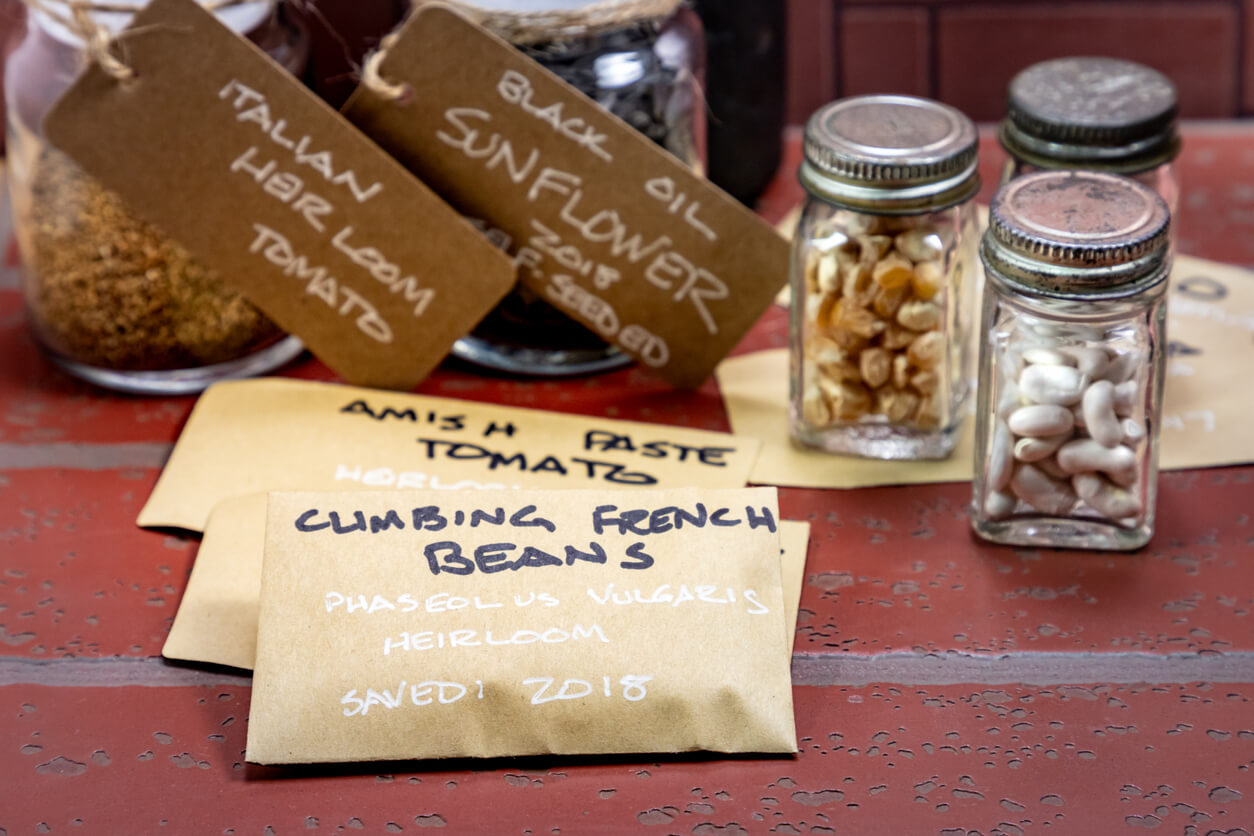
8. Package the seeds. Once your seeds are dry, you can package them in small envelopes or glass jars. And if you haven’t already, label them.
9. Store your seeds. Find a cool, dark place to store your seeds until you’re ready to use them next season! In most cases, seeds are viable for about a year.
10. Use a desiccant. A little packet of silica gel can also help keep your seeds dry if you’re worried about too much humidity. They’re relatively inexpensive and reliable.
Now sit back, relax, and dream about that amazing heirloom garden you’re going to grow next season.
Do you have any tips you would add to this? I’d love to read them in the comments.
Note: Food Gardening Network contains links to affiliate websites, including Amazon and Rakuten Affiliate Network, and we may receive a commission for any eligible purchases made by you through links on this page. Any reviews are based on honest reviews of the products.
Discover 7 top tips for growing, harvesting, and enjoying tomatoes from your home garden—when you access the FREE guide The Best Way to Grow Tomatoes, right now!


