

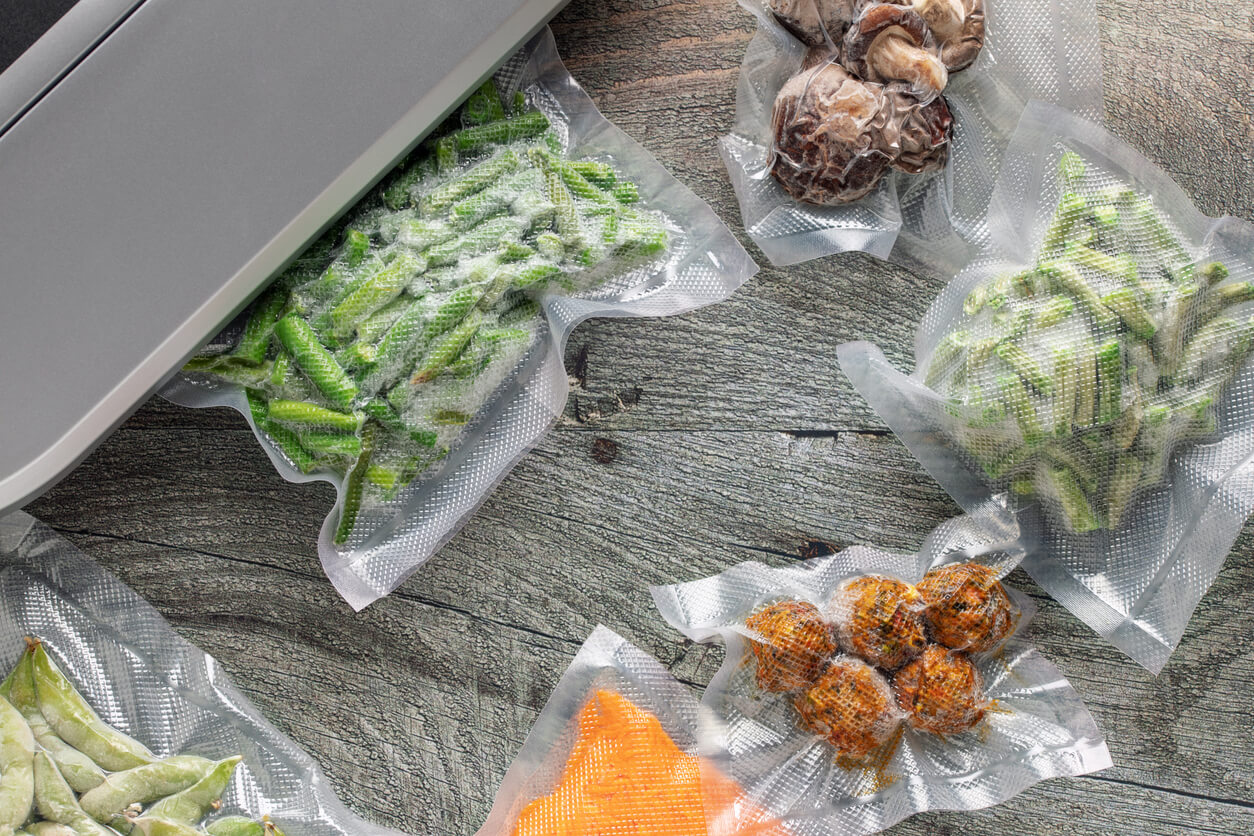
As any enthusiastic gardener or home cook will tell you, there’s no greater heartbreak than seeing your lovingly grown vegetables or favorite snacks go bad before their time. Enter the superhero of food preservation: the vacuum sealer! With one of these handy devices, you can extend the life of your fresh produce, leftovers, and even pantry staples, making it a must-have tool for food gardeners. Let’s dive into the art of vacuum sealing, step by step, with a good-natured look at how to keep your garden goodies fresher, longer.
Choosing the Right Vacuum Sealer
Before sealing up the spoils of your harvest, you’ll need the right gadget. Here are a few top-rated vacuum sealers available on Amazon:
1. FoodSaver V4400 2-in-1 Vacuum Sealer Machine
- Features: Built-in handheld sealer, moisture detection, and automatic bag detection.
- Perfect for beginners and pros alike.
- Available on Amazon
2. Anova Culinary Precision Vacuum Sealer
- Features: Simple, sleek, and compact design; great for sous vide enthusiasts.
- A no-fuss option for those just starting out.
- Available on Amazon
- Features: Affordable, user-friendly, and portable.
- Ideal for budget-conscious gardeners.
- Available on Amazon
How to Use a Vacuum Sealer: Step-by-Step Guide
Let’s assume you’ve picked out your trusty vacuum sealer. Here’s how to use it like a pro to preserve your homegrown treasures:
1. Gather Your Tools:
- Vacuum sealer machine
- Vacuum-seal bags or rolls
- Freshly harvested veggies or food items
2. Prep Your Food:
- Wash, dry, and chop your vegetables as needed.
- Blanch any veggies that need it (e.g., green beans, broccoli).
3. Bag It:
- Cut the vacuum-seal roll to size, leaving extra room for sealing.
- Place your food flat inside, ensuring no debris is near the sealing area.
4. Seal the Deal:
- Insert the bag into the vacuum sealer and close the lid.
- Press the “Vacuum and Seal” button and watch the air disappear!
5. Label and Store:
- Write the contents and date on the bag.
- Store in the freezer, pantry, or fridge as appropriate.
10 Foods to Vacuum Seal and How
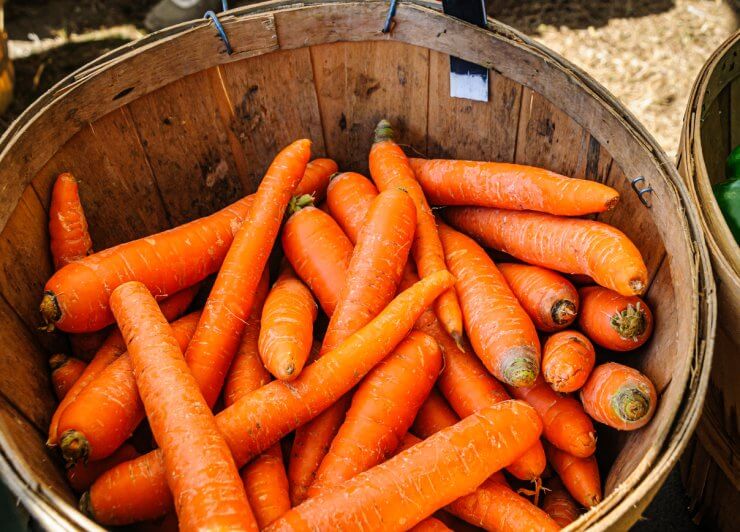
1. Carrots
- Peel and cut into sticks. Blanch, cool, and vacuum seal for a perfect snack.
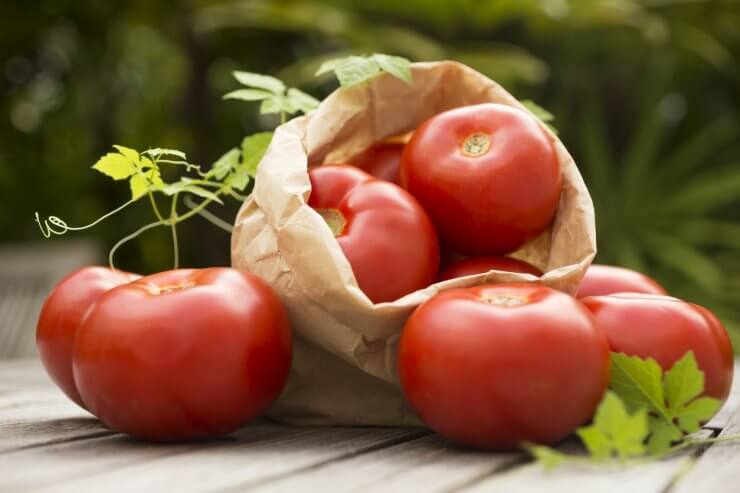
2. Tomatoes
- Puree or dice before sealing to freeze for soups or sauces.
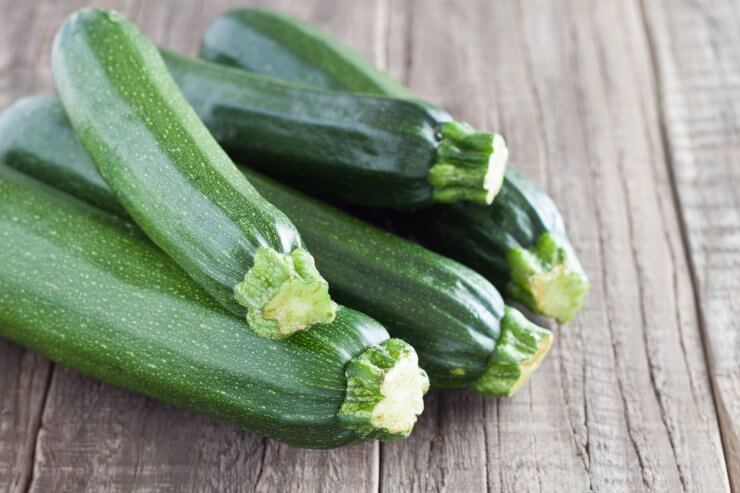
3. Zucchini
- Slice into rounds, blanch, and seal for stir-fries.
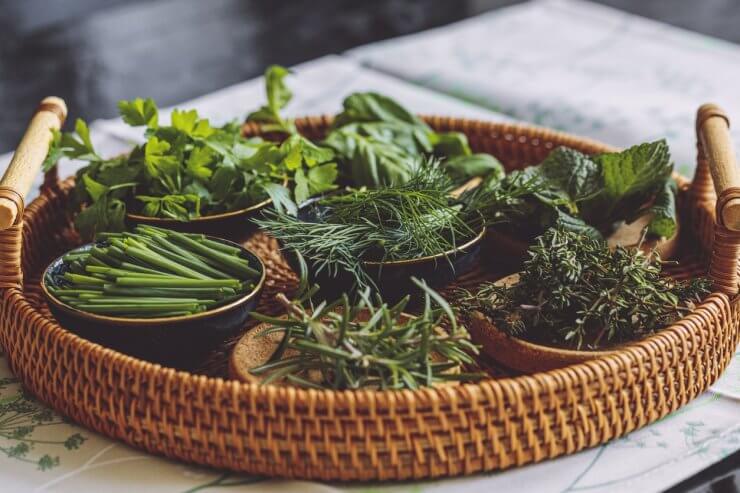
4. Herbs
- Wash, dry, and vacuum seal in small portions for soups and stews.
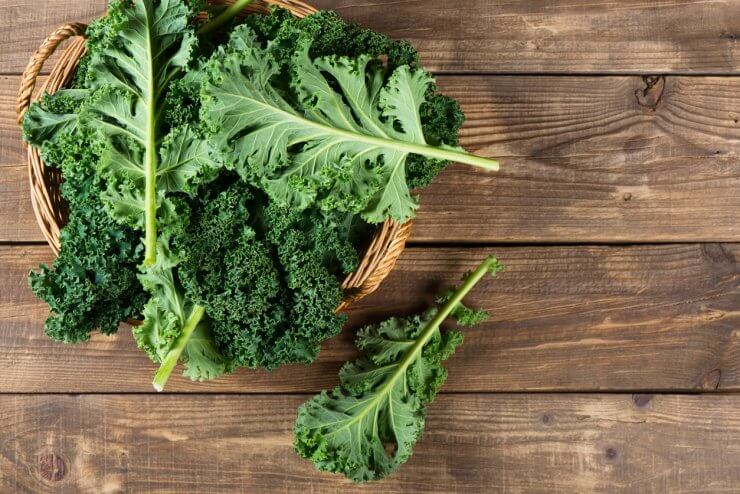
5. Leafy Greens

6. Sweet Corn
- Cut kernels off the cob, or vacuum seal the whole cob after blanching.
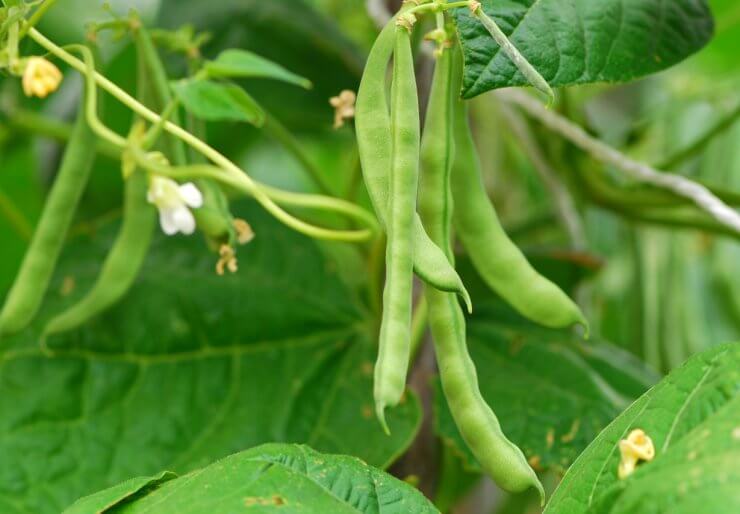
7. Green Beans
- Trim and blanch before sealing.
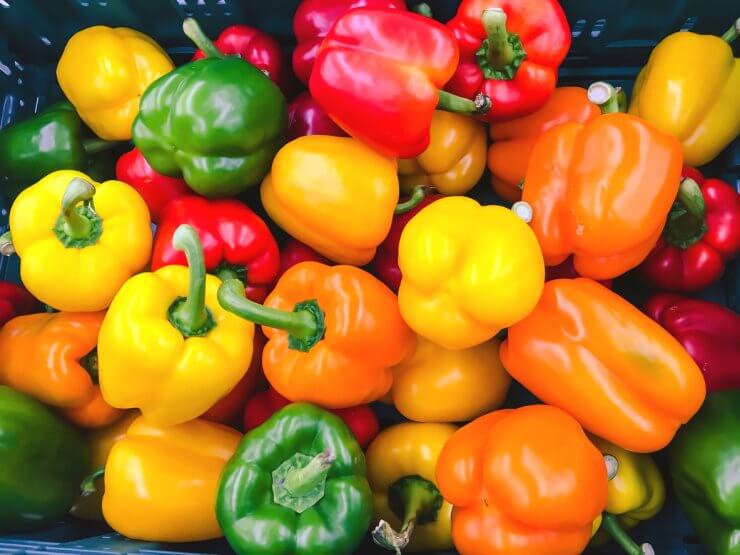
8. Peppers
- Slice or dice, then seal raw for vibrant fajita veggies later.

9. Squash
- Peel, cube, and vacuum seal to freeze for soups or roasts.
10. Potatoes
- Par-cook slices or cubes, cool, and seal for hash browns or casseroles.
Why Vacuum Sealing Works Wonders
- Prevents Freezer Burn: Keeps air and moisture out.
- Locks in Freshness: Retains the vibrant taste and texture of your veggies.
- Saves Space: Stack sealed bags neatly for organized storage.
Share Your Sealing Secrets!
Do you have a vacuum-sealing hack or a favorite recipe made with preserved produce? Share your tips and tricks with our gardening community! Let us know which vacuum sealer is your favorite and how it’s transformed your food storage game.
After all, every gardener knows that the joy of growing doesn’t stop at harvest—it extends to preserving and enjoying your bounty all year long.