

Nothing beats the satisfaction of harvesting armfuls of crisp green beans from your garden, but what happens when your plants produce more than you can eat fresh? Mastering the art of storing green beans is important work, and the good news is that with proper storage techniques, you can enjoy your homegrown green beans for weeks or even months after harvest.
Before diving into storage methods, it’s helpful to understand what’s happening inside your harvested beans. Green beans are actually immature seed pods, and they continue to breath after being picked. This respiration process converts stored sugars into carbon dioxide and water, which is why beans can lose their sweetness and become tough if stored improperly. The key to successful storage is slowing down this metabolic process while maintaining the right moisture balance.
Short-Term Fresh Storage (1–2 Weeks)
For immediate use within a week or two, your refrigerator is your best friend. Start by resisting the urge to wash your beans right after harvest, excess moisture is the enemy of fresh storage. Instead, gently brush off any soil and remove any damaged or yellowing pods.
Place unwashed beans in a perforated plastic bag or a regular bag with a few holes poked in it. The perforations are crucial because they allow for air circulation while maintaining humidity. Store them in your refrigerator’s crisper drawer, which typically maintains the ideal humidity level of 90–95%. At temperatures between 32–40°F, properly stored green beans will stay crisp and flavorful for 7–10 days.
Science time, the ethylene gas produced by certain fruits like apples and bananas can accelerate the aging process in green beans. Keep your beans away from these ethylene producers to maximize their storage life.
Blanching: The Gateway to Long-Term Storage
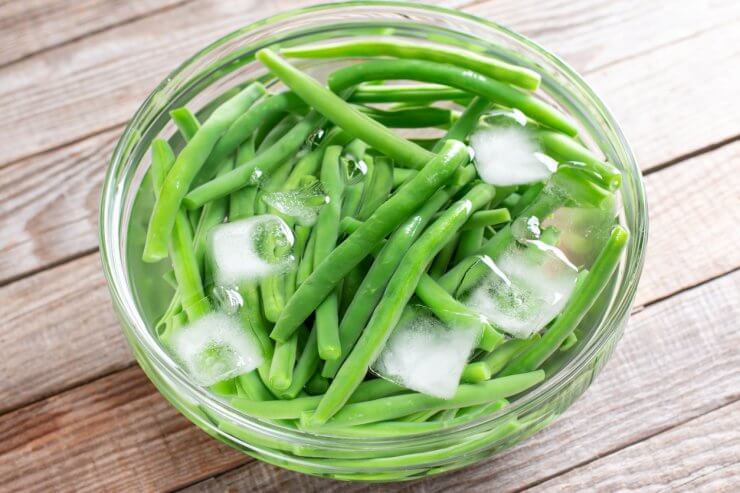
For storage beyond two weeks, blanching is your secret weapon. This process involves briefly boiling vegetables and then rapidly cooling them in ice water. Blanching serves several purposes: it deactivates enzymes that cause deterioration, brightens color, and partially cooks the beans while maintaining their texture.
To blanch green beans properly, first prepare a large pot of boiling water and a bowl of ice water. Trim the stem ends and cut beans into your desired lengths–typically 1–2 inch pieces work well. Drop the beans into rapidly boiling water for exactly 2–3 minutes (timing is crucial here). Immediately transfer them to the ice bath using a slotted spoon or strainer. The ice bath stops the cooking process instantly, preserving that perfect crisp-tender texture.
Freezing for Months of Enjoyment
Once blanched and cooled, pat the beans dry with clean towels. Portion them into freezer bags or containers, removing as much air as possible to prevent freezer burn. Label with the date–properly blanched and frozen green beans maintain their quality for 8–12 months.
For the best texture after thawing, don’t defrost frozen beans before cooking. Add them directly to stir-fries, soups, or casseroles. The cell walls have been slightly broken down by freezing, so they’ll cook faster than fresh beans.
Dehydrating Your Green Beans
Dehydration removes moisture that bacteria and mold need to survive, making it an excellent preservation method. You can use a food dehydrator, oven, or even air-dry beans in hot, arid climates. Blanch beans first, then arrange them on dehydrator trays or baking sheets. Dehydrate at 125–135°F until they’re brittle and snap when bent, usually 6–12 hours depending on thickness.
Properly dehydrated green beans can last 8–10 years when stored in airtight containers away from light and heat. Rehydrate them in warm water for 15–30 minutes before using in soups and stews.
Fermenting Your Green Beans
For the adventurous gardener, lacto-fermentation creates tangy, probiotic-rich “dilly beans.” Pack raw beans into sterilized jars with garlic, dill, and spices, then cover with a 3% salt brine (3 tablespoons salt per quart of water). Ferment at room temperature for 3–5 days until they reach your desired sourness, then refrigerate. These fermented beans will keep for several months and make excellent additions to salads and charcuterie boards.
Maximizing Your Harvest
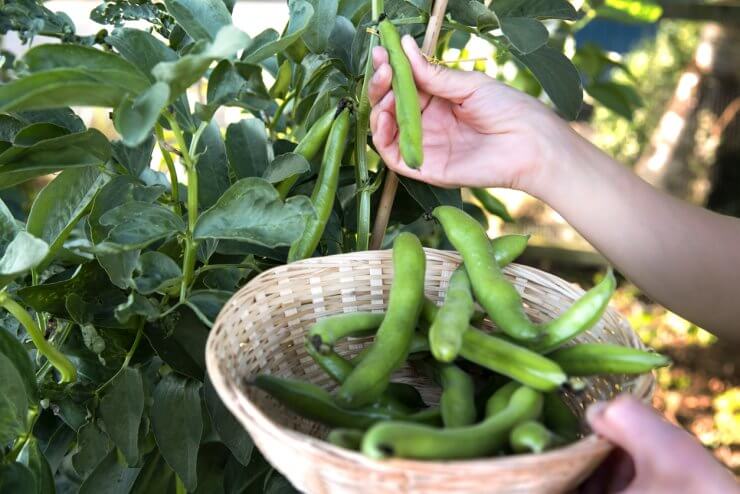
The key to successful long-term storage starts in the garden. Harvest beans in the early morning when they’re fully hydrated and at their crispest. Pick pods when they’re young and tender, you should be able to snap them cleanly with your fingers. Over-mature beans become fibrous and don’t store as well.
With these storage techniques in your arsenal, you can transform a brief harvest season into months of homegrown goodness. Whether you choose refrigeration, freezing, dehydrating, or fermentation, you’ll be amazed at how your summer garden can nourish you well into winter and beyond.
Looking for an easy crop that delivers a high yield, plenty of nutrition, and can make a statement in your garden? Grow green beans! Get all the details that go into growing crisp, crowd-pleasing beans that practically grow themselves in our Green Beans Gardening Guide right now!
What’s your favorite method for storing green beans—and have you ever tried fermenting them? Share your method with us in the comments.