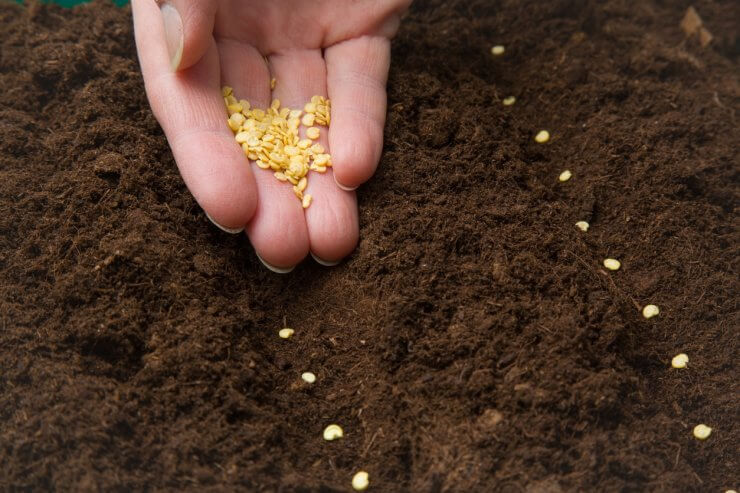
Gardener planting pepper seeds in the ground
Many gardeners start their bell peppers from seeds, but for different reasons. Gardeners living in a semi-tropical or tropical region can start their pepper patch by direct sowing their seeds outdoors; in fact, bell peppers grow as perennials in tropical regions. Gardeners who live in more temperate regions with shorter growing seasons will either start their own seeds indoors or head to the local nursery for seedlings when the transplanting time is right.
Seed Planting Process
Bell pepper seeds take about 10 days to germinate, so plan ahead. If you live in a cooler area, you’ll want to get started early. Since some bell pepper varieties can take up to 100 days to develop, you want to have healthy seedlings ready to transplant as soon as the soil is warm enough to nurture them.
Seedling Preparation: Looking Ahead
An early note here. By the time your seedlings are established, whether you start your seeds indoors or direct sow them in the garden, some of your seedlings may have developed their first blooms. Pinch them off. Really—this will help the plants put their energy into growing. Pepper plants don’t really start producing until about two months into the growing season, so don’t rush things. By pinching off those early blooms, you’re doing your plants a favor.
Indoor

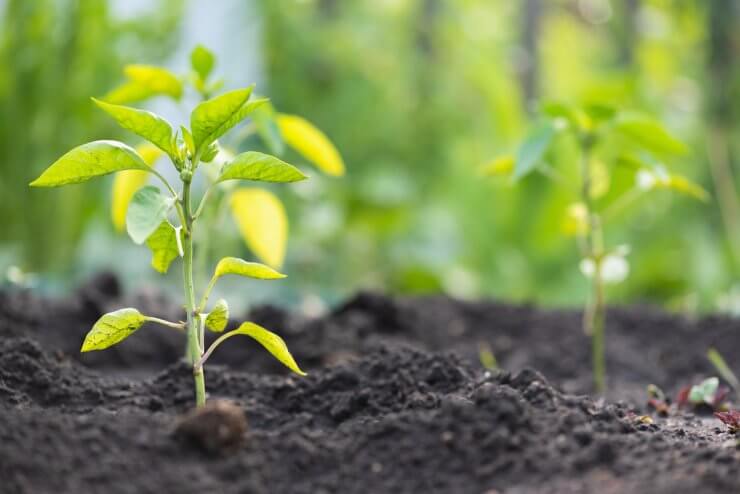
Bell pepper seedling in the garden
Sow your bell pepper seeds indoors six to eight weeks before your expected last frost date. If you’re good at keeping seedlings healthy and thriving, you could start even earlier. For best results, use a seed starting formula. Make sure your seed tray has deep individual soil compartments; 3 inches is good.
Provide a reliable heat source for your seeds. A seedling heat mat will help keep the soil warm so the seeds can germinate. Bell pepper seeds need soil at about 80 degrees F in order to germinate.
Once your seedlings emerge, they are going to need plenty of light. Put them by a sunny window or turn on grow lights about 4 inches above your seedlings. Leave the lights on for 16 hours, off for eight hours. Don’t leave the lights on 24/7; most plants need a little darkness to grow.
When your seedlings have developed two to three true leaves, move them (gently!) into larger containers (about 4 inches across) of potting soil so they have room to grow. Add fertilizer according to details on your seed packet to encourage growth. Keep your seedlings well-watered, but not soggy. No one likes root rot.
Once your seedlings are established and growing, keep them comfortable inside until the last frost. As you approach that final frost date, you’ll want to harden them off before you transplant them to your garden. So, when your seedlings are about eight weeks old, give them a little sheltered outside time, starting with an hour or two a day in indirect sunlight, progressing to a full day outside. Bring them in for the night after each outdoor foray. This process helps strengthen the plant’s cells, giving them a better chance of thriving when you transplant them.
Your garden soil temperature should be at least 60 degrees F before you set your seedlings out. When your seedlings are ready for the outdoor garden, have planting holes ready for them. Try to transplant them on a calm, cloudy afternoon to reduce the chance of transplant shock. Take the seedlings out of their little containers and put them into the soil, keeping plants at least 18 inches apart.
Cover the roots and attached soil with fresh garden soil. Plant them about an inch deeper than they were growing in their pots. The base of the stems will develop small roots and help make the plants stronger. Top each planting off with some starter fertilizer, such as Osmocote or Miracle-Gro. Consult your local garden center or extension center for recommendations. If you’re concerned about pests moving in on your young plants, put a row cover over them. It’s a good idea to use hoops to hold your row covers above your growing plants. This will protect them from predatory insects, excessive sun, and wind that could topple the shallow-rooted plants. It will also insulate your plants from a sudden drop in temperature, in case of a cold snap.
The use of plastic mulch and drip irrigation can help increase your yield. Plastic mulch helps keep the soil warm, the way peppers like it. It’s important to keep the plastic away from the plant stems, though, to avoid the stems getting burned or damaged as the plastic heats up.
Sowing directly in the garden
If you live in a semi-tropical or tropical zone, you can sow your bell pepper seeds when the soil is warm and not overly wet. Consider setting up a row cover with hoops to protect your crop.
Your garden bed should be prepared with rich, loose, loamy soil, amended with some compost. You can plant your seeds about 6 inches apart in a groove or in holes about a half inch deep. Your rows should be about 2 feet apart. Cover the seeds with soil and give each row a good soak—but don’t overdo it. Keep in mind that you’ll wind up thinning your plants to about 18 inches apart.
Germination should occur in about 10 days. Keep the soil moist, but drained. Pepper seeds germinate best in warm temperatures — 85 to 95 degrees F. Seedlings will grow well with daytime temperatures around 75 degrees F and nighttime temps around 65 degrees F. When your plants are 4 to 6 inches tall, thin them to 18 inches apart.
Have you tried growing bell peppers from seeds or seedlings? Which method do you prefer—and why? Please share your experiences with us.


 Previous

