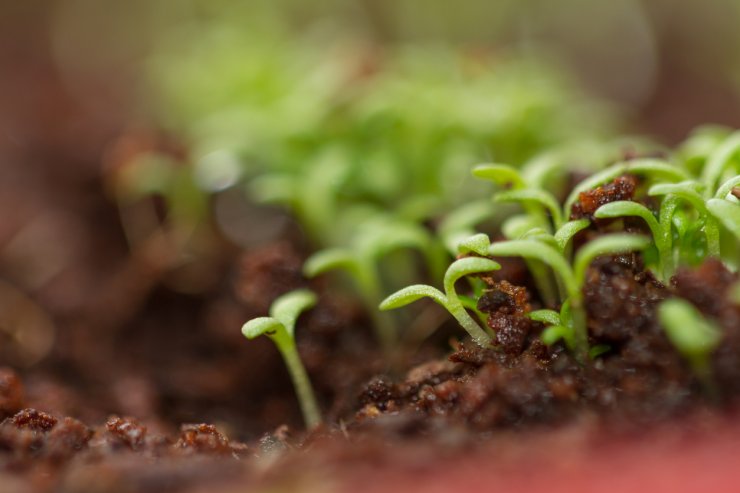
Chamomile seedlings
Whether you start your chamomile from seed or seedling depends in part on your preference, skill, level of patience, growing environment, and timing, among other things. If you do decide to start from seed, make sure you buy quality seeds.
When growing chamomile from seed, you need the right tools and a disciplined process for getting from seed to seedling.
Besides your seeds, tools might include:
- Starting soil
- Containers (something as simple as egg cartons or seed trays will do)
- Widger (a spatula-like tool for lifting seedlings without damaging them—for plants as tiny as chamomile seedlings, an old tablespoon may do the trick)
- Germination station
- Grow lights
- Heat mats (depending on where your growing station is)
Don’t use composted soil or soil from a garden or flower bed; that material could be contaminated with molds, soil borne diseases, or microscopic pests. Also, soil that you dig up from your yard or garden (or even composted soil) is going to be too dense for sprouting seeds to take root. Always begin with starting soil.
Your germination station needs to be flexible. Make sure you can raise and lower your grow lights as needed, depending on the stage of growth of your plants.
Chamomile seeds are tiny. Really, really tiny. You can fit probably a hundred of them on a dime. So be very careful when you open the seed packet; the seeds are there—they’re just very, very small.
You can start chamomile seeds indoors three to four weeks before the last frost. Spread the seeds over the loose soil and tamp them down lightly. These seeds need light to germinate, so don’t cover them with more soil. Use a spray bottle to mist them.
Thin your seedlings to 2 to 4 inches apart once they’re about an inch tall. Don’t get sentimental about it; if you don’t thin them, they won’t grow well. Use a pair of small, sharp scissors to cut the targeted stems off at the soil line.
If you’re going to start with purchased seedlings, make sure you plant them before they get too big—no more than 2 to 3 inches tall. These plants do not like to be transplanted once they’ve established their root systems. Truly, it’s probably easier to start your chamomile seeds by scattering them on the ground after the last frost, misting them, and thinning them right where they’re growing.
You can also spread your seeds in the fall. Just scatter them where you want them to grow and give them a gentle tamp-down. Then check in in the spring. You might want to try both methods to see which works best for you.
If you start with purchased seedlings, be very, very gentle with them. Get them planted as soon as you get them home and be careful not to disturb their root systems; carve a wide path around them. Plant them in a hole a little wider than the roots spread, and don’t pack the soil too tightly around them. The seedlings will probably be small enough that you can use an old tablespoon or serving spoon to scoop them up and settle them in.
Don’t over-water your seeds or seedlings. In the case of chamomile, err on the side of caution and let them get a little thirsty rather than water them too much.
Have you tried growing chamomile from seeds, seedlings, or both? Which method do you prefer—and why? Please tell us how you get your chamomile started every year.


 Previous

