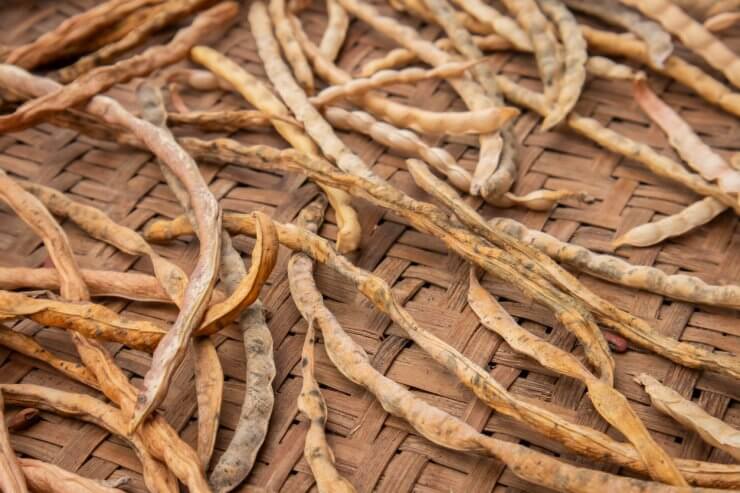
I remember my first attempt at seed saving. It was a bit of a disaster, to be honest. I harvested too early, stored the seeds improperly, and ended up with a handful of moldy, useless beans. But oh, how things have changed! Now, saving green bean seeds is one of my favorite end-of-season rituals, and I’m excited to share what I’ve learned with you.
Green beans have always been a staple in my garden, and I bet they are in yours too. They’re versatile, easy to grow, and let’s face it – there’s nothing quite like the snap of a fresh green bean straight from the vine. But when I discovered the world of seed saving, it opened up a whole new dimension to my gardening adventure. Not only does learning how to save green bean seeds help preserve those special heirloom varieties (I’m looking at you, Great-Grandma’s Kentucky Wonders), but it also saves a pretty penny and allows you to play plant breeder, selecting for traits that thrive in your unique garden ecosystem.
In this guide, we’ll dig deep into the soil of seed saving knowledge. I’ll share some niche tips and unique tricks I’ve picked up over the years – the kind of insider info you won’t find in your average gardening manual. Whether you’re a novice gardener just starting to get your hands dirty, or a seasoned pro looking to refine your technique, you’ll find something here to elevate your green bean game.
So, grab a cup of your favorite garden-side beverage, get comfortable, and let’s embark on this seedy adventure together. By the time we’re done, you’ll be well on your way to becoming a green bean seed-saving extraordinaire. Trust me, once you experience the joy of planting seeds you’ve saved yourself, you’ll never look at a packet of store-bought seeds the same way again. Ready to learn how to save green bean seeds like a pro? Let’s dive in!
Choosing the Right Beans
Before we dive into the nitty-gritty of how to save green bean seeds, it’s crucial to start with the right beans. Not all green beans are created equal when it comes to seed saving. Here’s what you need to know:
- Open-pollinated vs. Hybrid: Always choose open-pollinated varieties for seed saving. These will produce offspring true to the parent plant. Hybrid varieties, while often vigorous, will not breed true in subsequent generations.
- Bush vs. Pole Beans: Both types can be saved, but keep in mind that pole beans are more likely to cross-pollinate if you’re growing multiple varieties.
- Popular Open-pollinated Varieties:
- Blue Lake 274
- Provider
- Contender
- Kentucky Wonder
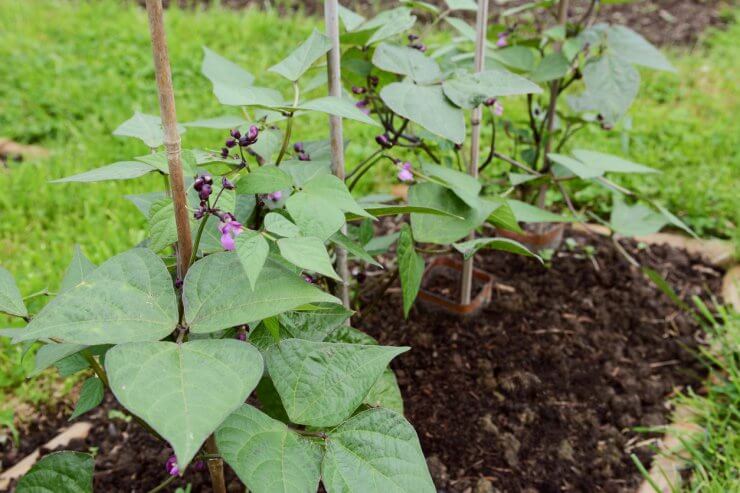
Green beans in open soil
Timing is Everything
Knowing when to harvest your beans for seed saving is crucial, and it’s quite different from picking beans for your dinner plate. When learning how to save green bean seeds, patience becomes your best friend. Unlike the crisp, green pods you harvest for eating, seed beans need to mature fully on the plant. You’ll want to wait until the pods dry out and turn a crispy brown, almost looking past their prime. At this stage, if you give the pod a gentle shake, you should hear the beans rattling inside like nature’s own maraca. This is your cue that the seeds have reached their full maturity. However, keep a watchful eye on the weather forecast. While you want to leave the pods on the plant as long as possible, it’s essential to harvest them before the first frost in your area. Frost can damage the seeds and reduce their viability, so it’s better to harvest a little early than risk losing your seed crop to an unexpected cold snap.
The Art of Selection
Now, let’s get into some unique tips on how to save green bean seeds:
- Mid-season Selection: Instead of waiting until the end of the season, start selecting potential seed pods mid-season. Choose plants that show desirable traits like disease resistance, productivity, or flavor.
- Tagging Technique: Use brightly colored garden tape to mark potential seed pods. This makes them easy to spot and prevents accidental harvesting for dinner!
- The “Ugliest” Bean Method: Sometimes, the most gnarly-looking beans make the best seeds. Don’t shy away from pods that look a bit worse for wear – they might be hiding gems inside.
Harvesting and Processing
Once you’ve selected your beans, it’s time to harvest and process them. This is where learning how to save green bean seeds gets really interesting, and dare I say, fun! Let me share some unique techniques that will make this process both efficient and enjoyable.
First up is what I like to call the “Pillowcase Trick.” This method is as practical as it is entertaining. Start by harvesting your dried pods into an old pillowcase – yes, you read that right! Once you’ve collected all your pods, tie the pillowcase shut. Now, here’s where you get to add a little flair to your gardening routine. Put on your favorite tune and do a little dance, or if you’re feeling less rhythmically inclined, just shake the pillowcase vigorously. The beauty of this method is that the seeds will separate from the pods with minimal effort, all while contained in the pillowcase. It’s a great way to involve kids in the process too – they’ll love the idea of dancing their way to seed separation!
Next, let’s talk about “Winnowing Wisdom.” This technique works best on a breezy day, so keep an eye on the weather forecast. Take your separated seeds outside, along with two containers. Start pouring the seeds from one container to another, allowing the wind to blow gently across the stream of seeds. As if by magic, you’ll see the wind carry away the lighter chaff, leaving you with clean, pristine seeds in your catching container. It’s a oddly satisfying process, watching nature do the cleaning work for you.
For those of you who like to go the extra mile in how to save green bean seeds, consider trying the “Fermentation Method.” This technique offers additional protection against seed-borne diseases, which can be particularly useful if you’re working with heirloom varieties or seeds from plants that showed any signs of disease during the growing season. To ferment your seeds, place them in a container of water and let them soak for about 48 hours. After this spa treatment, thoroughly rinse the seeds and spread them out to dry completely. This process can help eliminate pathogens that might be clinging to the seed coat.
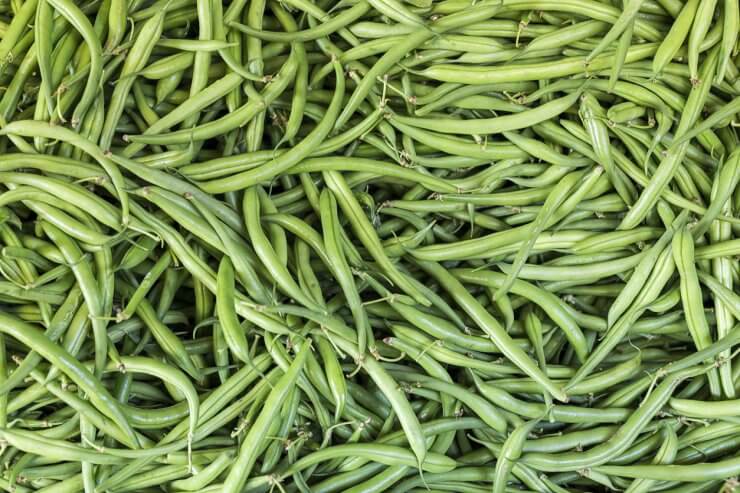
Green beans
Drying and Storage
Proper drying and storage are crucial steps in how to save green bean seeds. Here are some tips to ensure your seeds stay viable:
- The Rice Test: Place a few grains of rice in with your drying seeds. If the rice remains hard, your seeds are dry enough to store.
- Silica Gel Packets: Save those little packets that come with electronics and shoes. They’re perfect for keeping moisture away from your seeds.
- The Freezer Debate: Some gardeners swear by freezing their bean seeds to eliminate pests. If you try this, ensure your seeds are completely dry first, and allow them to come to room temperature before planting.
USDA Zone Considerations
While the basic process of how to save green bean seeds remains the same across USDA zones, there are a few considerations:
- In zones 2-4: With a shorter growing season, choose early-maturing varieties and start them indoors.
- In zones 9-11: You may be able to grow and save seeds year-round. Be mindful of high humidity when drying seeds.
Varietal Differences
Most green bean varieties follow the same seed-saving process, but there are a few exceptions:
- Runner Beans: These may need a longer growing season to produce mature seeds.
- Lima Beans: Allow the pods to dry completely on the plant before harvesting.
- Yard-long Beans: Despite their length, follow the same process as standard green beans.
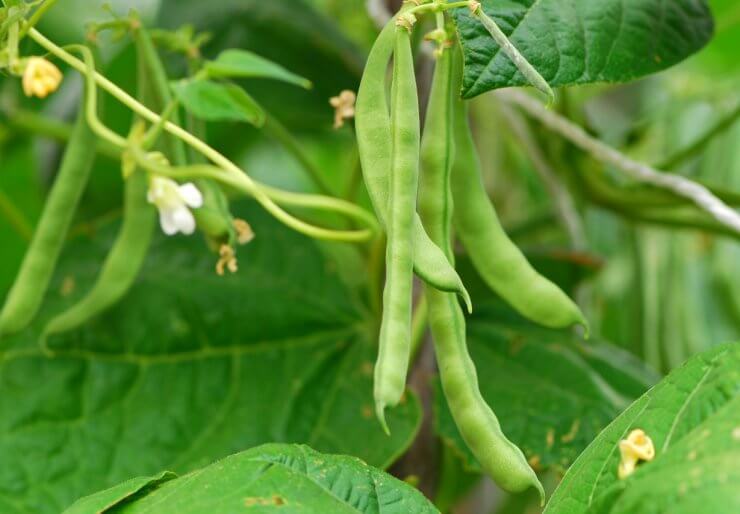
The Science Behind Seed Saving
For the science enthusiasts out there, here’s a fun fact: the process of saving seeds involves understanding plant genetics and reproduction. When you save seeds from open-pollinated varieties, you’re participating in a form of artificial selection, potentially developing beans uniquely adapted to your garden’s microclimate.
By mastering how to save green bean seeds, you’re not just preserving a food source; you’re participating in the age-old practice of plant breeding and selection. It’s a small step that connects you to generations of gardeners and farmers who have carefully selected and saved seeds to improve their crops.
Remember, practice makes perfect when it comes to learning how to save green bean seeds. Don’t be discouraged if your first attempt isn’t perfect – each season brings new opportunities to refine your technique.
Want to become a green bean guru? Check out our comprehensive Green Beans Gardening Guide for more tips and tricks on growing the perfect beans!
Have you tried saving green bean seeds before? What techniques worked best for you? Share your experiences in the comments below – we’d love to hear from you!


 Previous

