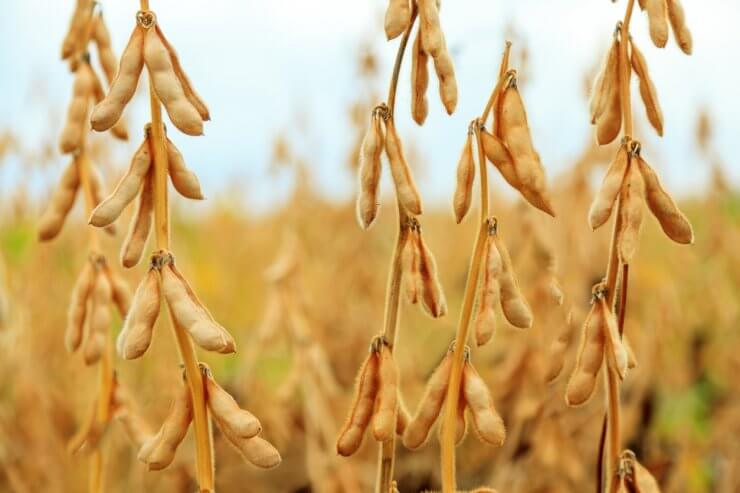
As a kid, I was committed to saving vegetable seeds from every vegetable on my dinner plate. I loved the idea that food could make more food and in a weird way, vegetables could live forever. My parents had to gently break it to me, however, that cooked vegetable seeds would not fare well in the mini paper dirt cups lining our windowsill.
Buying seeds can often be confusing if you’re not sure what to look for. But saving vegetable seeds is an excellent way to save a bit of money and become even more self-sufficient. If you commit to saving vegetable seeds year after year, you can also identify and propagate vegetable plants based on variables like taste, disease resistance, and crop yield.
Seed saving also ensures that you’ll be able to have the variety of vegetable seeds you need for the following season. We’ve seen how major world events (like a global pandemic) can affect supply and demand. Seed shortages, even if only temporary, are not uncommon in these cases. Having your own homegrown seed supply eliminates total reliance on seed companies and their supply ebbs and flows.
Discover 7 top tips for growing, harvesting, and enjoying tomatoes from your home garden—when you access the FREE guide The Best Way to Grow Tomatoes, right now!
Whether you’re just starting out or are a seasoned seed saver, there’s always something to learn and test out in your garden. I’ve put together five tips for saving vegetable seeds that can help you prep for next year’s garden.
1. Legumes are a good entry point
If this is your first time saving vegetable seeds, I highly recommend starting with legumes like pole beans and peas. The easiest method is to just let some of your beans stay on their stems to dry out. Wait until the plant completely dries out. You’ll know when they are ready for seed harvest when the pod crackles if you press on it and rattles if you shake it. From there, open up the pod and scrape out the beans. Keep them in a cool, dark, and dry location for another two weeks to dry up any residual moisture. Then store them in a paper envelope in an airtight container in a cool dark location.
Annual vs. biennial seed collection
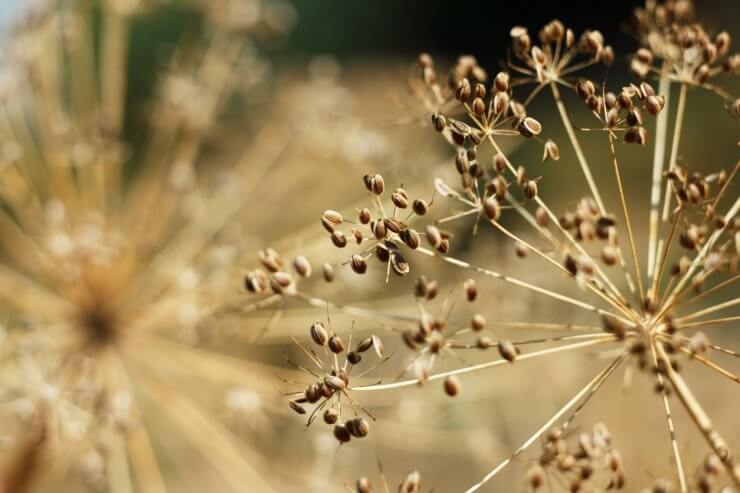
Seeds from annuals like peppers, tomatoes, cucumbers, and lettuce, can be collected after one growing season. However, if you’re working with biennials, don’t expect to collect seeds after the first growing season. Saving vegetable seeds from biennial plants like beets, Brussels sprouts, carrots, cauliflower, celery, onions, parsnips, and turnips, take two growing seasons before plants bolt (producing flowers that and go to seed).
Dry seeds thoroughly
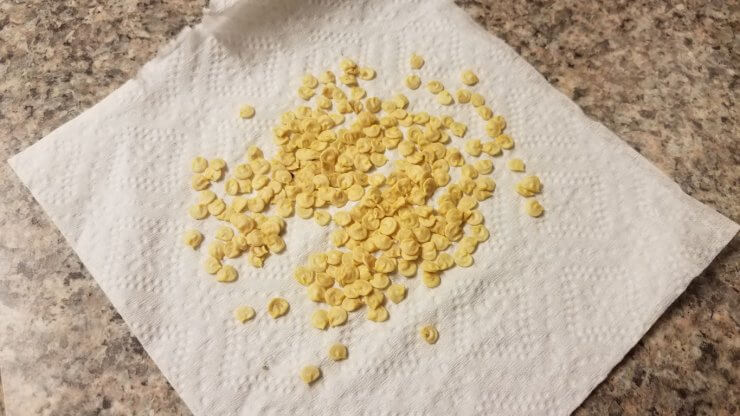
What do wet seeds and an ex-boyfriend’s dirty gym bag have in common? Mold and heartache, my friends. Mold and heartache. When saving vegetable seeds, the cardinal rule is: dry them out! Now, vegetable seeds come in different shapes and sizes so the prep work looks a little different for each. For example, Peppers are easy, since the seeds all grow in the center and you can just tap them out. Squash seeds need a good rinsing before drying out. Tomato and melon seeds have gel surrounding them and need to be cleaned thoroughly before drying out. (Note: if you try to harvest watermelon seeds from “seedless” varieties, those little white seeds will be sterile.) It’s a good idea to do a bit of quick research to find out the best method for harvesting each type of seed.
Once you’ve collected and prepped the seeds, spread them out on a paper towel or paper plate. If you go the paper plate route, be sure to use a non-coated paper plate that will allow air to reach all sides of the seed. Dry seeds for three to five days, before storing them in a paper envelope.
Don’t bother saving vegetable seeds from hybrid crops
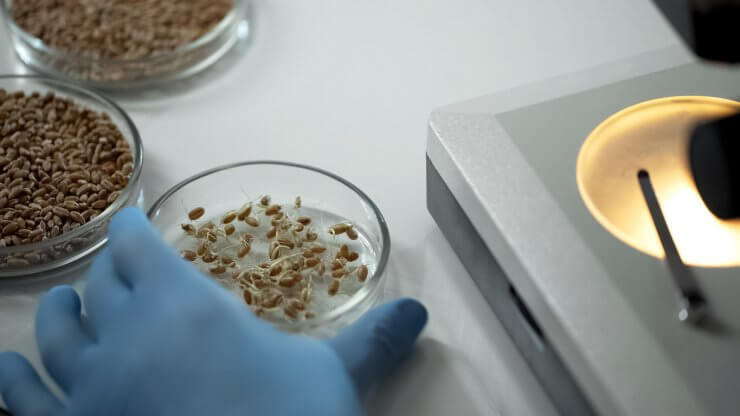
Hybrid vegetables are great for growing and often have desirable, disease and pest-resistant properties. They’re not, however, reliable when it comes to seed-saving. Vegetables grown from hybrid seeds don’t often resemble the original plant. If you want to experiment just for fun, go for it. But don’t count on growing a fruitful and consistent harvest.
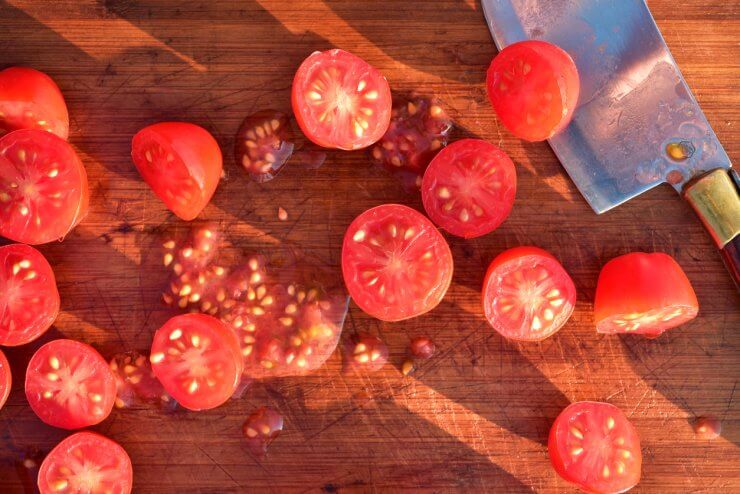
Try the seed fermentation method
Sure, you can simply dry out harvested seeds on a paper towel, but some seeds like tomatoes have a thin gel sac surrounding the seed that can get in the way of seed-saving. Instead, cut up your tomato into quarters and add them to a jar (don’t forget to label the variety). Add water so there’s about a 50/50 ratio and cover with cheesecloth or screen. Leave the jar out in the sun for a few days until the jar gets a bit stinky. There will even be a bit of mold on the surface. Skim that off and rinse the seeds in a strainer. Then spread the seeds out on a paper plate to air dry. This fermentation method helps break down the gel sac surrounding the seed which can adversely affect germination.
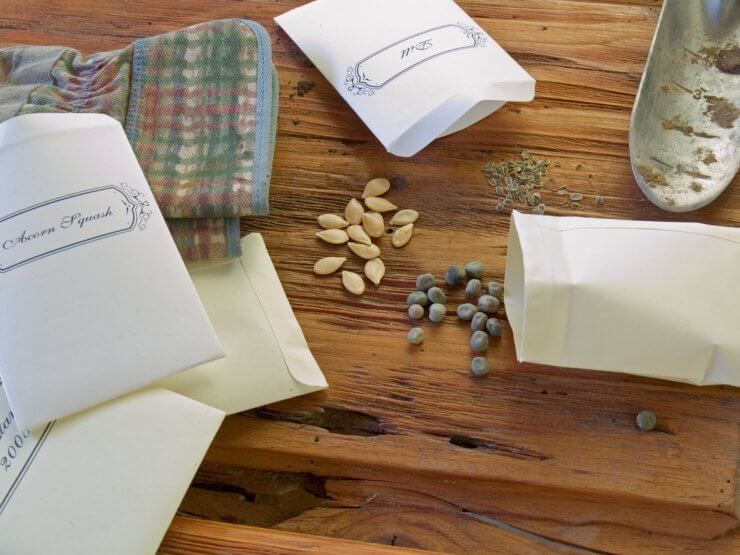
No matter the harvesting method, once your seeds are dried, store them in paper envelopes or seed packets. Store envelopes in an airtight container or jar, in a cool dark space. Be sure to label your packets with the type of seed and the date. Most seeds will keep for a couple of years, with some known to keep for over a decade. Once you’ve mastered saving vegetable seeds, look for neighborhood seed exchanges in your area. This is a great way to get to know gardeners in your community and share the seed wealth. Before you know it, it’ll be time to germinate your seeds for the next growing season.
Do you have experience saving vegetable seeds? What is your top advice? Let me know in the comments!
Discover 7 top tips for growing, harvesting, and enjoying tomatoes from your home garden—when you access the FREE guide The Best Way to Grow Tomatoes, right now!




Do you recommend storing the dried seeds in an airtight jar in the freezer to help increase the survival rate?
Rather than trying to save seeds fry maters , just take a fully ripe mater, slice it and put a slice in a pot of soil, cover seed with a little soil and water. Place in warm place or on s sunny day put it in you car( mini greenhouse!) and in a few days or a week you will have Mayer plants. I got 50 plants from one slice!!
Hot dang, that’s the ticket!
Great tutorial!