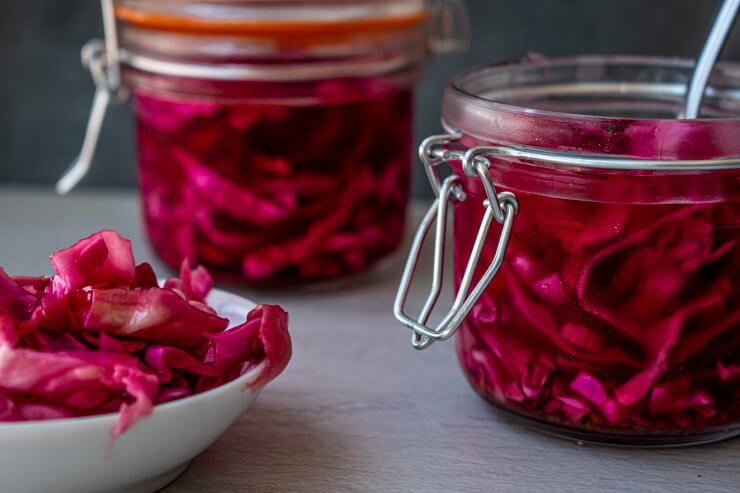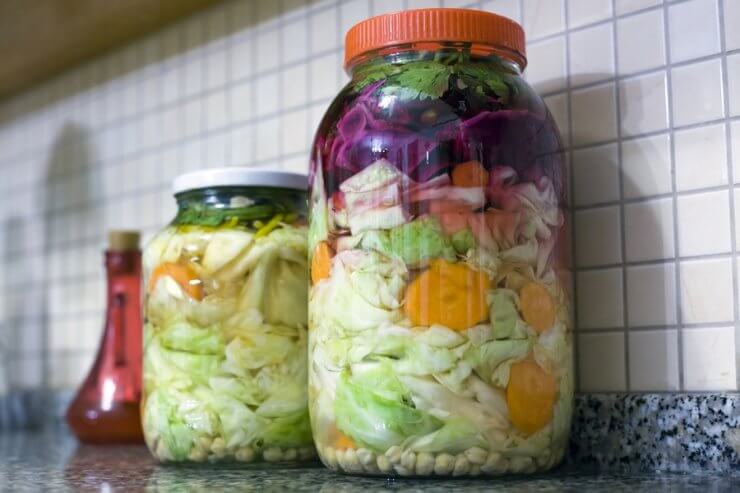
Can we talk for a minute not just about how to make fermented vegetables, but also what it is and why it’s a good move?
If you remember way back to your human biology class, you may recall that there are bacteria in your intestines that help with digestion and nutrient absorption. In addition, these bacteria help fight off invasive bacteria, as well as other pathogens that may enter your system.
Fermented foods are beneficial because they include many of these bacteria and help replenish the population in our gut. This is one of the reasons that yogurt is such a popular food for improved gut health. All those probiotics are like sending your microbiome a supersuit so they can fight the bad guys.
Discover 7 top tips for growing, harvesting, and enjoying tomatoes from your home garden—when you access the FREE guide The Best Way to Grow Tomatoes, right now!

What exactly is fermentation?
Fermented foods and drinks have been around for centuries. Though drinks like kombucha may seem trendy and new, the tea likely originated in northeastern China some 2,000 years ago, according to the Encyclopedia Britannica.
Kimchi, which is very understandably gaining popularity across the globe, originated in Korea some 3,000 to 4,000 years ago. And sauerkraut has been popular in Germany since at least the 1600s. As an interesting side note, it’s very likely that the well-loved German dish actually originated in China and came to Germany through years of trade, travel, immigration, and war.
Why so popular? Aside from tasting great, fermented foods are long-lasting and shelf-stable. Fermenting lets you preserve fresh vegetables that would otherwise not last through long winter months of storage. But what exactly is fermentation?
The BBC writes that fermentation happens when “microorganisms like bacteria, yeast or fungi convert organic compounds like sugars and starch into alcohol or acids. These act as natural preservatives and improve the taste and texture of fermented foods, leaving them with a distinctive strong, salty and slightly sour flavour.”
Fermentation gives us food and beverages like sourdough bread, cheeses, buttermilk, and beer. There are also different types of fermentation. Natural fermentation happens through the action of live cultures. This means that, even though many fermented foods can have a vinegary taste, adding vinegar does not ferment foods (although it does pickle them, which is another preservation method).
Fermentation is also easy, which may be part of the reason it’s been around for thousands of years. All you need are your vegetables, water, and salt. Some fermentation recipes call for a starter, but that’s not always the case.
So shall we talk about how to make fermented vegetables? I’ll link some recipes below, but here are the basics.
How to make fermented vegetables in 3 super easy steps
It’s true, there really are only three steps to fermenting.
- Chop your vegetables to the desired size.
- Add them to a jar.
- Fill the jar with water and salt (one tablespoon of salt for each cup of water).
That’s it. So how about some recipes you can try out? We have a few articles on how to make fermented vegetables that are all quite tasty.
How to Preserve Zucchini and Summer Squash 5 Ways
15 Tips for Safely Storing Food Without Refrigeration From Your Garden
How to Make Pickles from Garden Cucumbers Without Canning
I’d also recommend checking out Signs of Food Spoilage in Preserved Vegetables.
Have you learned how to make fermented vegetables before? Is there anything you’d add to this?
Discover 7 top tips for growing, harvesting, and enjoying tomatoes from your home garden—when you access the FREE guide The Best Way to Grow Tomatoes, right now!


Do you have to go through the canning process if you want to keep a long time for the eggs and red beets?
Daikon Radish Kimchee
*****
Makes: ?
Ingredients:
8 Pounds Daikon Radish or Turnips Root, Cut Into 2 Inch Matchsticks
1 Cup Garlic, Crushed
1 Cup Ginger, Slivered
1 Cup Crushed Kimchee Red Pepper
2/3 Cup Salted Shrimp Sauce
1/4 Cup Sesame Oil
4 Teaspoons Sugar
1/3 Cup Roasted Sesame Seeds
1/2 Cup White Vinegar
Directions:
1. Soak the cut radish or turnip in heavily salted water in a bowl with a weighted plate on top to hold it under the water. Leave it sit on the counter top for 8 to 12 hours. For Salt water solution, mix 1 gallon of water and 1 cup of non-Iodine salt for every 5 Lbs. of root. After soak time is up dump into a colander, squeeze lightly and let drain toughly.
2. Toughly mix the following together: The root, garlic, ginger, red pepper & shrimp sauce. Then continue to add the remaining ingredients, one at a time, mixing after each item is added.
3. Pack the mixture into quart jars very tight. Divide left over liquid evenly between the jars. Put lids loosely on the packed jars and let them set on the counter top or in the garage for 72 hours for gassing off. Next tighten the lids and refrigerate for up to 18 months.
Dan’s Pickled Beets & Eggs
Makes: About 1/2 Gallon
Ingredients:
Beets & Eggs
3 Pounds Unpeeled Beets, Trim, Leave 1 1/2 to 2 Inches of stem & 1 to 2 Inches of Root
3/4 Cup White Vinegar
3 Tablespoon Salt
1 1/2 Cup Onions, Sliced 1/4 Inch Thick
7 Extra Large Hard Boiled Eggs per 1/2 Gallon Container
Pickling Liquid (About 1 Quart)
2 1/2 Cups White Distilled Vinegar
1 1/4 Cup Water
2 1/4 Teaspoons Salt
2 1/4 Teaspoons sugar
1 Teaspoons Ground Cayenne Pepper
1 1/2 Teaspoons Fresh Garlic, Minced
Directions:
1. Beets Place beets in a large covered pot with enough water to cover beets. Add vinegar and salt, bring to a boil over medium-high heat, reduce heat to medium, cover, and cook for 35 minutes or until fork-tender and skins are easily removed. Set aside and let cool enough to handle.
2. Drain beets, cut off stems, slip off the skins, cut into 1/4-inch slices and place into a storage jar. Place sliced onions on top of beets.
3. Eggs Place eggs in a separate uncovered pot. Sprinkle with baking soda and fill with water until they float free from bottom. Bring water to a heavy boil over high heat. Remove pot from heat. Cover and let stand for 10 minutes. This helps the eggs from turning green around the yolk. Rinse eggs under cool tap water then plunge into a bowl of Ice water for 5 minutes. Peel and place in the jar with the beets and onions.
4. Pickling Place all pickling ingredients in a covered pot. Bring to a boil over high heat, stirring occasionally.
5. Then Pour pickling over beets and eggs until they are cover by at least 1/2 inch and let cool. Place lid on containers and refrigerate.
6. Refrigerate for several days making sure the eggs are submerged in liquid at all times.
Note:
1. Leaving part of the stems and roots on the beets and adding vinegar during the cooking cycle helps to prevent bleeding and keeping their nice rich color. Because their color can stain your hands, you may want to wear rubber gloves when handling them.
2. Eggs are pickled in 24 hours.
3. About 1 Quart of pickling liquids will fill a 1/2 gallon container of pickled beets and eggs.
4. Refrigerate up to 1 Month. (I’ve stored them for 1 year with no problems.)
5. 21 pounds of beets that have been cooked and skinned will fill about 7 each 1/2 gallon containers.
After you put vegies in jar and add water and salt do you have to put them through the canning process???