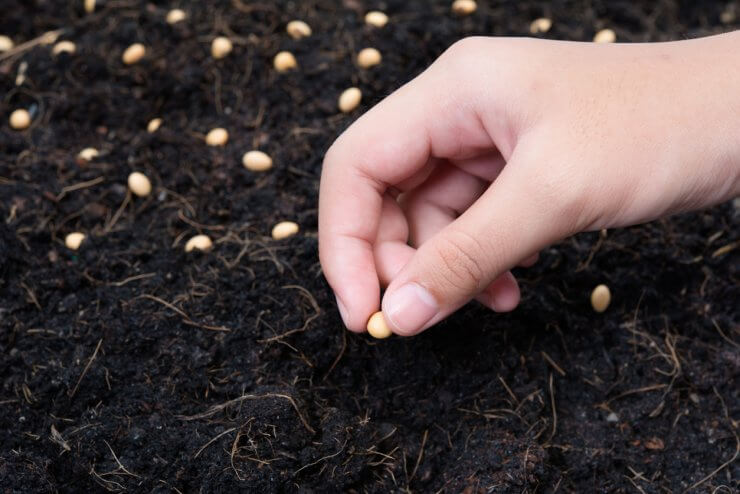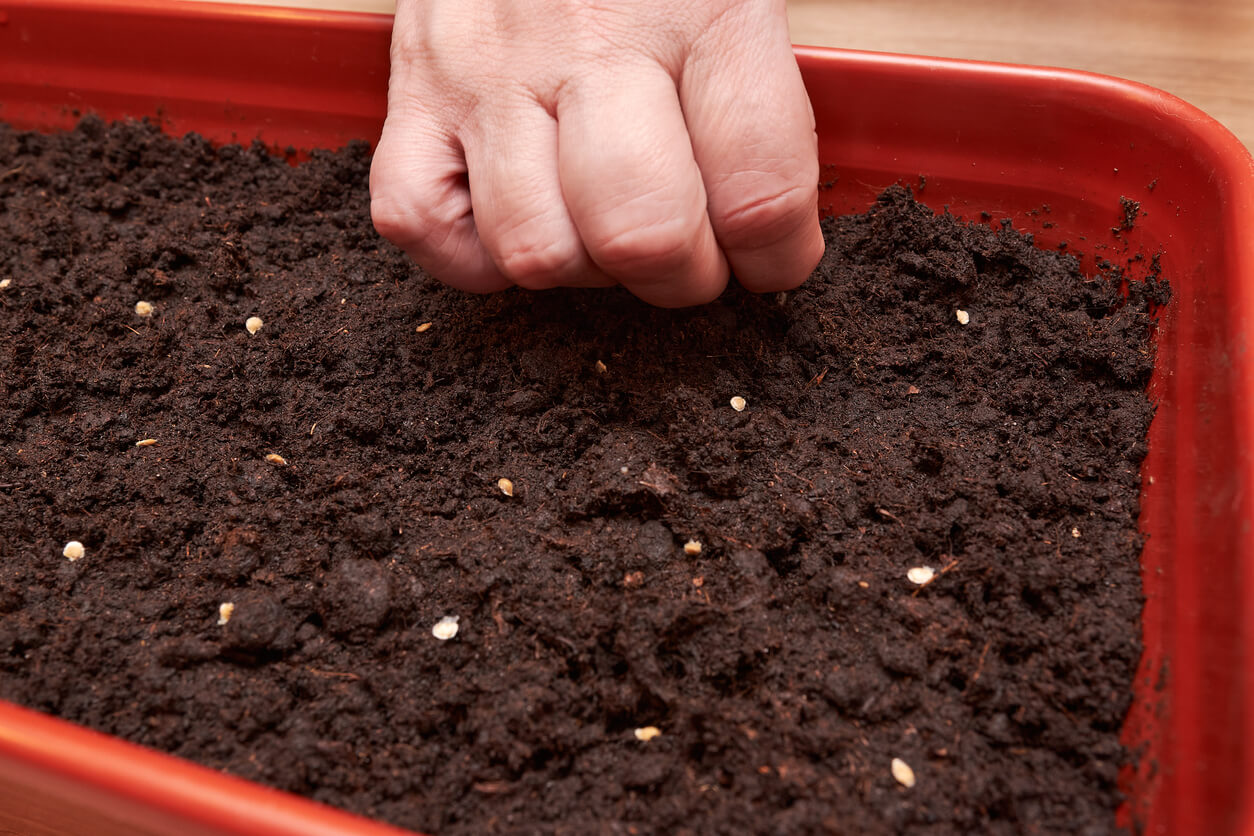
If you think about it, the idea of surface sowing seeds isn’t that radical. I can guarantee there aren’t many gardeners carefully measuring out the perfect depth to plant dandelion seeds, and yet, they are everywhere. Blown randomly about by the wind, the seeds land in your yard, along well-trodden paths, and thrive in that small crevice within a broken concrete slab.
That’s the case with many wildflowers, too. Seeds are carried by the wind, or passed through the intestines of songbirds and dropped on the surface of the earth. What about vegetables, though? Will surface sowing work? And what considerations are there?
Discover 9 garden recipes spotlighting the delicious possibilities of home gardens—when you access the FREEBIE Recipes from Your Garden, right now!

How to make surface sowing work like a charm
For as long as I’ve been gardening, and even before that, I’ve been amazed by seeds. That something so tiny contains the energy and material to grow into the vast array of fruits and vegetables we eat is astounding. Of course, agricultural practices help things along, but really, that’s just an addendum.
One of those agricultural practices that we humans have learned about in our thousands of years of gardening is that seeds do best when they’re planted at specific depths. Generally speaking, larger seeds need to be sown a little more deeply into the soil, while small seeds do better with very minimal amounts of soil on top.
It’s those small seeds, like mustard seeds or lettuce seeds, for example, that prefer surface sowing. There are some differing definitions of what surface sowing is. Some gardening resources describe it quite literally, in that the seed sits on the surface of the soil. Others consider any seed with just a dusting of soil over it to be surface sown.
For our purposes, we’re going to go with the second definition if for no other reason than these tips are appropriate whether the seed is literally on the soil surface or just underneath.
1. Read your seed packet. I realize this is kind of a boring tip, but do this and I promise the results will astound you. Remember, those seeds only have a certain amount of energy stored up, so if they get planted too deeply and can’t make it to the surface before that energy runs out, it’s over. Plus, seed packets have all sorts of good information on them, such as how much space to give your vegetables and when it’s okay to plant them outdoors or start them indoors.
2. Know your measurements. Some vegetable seeds, like red peppers or tomatoes, only need to be covered with 1/4 inch of soil. That’s less than the width of an iPhone. You could also make it easy on yourself and use a tool like the Fiskars Seed Planting Garden Trowel with debossed measurements on the blade.
3. Moisten the soil before planting. One of the significant issues with surface sowing is that it’s so easy for splashing water to carry your seeds away or bury them underneath too much soil. An easy way to prevent this is to moisten the soil first, especially for those seeds that you plant directly in your garden or raised bed.
4. Use a tool to help you distribute seeds. Again, why not make it easy on yourself and use a tool to help distribute the seeds? That way, you can space them out appropriately, and you don’t end up with half a dozen dropped into one spot. I haven’t used this one yet, but am thinking I might pick it up for next season.
5. Press the seed in. This tip for surface sowing comes from Texas A&M University. They suggest that “Due to the extremely small size of the seed, the area should be prepared and the seed sown directly on the surface of the soil, then pressed or rolled in. DO NOT COVER.”
5 Must-Have Tools for Surface Sowing
While surface sowing can be done with just your hands, having the right tools can make the process easier, more precise, and more efficient. Here are five tools you can buy to enhance your surface sowing experience:
- Precision Seeder: A precision seeder, like the Chapin Precision Garden Seeder, allows you to sow small seeds accurately and quickly. It creates a shallow furrow, drops seeds at the correct spacing, and lightly covers them – perfect for surface sowing larger areas.
- Hand-Held Seed Dispenser: For smaller areas or containers, a hand-held seed dispenser like the Coolrunner Seed Dispenser can be invaluable. It allows you to control the flow of tiny seeds, preventing waste and ensuring even distribution.
- Soil Thermometer: While not directly used for sowing, a soil thermometer like the REOTEMP Garden and Compost Thermometer is crucial for determining when it’s the right time to sow your seeds. Many surface-sown seeds are temperature sensitive, so this tool can greatly improve your success rate.
- Misting Nozzle: A gentle misting nozzle attachment for your hose, such as the Orbit 10-Pattern Nozzle, is essential for watering newly surface-sown seeds without displacing them. The fine spray helps maintain moisture without disturbing the soil surface.
- Seed Roller: After sowing, a seed roller like this Lawn Seed Roller can help press the seeds into contact with the soil without burying them too deeply. This is especially useful for larger areas where hand-pressing would be time-consuming.
Remember, while these tools can make surface sowing easier, they’re not absolutely necessary. Many gardeners successfully surface sow using just their hands and basic gardening tools. However, if you’re looking to streamline your process or work with larger areas, these tools can be a worthwhile investment.
What tips am I missing here? Are there steps you take when you’re starting seeds right near or on the surface of the soil?


I live in Florida. How can I protect my surface down seeds from squirrels?
I think you might find this article helpful.
https://foodgardening.mequoda.com/daily/garden-design/types-of-vegetable-garden-screens-for-pretty-pest-control/