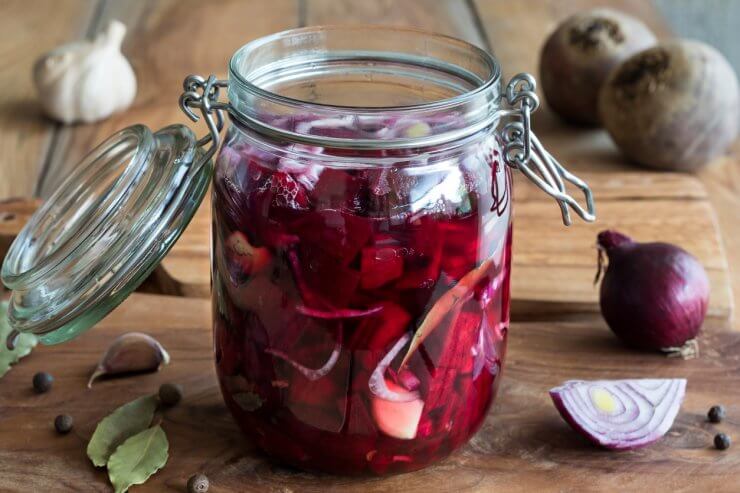
Preparation of fermented beets in a glass jar
If you’ve taken advantage of succession planting and you went wild with beet seeds, you’re going to have a lot of beets on hand come harvest time. What to do with them?
Separate
Your first step is to separate the beetroots from their leaves. Both parts are delicious and nutritious, but they need slightly different treatment.
Cut or twist the greens to separate them from the beet roots, leaving an inch or two of stems attached to the roots. Wash the greens, dry them, and put them in a produce bag in the fridge. They’ll keep for up to two weeks in a crisper drawer.
If you plan to eat some of the beets right away, wash them thoroughly. If you’re planning some long-term storage, leave the garden soil still clinging to the roots right where it is. Put your beetroots in a ventilated box or basket in the shade until the soil dries up, then gently brush it off.
Freezing

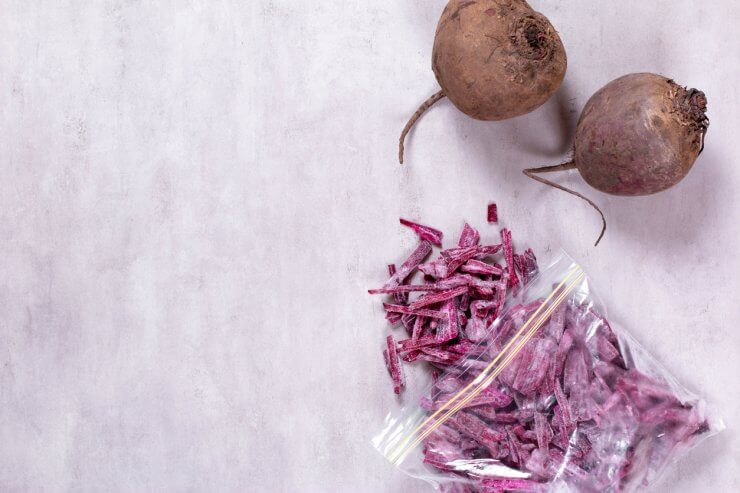
Frozen beets in a plastic bag
You can freeze both the leaves and roots but be forewarned: freezing changes the texture of beets. You might want to freeze a test batch to see whether you like the way they turn out. Raw beets tend to take on a grainy texture after freezing. Cooked beets tend to taste better after freezing.
Consider cooking your beets before freezing for improved texture:
- Boil the beet roots whole for about 30 minutes, or until they are fork-tender. Alternatively, roast whole beets in a 375 degrees F oven for about an hour.
- Transfer cooked beets to an ice water bath and remove the skins (they should slide off easily).
- Cut, chop, or slice beets as you like.
- Spread them out in a single layer on a parchment-lined baking sheet and freeze them completely.
- Repackage frozen beets into freezer bags or containers.
- Use within a year.
- Defrost before cooking.
If you have a vacuum food sealer, use it to prevent freezer burn and extend the storage life of your beet crop.
For the leaves, just wash, dry, chop, and bag, then remove the excess air and toss in the freezer. Use the greens later just like you would spinach.
Fermentation
Fermenting is a simple and healthy method of preservation, and a great way to take advantage of the nutrients in beets. All you need is water, salt, and the spices of your choice to get the fermentation going.
You’ll need 1 tablespoon of salt for every 4 cups of water to make your brine solution. Put your chopped beets into your fermentation jar and pour in just enough brine to cover them. If you have a fermentation set, you probably have glass weights to help keep the beets submerged in the brine, and one-way valve inserts to keep the jars from overflowing.
If you don’t have a fermentation kit, you can fill a ziplock bag with water to use as a weight. The goal here is to keep the beets submerged in the brine.
Tighten the lids on your jars and keep them in a dark spot at room temperature. The fermentation process will get going, with healthy bacteria feeding off the sugar in the beets, and producing lactic and acetic acid, which will preserve your crop as well as provide healthy probiotics for your digestive system.
In a few days, the jars should start bubbling. Check it every few days; when it tastes salty and a little sour, it’s ready. Take out the weight and get a good solid lid. Store your preserved beets in a tightly sealed jar in the fridge. They should be good for up to three months—if they last that long!
Pickling

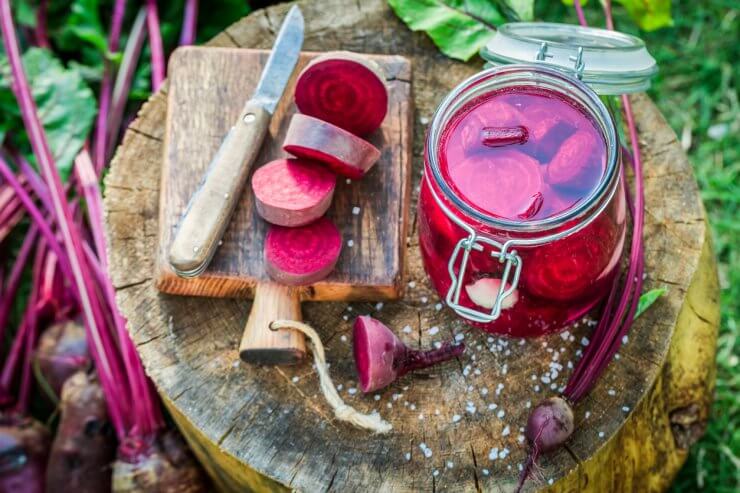
Pickled beetroots
Quick pickling is an easier method of preserving your beets. Keep in mind that they’ll only keep for up to a month:
- Cut about 2 pounds of beets into matchstick strips and put them into glass jars along with sliced garlic cloves and any other pickling spices you prefer.
- Combine 1 cup white vinegar, 3 cups water, 1/3 cup salt, and a tablespoon of sugar in a pot.
- Bring the mixture to a boil.
- Pour it over your beets, leaving about a 1/2 inch of head space at the top.
- Cover the jars with tight-fitting lids and let them cool.
- Refrigerate, undisturbed, for at least a day.
- Eat within a month.
Canning
Canning is a time-honored preservation method—and one you should only pursue if you have the right equipment. You must be careful to follow all canning directions to the letter in order to avoid botulism in your canned goods. We have a post in Food Gardening Daily that provides 10 rules to live by for pressure canning safety.
Dehydration

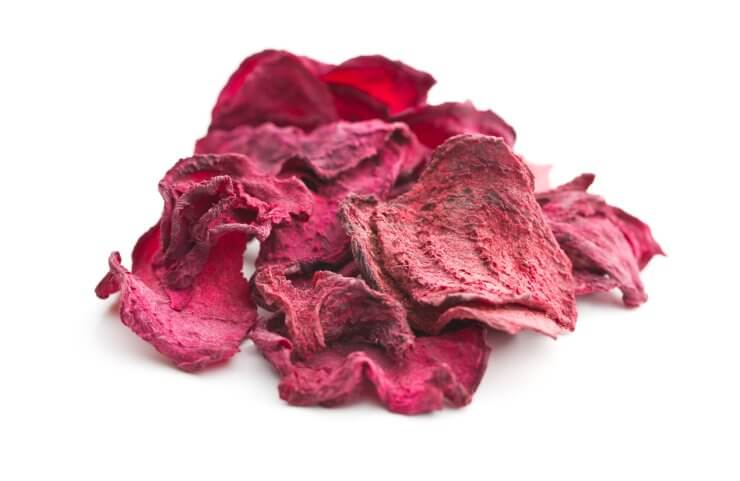
Dried beetroot chips
You can also dehydrate your harvested beets. Slice your beets evenly and spread them out in a food dehydrator for about eight hours, or eight to 10 hours at 300 degrees F in the oven. An oven with a convection setting works best for this.
You can also use an air fryer to make beet chips in small batches.
Dried beets can be rehydrated for use in soups and stews. You can also grind or pulverize dried beets for use in soups, stews, smoothies, baking, and more.
Burying
If you’d like to store your beets long-term, get yourself a storage crate or bucket. Pour clean sand or sawdust into the bottom of the crate, layer in some beets, then add more sand or sawdust. Continue layering until you have a top layer of sand or sawdust.
Store your crate or bucket in a well-ventilated cool location—a root cellar, garage, or basement. Beets will store best this way at a temperature range of 32 to 40 degrees F with a relative humidity of 95%.
How frequently do you harvest your beets? Please tell us what you look for when getting ready to harvest, and how you preserve your harvest.


 Previous


About fermenting the beets, do you peel them before you ferment them? Do you ferment them raw of do you cook them before hand?