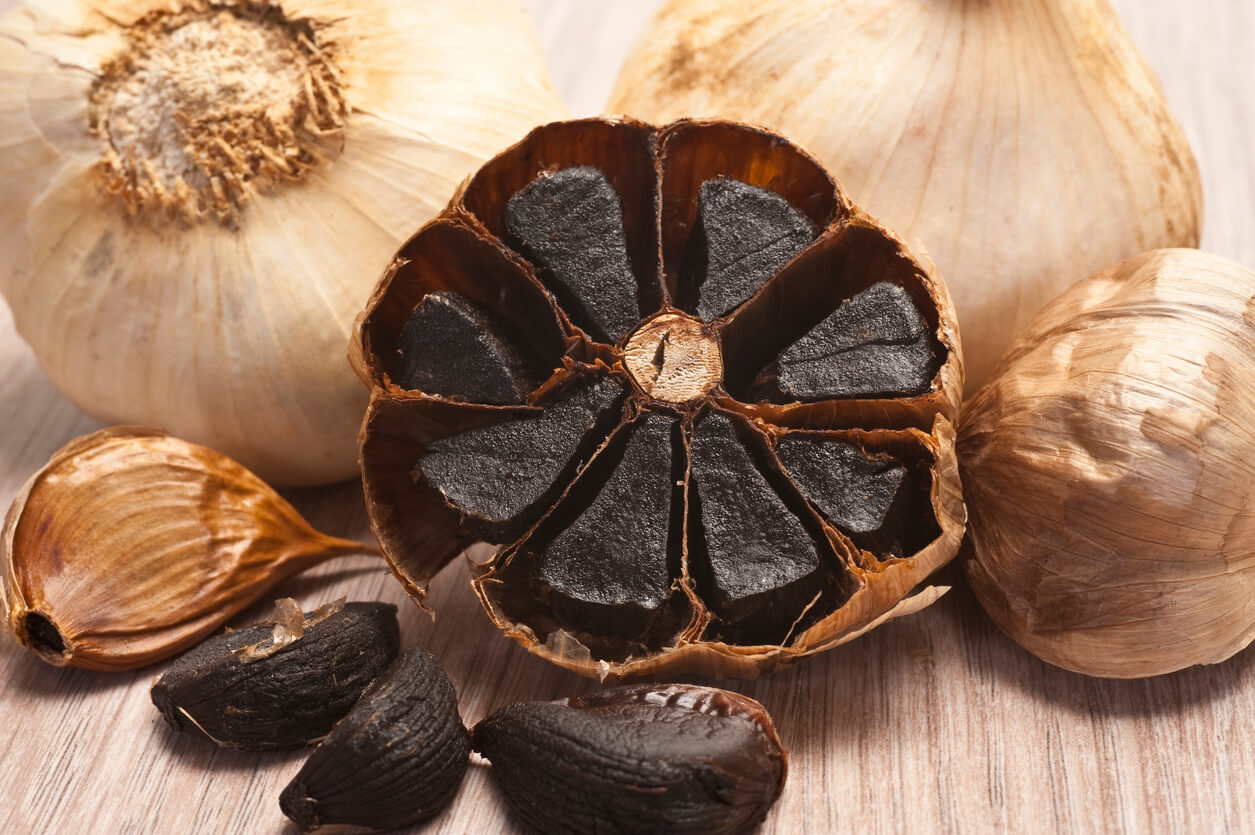
Hints of caramel and molasses. Sweet, smoky notes on the back of the tongue. A little tartness à la balsamic vinegar or tamarind. If this sounds delicious, you might be wondering how to make black garlic.
But first, you might be wondering what black garlic is. It’s not burnt, even though it may look that way. And it’s not to be confused with fresh garlic that’s infected with black mold.
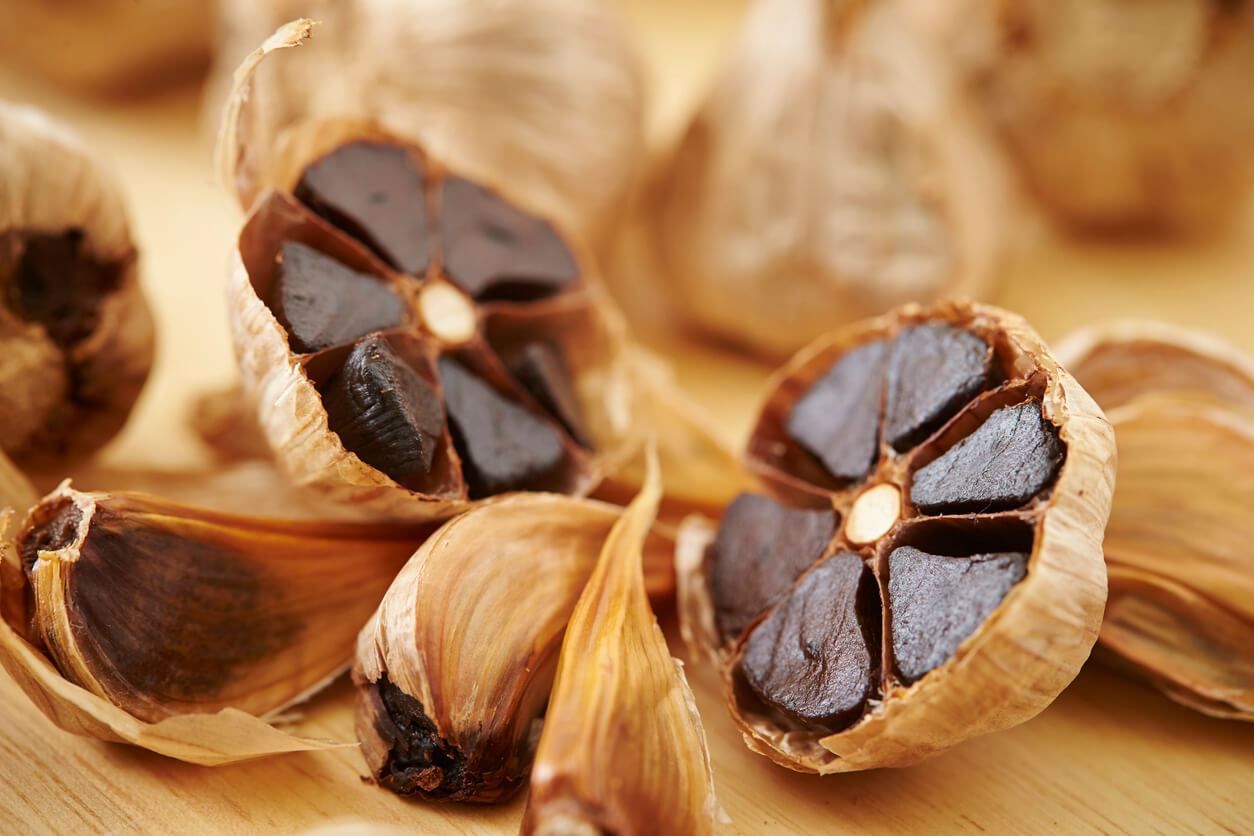
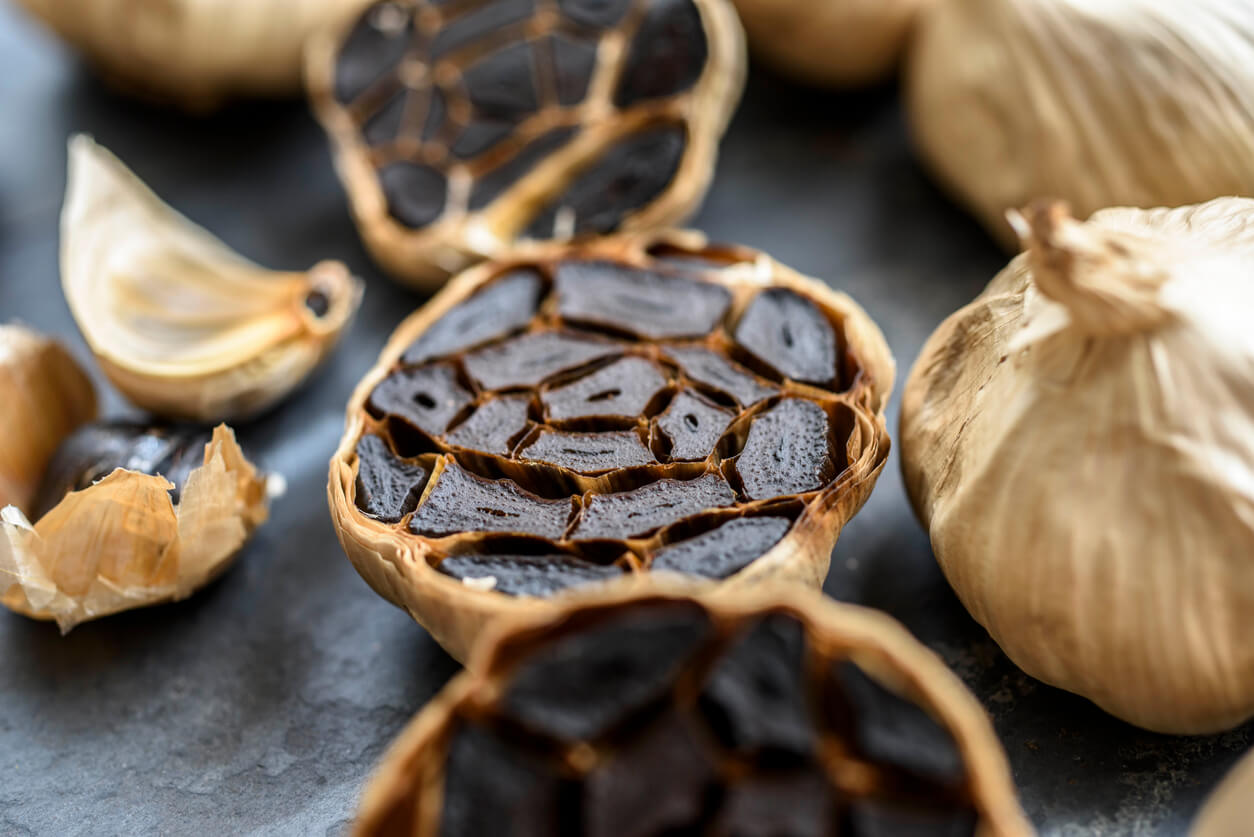
Black garlic is fresh garlic cooked low and slow–about three weeks, to be exact. The result is soft, chewy garlic cloves that have the consistency of dried fruit and a sweet and savory taste that goes well with any number of dishes.

What IS black garlic?
First, black garlic is not a new or rediscovered heirloom variety of garlic. It’s plain old white garlic that gets heated at a low temperature and an appropriate amount of humidity for several weeks. Think of it like caramelized onions. When you make caramelized onions, you slice the onions thinly and cook them with just a tiny bit of oil at a very low temperature for 20 to 30 minutes (give or take a bit).
These caramelized onions are sweet, savory, and mellow. They can be any variety–it’s the process of slow cooking over low heat that changes their flavor profile.
It’s the same concept in thinking about how to make black garlic. The process is a lot slower, of course, but it’s still slow, gentle roasting that transforms regular white garlic into a unique and interesting culinary treat.
The history (and controversy!) of black garlic
The history of black garlic is somewhat controversial, and there are several sources willing to take credit for its discovery. By some accounts, making black garlic is an ancient practice from Japan, Korea, and/or Thailand. A Korean gentleman by the name of Scott Kim also claims to have invented black garlic in the early 2000s. In addition, I found the story of a Korean family in Toronto who claim that their family has made black garlic in clay pots for more than a century.
Even the process is up for debate in some circles. You may see black garlic described as “fermented”, while other sources will tell you it’s anything but that. Rather than fermented, the black color is the result of a normal chemical reaction.
Here’s what we do know. Black garlic is darn tasty. It also has a number of health benefits.

The health benefits of black garlic
Interestingly, there have been a number of scientific studies on the benefits of black garlic. Here is just a small list of them:
- higher antioxidant properties as compared to fresh garlic
- higher antimicrobial properties as compared to fresh garlic
- number of polyphenols and flavonoids increases throughout the process of making black garlic through day 21
- reduces total cholesterol
- reduces atherosclerosis
- may have properties that can decrease the incidence of neurodegenerative diseases
Is black garlic a miracle cure? We probably all know better than to believe there’s a simple cure to everything that ails us. However, black garlic does have some potentially exciting health benefits. And hey, if it tastes so good to ensure good health, that seems like a win-win if you ask me.

How to make black garlic
Okay, the moment you’ve all been waiting for! Let’s go over how to make black garlic. It’s actually pretty easy. It does, however, take some time. And you’ll need a rice cooker, slow cooker, or dehydrator to get the job done. What we’re going for here is a temperature of around 150 degrees Fahrenheit and a fair bit of humidity.
First, a warning. I love the smell of garlic as much as anyone. But slow-roasting garlic like this does produce a pretty powerful aroma. You may want to consider doing this culinary work in a garage or somewhere that you have excellent ventilation.
To begin, grab your garlic bulbs. Leave them as is unless they’re particularly dirty. If that’s the case, just dust off the dirt with a soft brush. You want to keep the skin as intact as possible. Trim any long roots, as well.
Next, turn your slow cooker or rice cooker to the warm setting. Do not turn it to low. That will be too hot and will ruin your garlic.
Place your garlic bulbs into the cooker with a little space between each of them. Cover and let “cook” for about three weeks.
During this time, you’ll notice the garlic slowly turning darker. If you’re feeling anxious after about two weeks, remove one bulb of garlic and gently press your finger into one of the cloves. Most likely, you’ll notice that it’s hard and black. That’s okay. Place it back in your cooker and walk away for another five to seven days.
At this point, you may notice that the garlic cloves have shrunk a little, and they are soft to the touch. Pull one clove from the bulb and peel back the paper. The garlic should be soft and chewy and oh, so delicious.
You can spread the black garlic on toast or use it in an omelet. It’s great with avocado toast or mixed into a garlic butter.
If you liked this article on garlic, we have a whole gardening guide on garlic that you will love. Be sure to check out Glorious Garlic: From Garden to Table. Learn about the different types of garlic, how to plant and care for them, what to do about common garlic pests and diseases, and get several mouth-watering, delicious recipes highlighting the wonderful flavor of garlic!


 Previous


It is a wonderful instruction that helps me how to make black garlic.