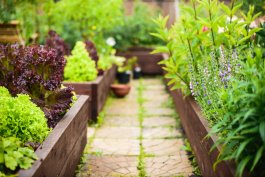
Is it misleading to say that every garden is beautiful? And the best garden layout for vegetables to thrive is more about science than aesthetics? I’ve seen gorgeous gardens with meticulously shaped rows of brightly colored vegetables and flowers. I’ve also fallen in love with simple container gardens holding little more than green leaf lettuce and a few herbs. Some of my favorite gardens, though, are the gardens that take advantage of native plants, companion planting, and environmental considerations.
Why those factors? Native plants help attract pollinators, and they’re well-adapted to your climate. Companion planting is good for attracting pollinators, beneficial insects, and reducing the impact of garden pests. Some of the environmental considerations for a healthy garden include things like taking advantage of the direction of the sunlight and using taller plants to shade plants that like less intense sunshine.
If it all sounds overwhelming, it is! I just re-vamped my garden by expanding and adding all-new raised gardens and trellises. What was once a garden layout on autopilot has been shaken up, and it was more stressful than I thought it would be.
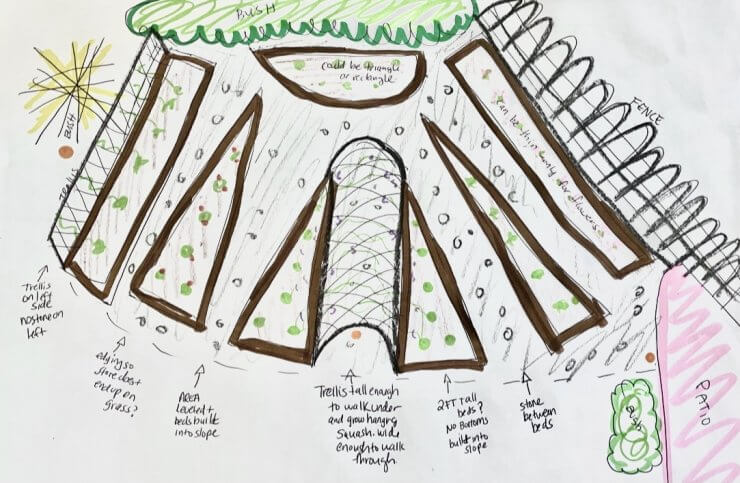
This is how my new garden design started out. I envisioned a half sun with almost all triangle-shaped boxes in a circle, our sloped garden leveled, and then just a sprinkle of magic. I imagined trellises covered in pea vines, and an arbor covered in squash and melons.
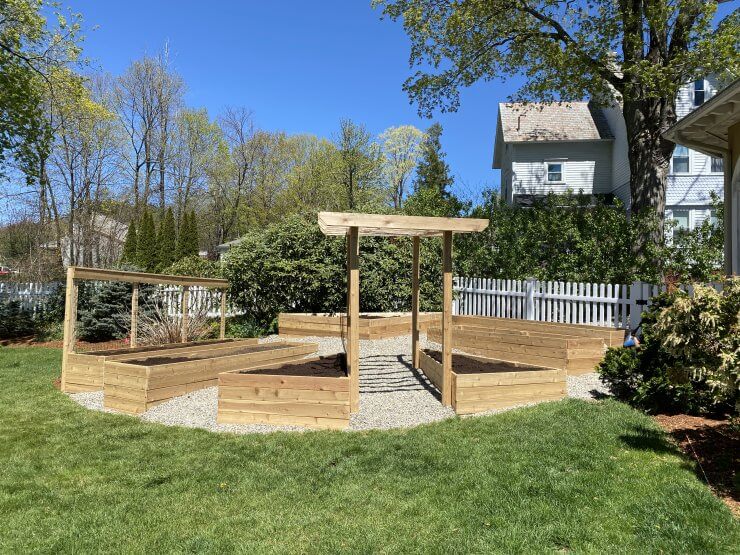
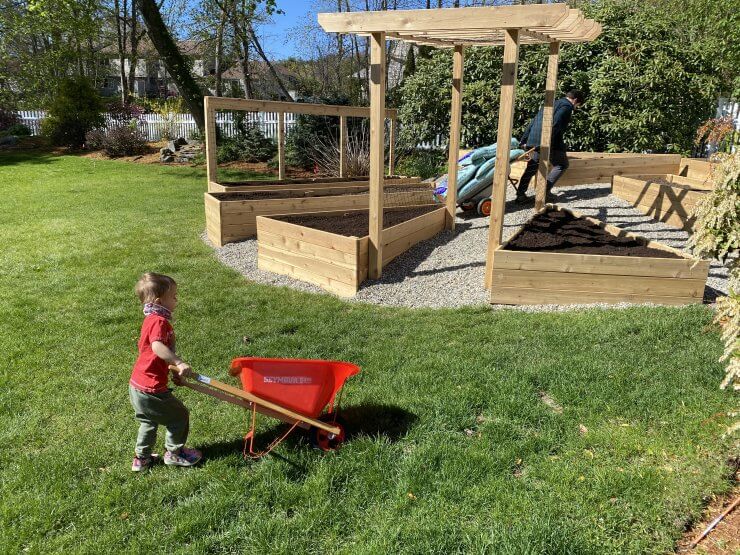
Flash forward a month later, and my beautiful garden is now complete. It’s built with cedar, which should last ten to twenty years. Leveling the area was more difficult than expected, so it’s still on a slope, and the raised beds are built into the slope, which is fine. The stone does tend to roll down a bit (thanks gravity) but overall, I love it, it’s a total stunner, and a huge upgrade in space. I was able to get a dump truck full of compost that came highly recommended from another gardener to fill the beds, and that’s something to consider when building a number of raised garden beds – you’re not going to be filling it with those bags from the gardener’s co-op.
But there are a few things that are helping me come up with the best garden layout for vegetables and herbs in all this abundant new space. Frankly, it was easier when I was shorter on space, because before I didn’t have enough room, and now I don’t want any space to go to waste! For me, this was like starting all over again, so I thought it might be helpful to share with you my process for designing the best garden layout and the tools I used to do it.
7 creative ways to discover and design the best garden layout for vegetables in your space
1. Choose your location. Before you start planting, choose a nice sunny spot and watch it for a day or two. That spot that gets plenty of morning sunshine could be entirely shaded by noon, so keep an eye out. My garden gets sun most of the day, but after watching it this spring, I’ve seen two half-beds that will be good for lettuces and other vegetables that prefer shade.
2. Find your north star. Pro tip: If you aren’t accustomed to using nautical navigational instruments, you can do what I did – pull out your smartphone, and use the compass feature to find your directions. If you’re going with rows, plant them south to north, with the shortest plants on the southern side and the tallest ones to the north. Why is this the best garden layout for vegetables and fruits to grow strong and healthy? This keeps your tall plants, like tomatoes, from shading the sun-loving short veggies, like summer squash or strawberries. Garden planning apps usually have a compass to help.
3. Pull out the pen and paper or a good garden planning app. You saw my drawing above. That was just to design the garden. Formally planning the best garden layout for vegetables is a step you should skip at your own risk. Many a gardener has planted way too many seeds or bought way too many seedlings for the space they have. Not that anyone here would do that… In all seriousness, though, sketching your garden design helps you determine the best garden layout for vegetables, herbs, and fruits before you get too far along. You can think more critically about things like companion planting and how much space you need for your plants. I used the Smart Gardener app, my favorite in my list of garden planning apps, though GrowVeg was a close second. I like that they give assistance when it comes to companion planting.
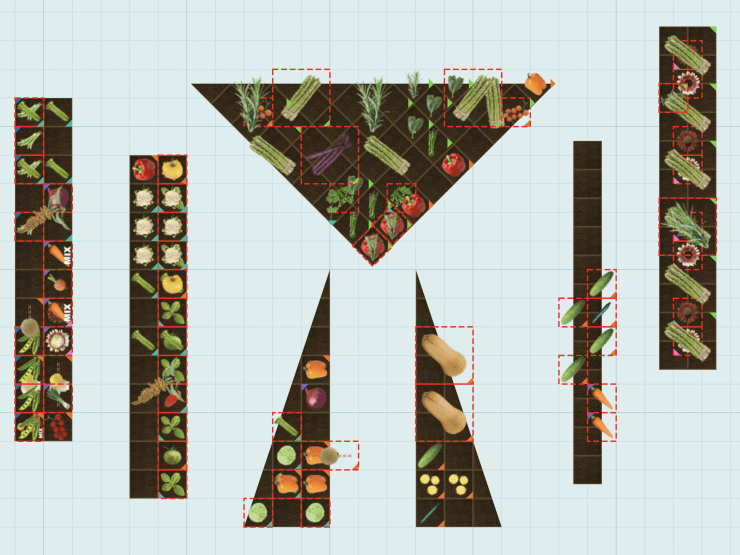
4. Research companion planting. This is where I spent the most time planning out my vegetables, and I’d be lying if I told you it didn’t give me analysis paralysis.
Think about how much you want to fill in your beds. While you do need to leave room for your similar plants to stretch out and grow, you can still fill in the spaces with compatible herbs, other vegetables, or native plants. You accomplish several goals with this approach, too. For example, you can plant basil right beside your tomato plants. The basil helps deter a number of pests. Plant native flowers, and they’ll attract bees that will then pollinate your nearby squash. Filling in the spaces also leaves less room for weeds. Since herbs can get planted earlier than much of your garden, consider your herb arrangement alongside your vegetables.
There are certain plants that should never be planted together, such as not growing onions and garlic with beans and peas (they stunt their growth) and you never plant cabbage near strawberries. Heck, onions shouldn’t even be planted with other onions because they attract too many pests to each other. The rule of thumb is that plants and herbs that are often eaten together (like tomatoes and basil) can be planted together, but I’ve found that’s not always true. Some gardeners ignore the rules completely, but at the very least I believe that you shouldn’t plant plants in the same area who are all fighting for the same nutrients—which is where companion planting principles come from.
5. Think about access. Remember that you will need to get into your garden to weed, tend plants, harvest veggies, and bask in the joy of a growing garden. How does access work? Essentially, it just means giving yourself space to reach everything. For an in-ground garden, that might mean you have paths between each section. In raised beds, keep them narrow enough that you can reach into the center from every side.
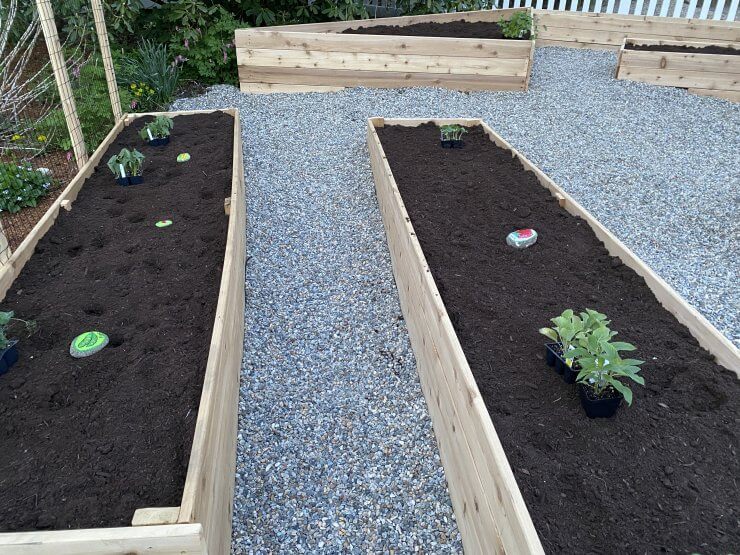
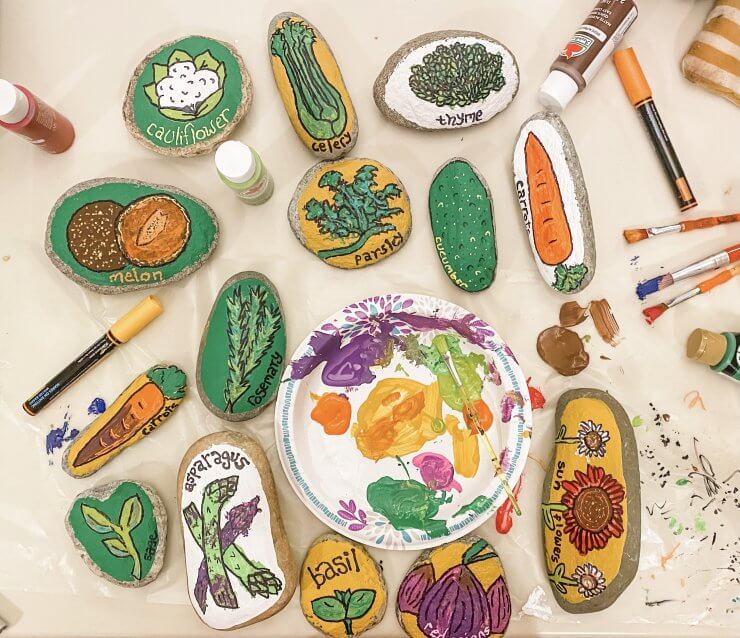
6. Make garden markers: See those stones above? This year, since the garden revamp was stressing me out, I painted garden marking stones. Sure they look pretty, but they allowed me to plot out the garden too! I had to make multiples for some things, like herbs, but I found them incredibly helpful, and highly recommended. I mean, you can always just get the little stakes, but what’s the fun in that? Plus, you can leave them over the winter to remember what you did the prior year if you’re forgetful like me.
7. Consider drip irrigation. One benefit of my new bed layout is that I’ll be able to set up drip irrigation much easier with my beds all in a row, than if I were to come up with some funky geometric design. Most drip irrigation kits come with one long hose and multiple offshoots from that main hose. It’s incredibly easy to set up when you have multiple beds, evenly spaced, all in a row. Anything else, and you’ll be modifying hoses all day to get it right.
Ultimately, the best garden layout for vegetables, herbs, and fruits is whatever you want it to be, to some degree. The main point is to plant your taller veggies on the northern side of your garden and your shorter veggies on the southern side. That way, everyone gets plenty of sunlight. You can go with rows, with groupings of plants, or try multiple raised beds. If you’re getting the results you want, that’s what really matters.
One last piece of advice: plant what you like. Radishes are easy and quick to grow, but there’s no point in planting them if you don’t like them. Indeed, try a new vegetable or a new varietal. That can be a really fun way to experience a new taste sensation. This year I can’t wait to try Pineapple Tomatoes, my seedlings have all sprouted and will be in the ground in a couple of weeks. In the end, this is your garden, and you’ll be cooking with it, so grow what you love, and have fun doing it!
Do you have any tips for garden layout that have worked for you? I’d love to read your ideas in the comments.


 Previous

