Our gardens are a source of so many positive things: nourishment, patience, fulfillment…and of course, literal food. Over the years I’ve gifted many things that have come from the bounty of my garden that I’d like to share with you so that you can do the same.
In the video above, I’ve offered detailed instructions, but you’ll also find them below, as well as links to other craft projects we’ve done in Food Gardening Magazine that would make great gifts.
Beeswax Projects
These first three projects you can make with a single pound of beeswax. You can usually find it at a craft store, online, and at farmer’s markets. Dipping leaves in wax is a favorite past-time of just about everyone I know, based on how many friends I learned were doing it this past fall. And I love me some leaves, but I felt like there was so much more I could do with it, and so I did!
Use a small slow cooker (I have one dedicated to beeswax, but you can also use a crockpot liner) to melt the beeswax, which may take a couple of hours to melt down. If you set your slow cooker to high, the wax will be thinner, and on low, it will be thicker. In general, I keep mine on high.

1. Firestarters
Need: 1lb Beeswax (melted), 1 (or more) paper towel rolls, a few sheets of paper towels, woody herbs from your garden, cotton wicks, wax paper
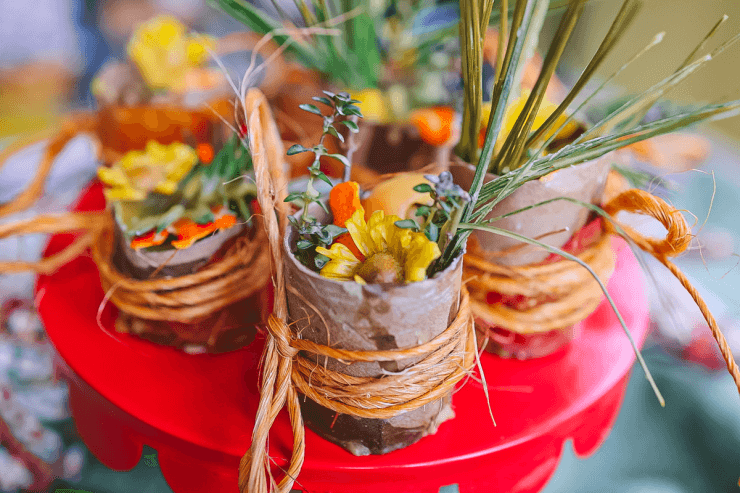
All you need is a paper towel roll, some paper towels, and herbs and debris from your garden. Snip fresh woody herbs from your garden like rosemary and thyme, which are most likely still good to go in the winter months before the holidays. If you have some pine in your yard, snip some of that too, and any small pinecones. Both are flammable and are nice additions to firestarters.
Lay out wax paper, and dip your herbs and pine in the melted beeswax, gently shaking the wax off (otherwise it’ll be thick and yellow, not very cute). Cut your paper towel rolls into 6 circles and stuff a paper towel into each, really tight. Dip the bottom in beeswax, and place down flat on wax paper. Do this for all of them and wait until they cool before proceeding (otherwise the wax might drip out later on without a solid base.) Now, start adding your dipped herbs, pine, and other accoutrements into a visually appealing display, adding a cut piece of wick to the middle. Pour a few tablespoons of wax into the center of each tube, just enough to secure all the fixings and wick, you don’t need to fill it to the top. Tie with (burn-friendly) string, like twine, and gift with some homemade Honey Chamomile Marshmallows for roasting, made with chamomile from your garden (or just buy the tea bags).

2. Herb and Leaf Garland (Dipped)
Need: 1 lb Beeswax (melted), herbs, leaves, string, wax paper
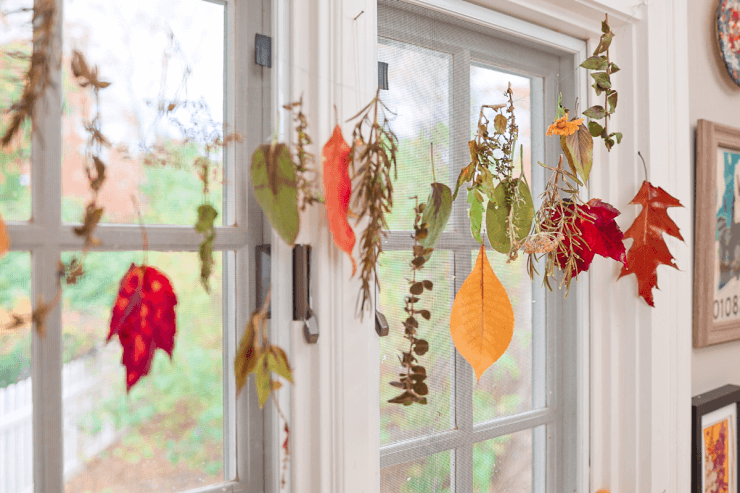
Go out and forage for the brightest, loveliest leaves you can find in the fall (no dead crispy ones, these should be either just dropped or about to drop). Gather herbs from your garden: rosemary, sage, thyme, mint, even tomato sprigs can work.
Lay out wax paper on the counter, then use tweezers to hold the stem of your herb or leave and dip, completely covering quickly, then lift up and shake to get off the excess wax. If the wax is too thick, it will create a thick yellow coating. It’s also necessary to shake so that the sprig or leaf dries a little before you lay it on the wax paper, because it may stick to it if you don’t.
Do this to all your herbs and leaves, and lay down on wax paper to dry. Then, create one main string the length you desire (or use a tree branch, which looks cool!), and tie up each sprig or leaf to it one at a time until you get your desired look.

3. Edible Herb and Leaf Garland (Dipped and Dried)
Need: 1 lb Beeswax (melted), herbs, leaves, string, wax paper
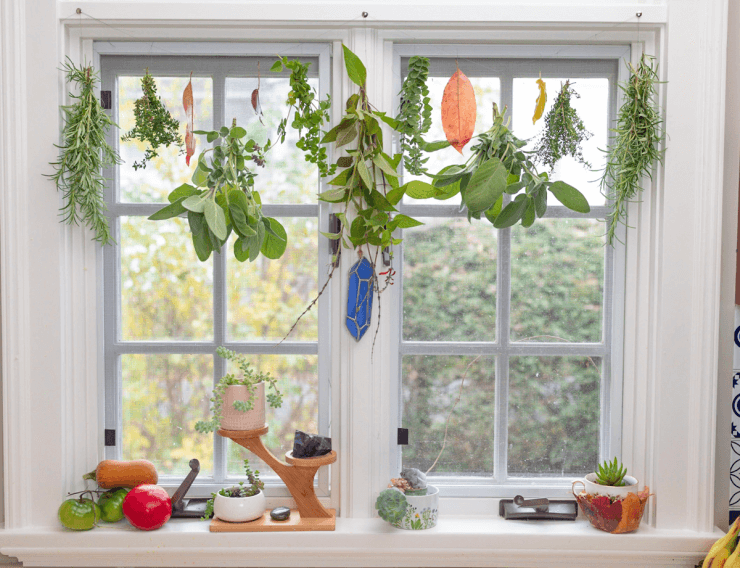
Just like the project above, go out and forage for the brightest, loveliest leaves you can find in the fall (no dead crispy ones, these should be either just dropped or about to drop). Gather woody herbs from your garden that dry well when hung, such as rosemary, sage, thyme, and oregano.
Use your string to tie your herbs in bunches of 5-10 stems, leaving about 12″ of string leftover for each.
Lay out wax paper on the counter, then use tweezers to hold the stem of your leaves. Quickly dip one at a time, completely covering the leaf, then lift up and shake to get off the excess wax. If the wax is too thick, it will create a thick yellow coating. It’s also necessary to shake so that the leaf dries a little before you lay it on the wax paper, because it may stick to it if you don’t. Lay them down on the wax paper after you’ve shaken them a bit.
Create one main string the length you desire (again, a tree branch also looks pretty cool if you have a way to hang it), and tie up each bunch to the main line. Since these are a bit heavy, try to weigh them equally on each side. Keep doing this until all your bunches are hung evenly, then tie a string around your leaves and hang those between your bunches at varying lengths until you get the look you like.
More Garden Gifts You Can Make (with videos!)
A friend of mine passed on to me the idea of adding a sprig of rosemary, tied with ribbon, around your gifts. And as luck would have it, all year long I’ve been sharing garden craft ideas that are perfectly great for gifting!
4. Homemade Bug Spray – A great gift you can make at home for other gardeners, using essential oils that you can make yourself, or buy.
5. Herbs in hand-painted pots – This one’s for the grandparents, and rosemary is particularly easy to transplant from the outdoors into a pot in the late fall. In our How to Paint DIY Plant Pots with Kids video my daughter Ruby and I showed an easy way to get the kids and grandkids involved.
6. Smudge sticks – Many people buy dried sage smudge sticks to cleanse the air in their homes, and if you have a perennial sage bush you probably have no shortage of sage to go around. Simply tie it up with twine tightly, and let hang for about a month, then it should be good to burn! We talked a little bit about it, and other ways to preserve herbs in How to Harvest Fresh Herbs in the Fall to Use All Winter.
7. Seed packets – You know the drill, it’s time to start sharing all those seeds you collected in the fall. Create hand-decorated seed packets to identify them, and gift them to your garden-loving friends. I did a whole video on how to do this, in How to Get Seeds from Your Vegetables to Save for Next Year.
8. Vegetable dyes – We’re all on a mission to reduce the consumption of harmful dyes, and during the holidays people are using a ton of food coloring. Surprise friends and family before their big cooking days, with some homemade vegetable dies, which I showed how to make in How to Make Natural Dyes from Vegetables.
9. Garden stepping stones – This is a beautiful gift you can make so easily. Parents and grandparents alike will love getting permanent little handprints. Others may enjoy some custom mosaics. There are so many ways to make them, and I walk you through the basics in How to Make DIY Concrete Stepping Stones for a Garden.
What are your favorite garden crafts to make from your plots of goodness?


 Previous

