Look, as nice as it might be if anyone who wanted a garden could simply snap their fingers and have perfectly healthy soil, it’s just not reality. That’s one thing that makes raised beds such a great option. But raised beds can be a lot of work to get set up, and for people who don’t own their homes, they aren’t always an option. That leaves us with another possibility: straw bale gardens.
It might sound a little wild, but straw bales make an excellent medium for planting. And since they’re made of straw, they’re entirely biodegradable. You’ll get a season or possibly two out of them, but then they will return to earth from whence they came. There are some important things to be aware of, though. You can’t just toss a few seeds into a straw bale and expect to harvest vegetables a couple of months down the road.
Discover 7 top tips for growing, harvesting, and enjoying tomatoes from your home garden—when you access the FREE guide The Best Way to Grow Tomatoes, right now!

5 Important things to know about straw bale gardens
Okay, so before you run out to your nearest farm and start buying up straw, there are some things you need to know. First, while straw bale gardens have some fantastic benefits, it’s still important to understand what you’re getting into.
1. Hay vs. Straw. Can you grow straw bale gardens with hay instead of straw? Yes. Will you want to? Probably not. Straw is the leftover section of grains such as wheat, rye, oats, and so on. It’s most often dry and lightweight. Hay, on the other hand, is a grass and is usually grown as animal feed. Since it is harvested as the main product (vs. a byproduct like straw), it’s generally heavier than straw and likely still greenish. Most importantly for gardeners, though, is that hay contains seeds and weeds and straw does not. Plant with hay bales, and who knows what else may come up with your radishes.
2. Source your straw. This will be dependent on where you live; however, your local extension program can likely point you in the right direction. Nearby farms are also good places to look, as it’s always nice to buy local and support local farmers when possible. Barring those options, you can also get straw bales at some big box gardening shops, but they will probably cost more.
3. Know your space. A typical straw bale is about 12-14 inches wide by 18 inches tall and is 30 – 40 inches long. This is the type of bale you’ve probably seen at a hay ride. There is a larger size available, as well, which is approximately 17 X 24 X 47, but that gets a little unwieldy, in my opinion. Whichever option you decide on, it’s helpful to measure your space, so you know how many bales to get. You also may want to know how many will fit in your car!
4. Condition your bales! You’ve measured your space, obtained your bales; now what? Successful straw bale gardens require some conditioning before they get planted. The process takes about two weeks, but it’s easy.
- Leave the strings on and facing up. This helps with the structural integrity of the bale.
- Place your straw bales in a sunny location. They need at least 6 hours of direct sunlight each day. If the only spot is on grass, place a layer of newspaper down to avoid weeds growing into the straw. Be aware, however, that this will kill your grass.
- Day 1-3: Soak the straw bales with water and keep them damp.
- Day 4-6: Spread 1/2 cup of urea, bone meal, fish meal, or compost on each bale and water them thoroughly. Do this each day.
- Day 7-9: Spread 1/4 cup of your fertilizer on each bale and water thoroughly. Again, do this each day.
- Day 10: You don’t need to add fertilizer; just water your straw bales.
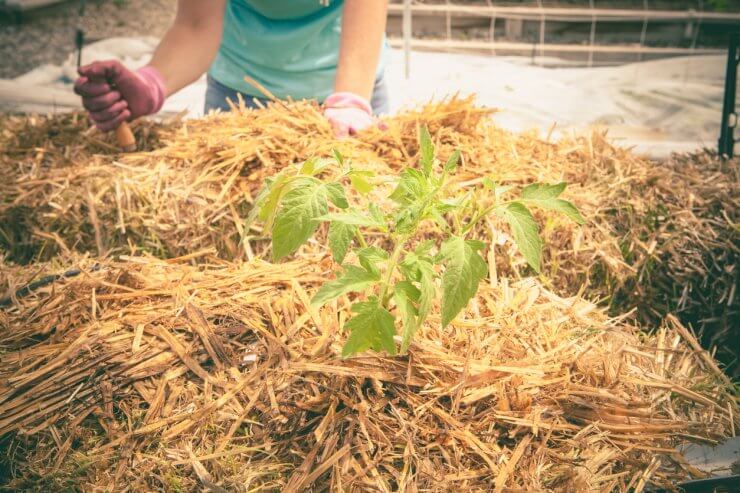
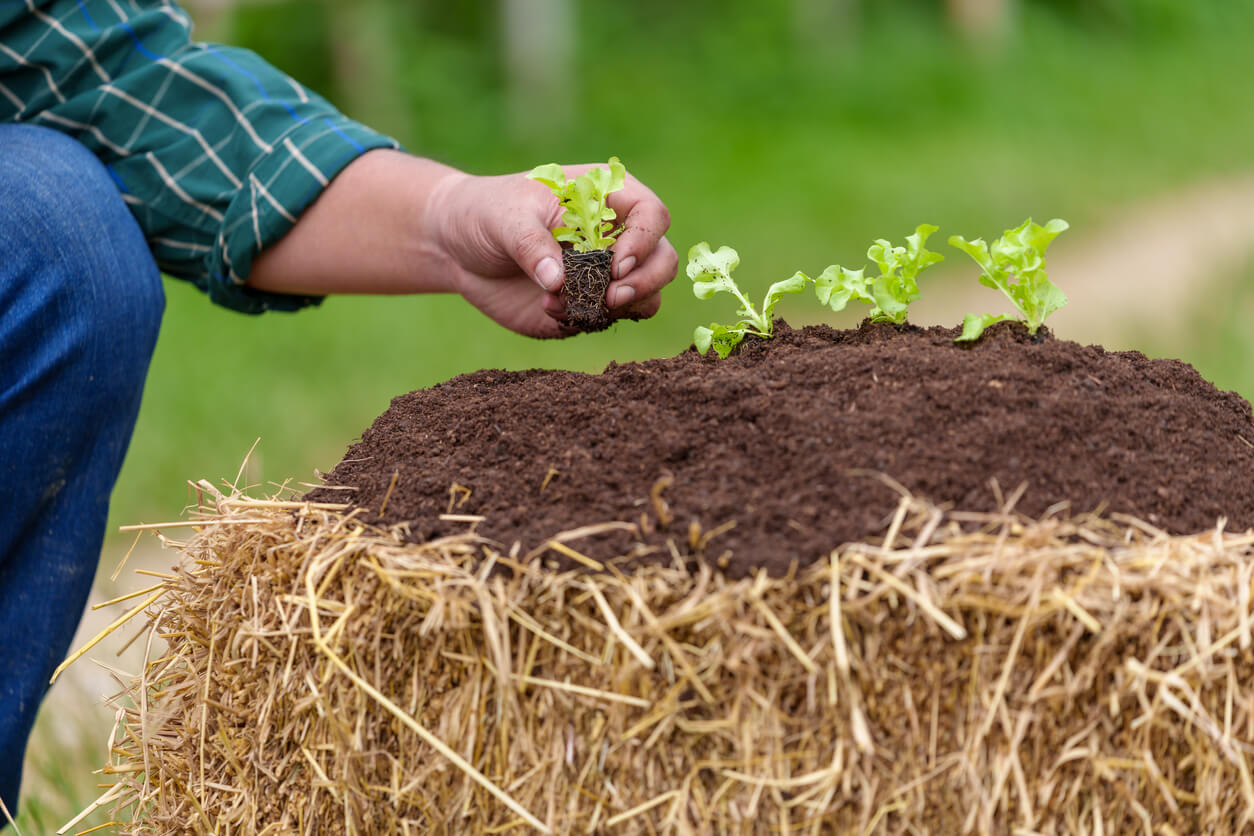
5. Plant your bales. Dig out small holes in your bales and fill them with planting soil. Space plants as you would in any garden. For example, you may only fit two plants like squash that require a lot of space, whereas you might be able to grow a half dozen or so climbing plants like peas. You can also grow herbs and flowers on the sides of the bales.
Caring for your garden
In an ideal situation, straw bale gardens tend to do better with drip irrigation. However, if that’s not possible, don’t stress. Your garden will be just fine. Otherwise, it’s just like caring for any other garden, with the exception that depending on weather conditions, you may need to do some extra watering.
Now, what are you going to plant? Be aware that top-heavy plants like corn, some tomatoes, okra, and others may be difficult for straw bale gardens to support. Aside from that, however, your options are pretty open.
At the end of the season, you can use your straw bales as mulch.
Have you ever had a straw bale garden? What did you plant?
Discover 7 top tips for growing, harvesting, and enjoying tomatoes from your home garden—when you access the FREE guide The Best Way to Grow Tomatoes, right now!


Take care to only use organically grown straw. Much straw has received herbicide treatment with herbicides that can take years to breakdown. I learned this the hard way when I composted chicken bedding (straw) and then contaminated my soil with it, subsequently poisoning some of my plants.
Oh this is such good advice! Maybe this explains why straw mulch killed my plants too last year! I did pine mulch this year and it’s been great.
Great article. Straw is the gift that keeps on giving. I will try this next season. Thank you