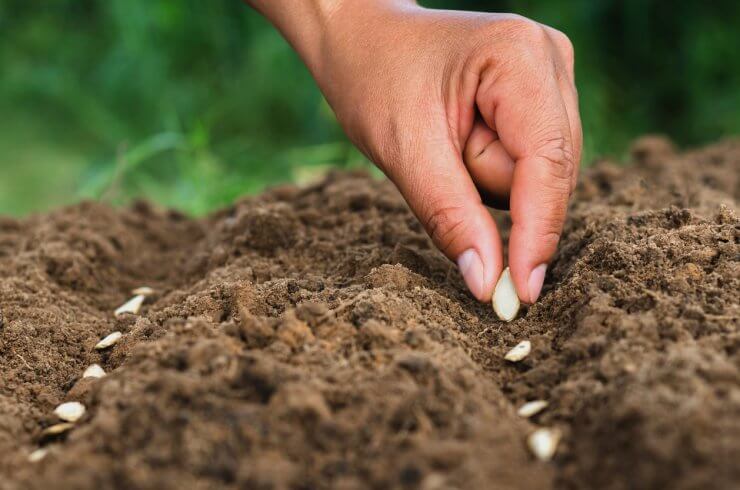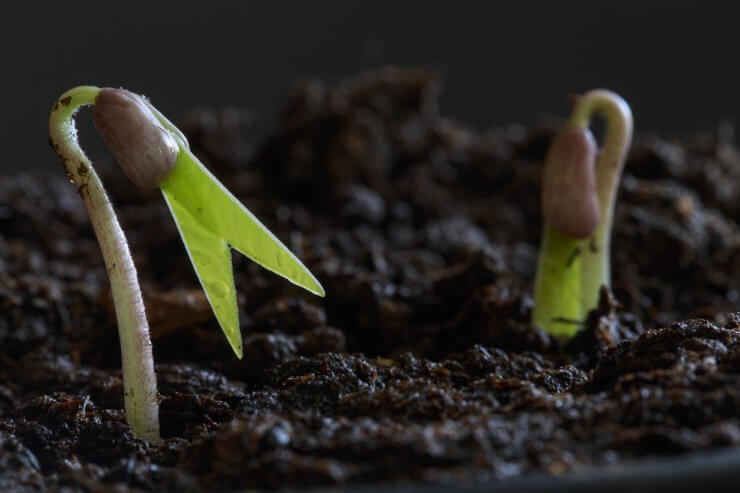
One would assume that starting seeds outdoors is as simple as putting them in the ground, throwing a bit of dirt on top, and leaving the rest to nature. I won’t say that method never works. It’s great for wildflowers and perhaps some hardy perennial herbs, but I can tell you from experience, if you want your garden to grow, you’ll need to put a little more intention into your efforts.
Nature can undoubtedly thrive without us. Maybe it would even be happier without us humans, but that’s a topic for another blog. Your garden, however, isn’t the place you want to take extra chances. Gardening is tons of fun, but it’s also a lot of work. And it’s a lot less fun if you do a lot of work and don’t get the benefits of fresh, homegrown vegetables.
Gardens can be finicky at times. What with changing weather patterns, dry and wet spells, various garden pests, and so on, it’s up to us to nurture our gardens and give them the best possible chance to grow big and bountiful.
Therefore, friends, might I humbly suggest that you try to avoid these mistakes when you’re starting seeds outdoors. I may or may not have made some of these myself, so don’t knock yourself for garden problems. They happen. But if you can keep away from these, you and your seeds will be happier.
Discover 7 top tips for growing, harvesting, and enjoying tomatoes from your home garden—when you access the FREE guide The Best Way to Grow Tomatoes, right now!

The beginner’s guide to not screwing up when you’re starting seeds outdoors
Mistake #1: Starting seeds outdoors too early in the season. Look, I get that gardening is exciting, and we want to move things along. Unfortunately, you cannot argue with nature. Some seeds, like peas, don’t mind a frost or two. Zucchini, on the other hand, needs warm soil. So check your seed packets for details.
Mistake #2: Planting the wrong seeds. Some seeds take well to starting life outdoors, and others don’t care for that one bit. Tomatoes are an excellent example here. Because they need a pretty long growing season and require warm weather, most of us have much better luck starting tomatoes indoors then moving them outside.
Mistake #3: Ignoring your soil. Good soil will boost your chances of a healthy garden, so it’s worth your time to spend a little energy on your garden bed, whether that’s a traditional garden or a raised bed. You can do a lot to improve your soil quality, but one straightforward and easy “trick” is to mix in compost. The compost adds nutrients to the soil, while mixing it in will aerate and loosen the soil.
Mistake #4: Ignoring the seed packet. Okay, back to the “instructions” that come on your seed packet. Follow them; they’re included for a reason. Some seeds need to be closer to the surface because they need sunlight to help them germinate. You’ll need to plant others, like squash and corn, with about an inch of soil covering them.
Mistake #5: Using old seeds. I admit this one is tough for me. I don’t like to waste. But old seeds don’t germinate very well, and the resulting plants can be less viable. That said, there’s nothing wrong with old seeds or the fruit they bear. It’s more that you could end up quite disappointed when none of your vegetables grow. One simple trick you can use to test the viability of your seeds is to germinate some of them prior to starting seeds outdoors.
There’s never a guarantee in gardening. Generally speaking, however, as long as you work with nature and have some patience (I know… it’s hard), your garden can give you an abundant and delicious harvest.
What is one of the biggest mistakes you’ve made in starting seeds outdoors? Any tips for beginners you’d leave in the comments?
Discover 7 top tips for growing, harvesting, and enjoying tomatoes from your home garden—when you access the FREE guide The Best Way to Grow Tomatoes, right now!


When I was in grade school we did the egg carton garden, and to take it one step further we put an empty half eggshell in each cup before planting in it. We were encouraged to gently get the egg out for breakfast (with Mom’s help), and then put surviving half shells in the cartons to be the “pots”. Made it easier to separate the little plants for planting, improved soil when shells broke down, and we could reuse the cartons for our next crop!
Being a novice gardener but loving the whole process..I find I am too impatient. I seed one day and start hawkishly watching for what I call greenies…wee plants do not pop up overnight with the EXCEPTION of maybe beans…but my inpatients aside I also suffered greatly from too soon planting and old seed syndrome. Thank you so much for th e article…I had no idea about zucchini being touchy regarding warm temperatures…I shall take this tip and go forth since I plan on lots of zucchini bread this winter.
I would like to join your charter group, but I can not find the $5 charge.
My experience (working on 78 years) is a modified, what is now called “Back to Eden” gardening. What has already been said, we’re usually in a hurry, instant gratification :(. My current garden is on year 10 and was started on hard SC clay. The first two years I did container gardening while I assisted nature in Preparing, re-juvinating the ground. I tilled in sand, leaves, mulch, horse manure, covered w/newspaper (Libraries a good source). Retilled every 3-4 months. By the third planting season it was rich, ready to grow DIRT!! Every year I add 4-6 inches of mulch during the growing season and about 6-8 inches of mulch + horse manure, 2-3 inches to over winter. I take my time and ENJOY the process – nature will pay you back many times over. I do use Sevin Dust to combat Japanese Bettles and cabbage/hook worms. Don’t plant to early in the season water seeds and seedlings daily (don’t flood) and from then on pull the few wind/bird distributed weeds and again ENJOY the PROCESS and the Vegtables.
If you start seeds indoors and they look grate be careful when you take them outside. If you have wind of any kind it will destroy your seedlings.