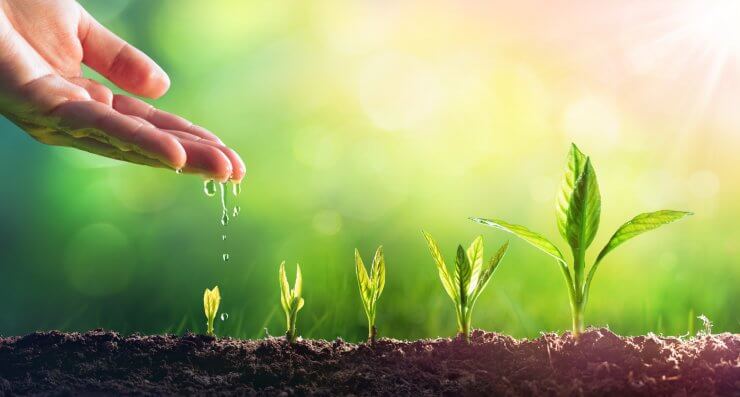
I see it from the corner of my eye, the telltale green sliver poking up from the potting mix. Victory, thy name is Vegetable Sprout! My pride is brimming as I examine the pot from every angle, admiring my little germinated miracle. All melodrama aside, growing vegetables from seeds is one of the most rewarding gardening experiences because you get to be a part of every step of the growing process. One step that many folks get hung up on is trying to figure out how often to water vegetable seeds.
I hate to say it, but there’s no one method or rule that applies to all seeds. However, there are some considerations and tips, based on your preferred seed-starting method. This information should help you figure out how to water your seeds, how frequently to water them, and how much water they need.
Discover 7 top tips for growing, harvesting, and enjoying tomatoes from your home garden—when you access the FREE guide The Best Way to Grow Tomatoes, right now!
Seed planting methods and their watering needs
Direct-sow
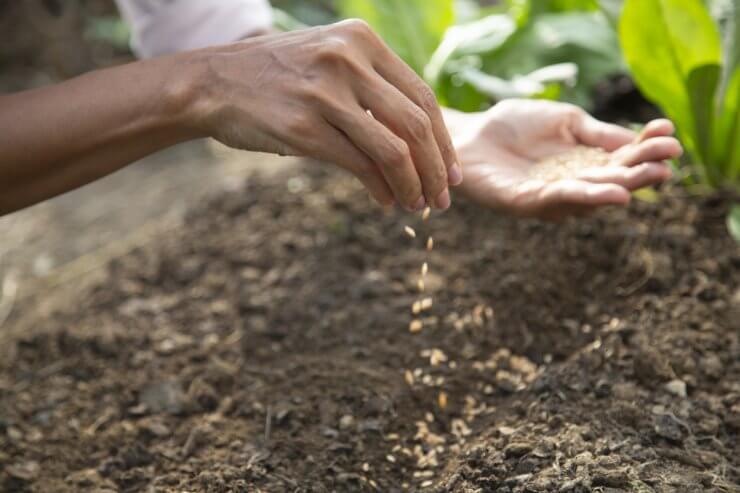
Many vegetables do well when planted directly into the garden. And there are lots of benefits to starting seeds outside. Some plants are just really hardy and can handle the cool temperatures of an early spring. Other vegetables do better with the direct-sow method since it eliminates the extra step of transferring seedlings. For some vegetables, this can be traumatic on the root system.
Leafy greens like arugula, kale, and spinach do well when directly sown because they can withstand the cooler spring temperatures. Root vegetables like carrots, beets, parsnips, radishes, and turnips, do better directly sown than indoors because their root system is the main part of the vegetable that we eat. Transplanting root veggies can weaken the roots and stunt the growth of the vegetables.
Water seeds in your garden using a fine-mist water hose attachment or watering can, being sure to keep the seeds and surrounding soil from drying up. Once a day is a good interval to start with, but you’ll need to adjust based on the weather and temperature.
Seed starter kits
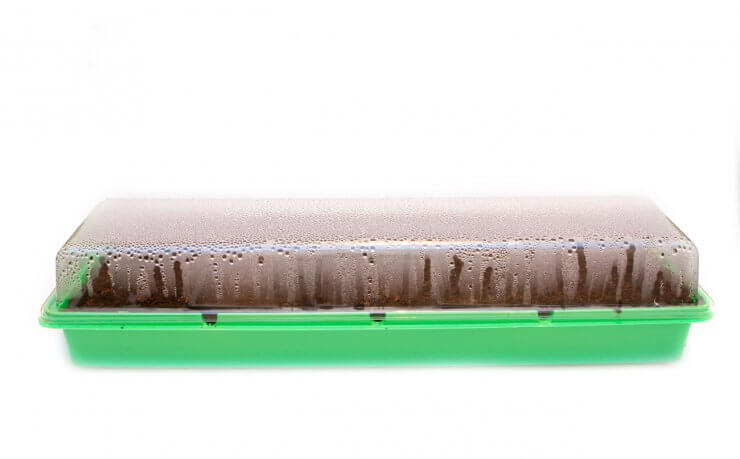
Some seed starter kits resemble extra-large plastic take-out containers, with removable plastic lids. Depending on how complex your kit is, it may even come with a seedling heat mat and grow lights. These kits are great because they function like mini-greenhouses, trapping moisture and heat. Once you plant your seeds in your potting mix or other potting media, follow your kit’s instructions for initial watering.
Many seed starting trays use a bottom-watering tray that allows seeds to access water from below. Once watered, attach your lid and place the tray in a warm, sunny area in your home (or on a heat mat under grow lights).
When figuring out how often to water vegetable seeds using a starter kit, check the instructions of your kit. In general, seeds and potting media need to remain moist through germination. With many bottom-watering seed starter kits, there will be a fill-line of some sort. Make sure your seedlings are not sitting in water since that can cause rot and fungus.
Peat pellets
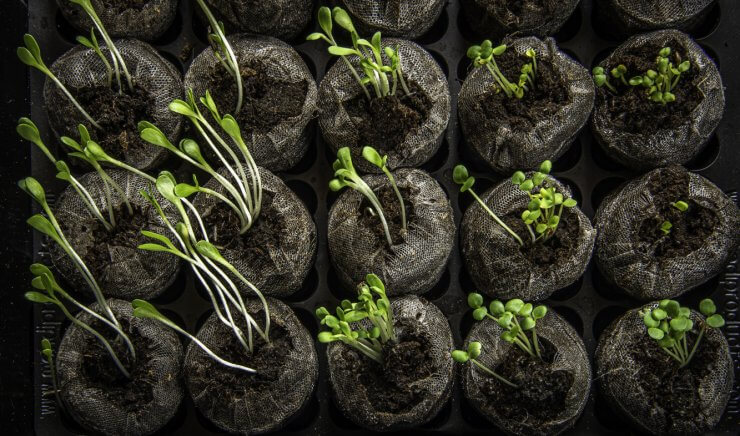
Peat pellets are small pucks of dehydrated peat or peat-like material, usually held together with some sort of netting. You can use peat pellets alongside a starting tray, or DIY a version with some sort of holding tray and a lid (or plastic wrap).
Before planting your vegetable seeds, add water to your tray of pellets, about enough to reach halfway up the pellet, and let sit. Your pellets will expand in about 10 minutes. Score or tear the netting at the top of each pellet and poke a hole in the center using a toothpick or other jabby stabby item. (I should trademark that, right?) Plant two seeds in each pellet in case one is a dud. Cover your tray with a lid or some kind of plastic wrap. This helps seeds retain moisture through condensation.
If you go the plastic wrap route, poke a few holes on top to allow for some air circulation. Place in a dry and warm place. I’ve heard of folks placing their seeds on top of their refrigerator to soak in some ambient heat. Keep an eye on the pellets to make sure they remain damp. If needed, water from the bottom tray. Once the seeds have sprouted, take the cover off and move it to an area with more direct sunlight or under a grow light.
Sandwich bag method
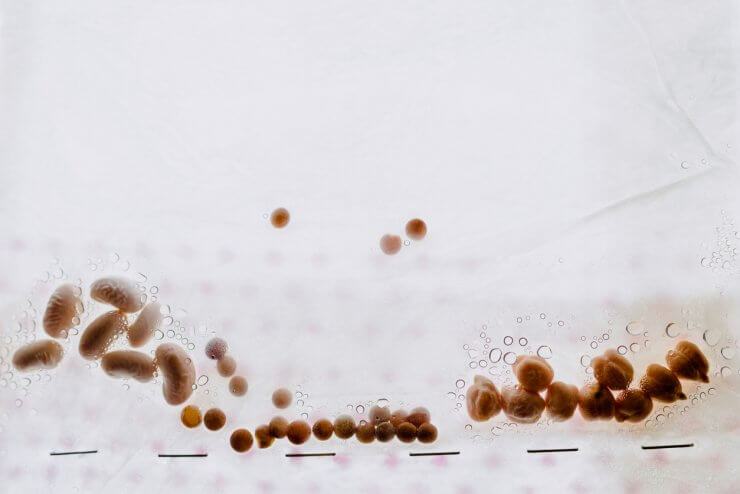
I remember in third grade, our teacher gave us a handful of dried lima beans and we “planted” them in plastic sandwich bags with a damp paper towel and taped the bags to a window. The science experiment taught us about germination as we enjoyed watching the little tails of the root systems start to form.
Cut to today, when this method of germinating seeds is still in use by many gardeners. This method works great for legumes like snap peas, and lima beans but will work for many other types of vegetables, too. Place seeds between two pieces of damp paper towel in a plastic sealable bag. No additional watering is necessary for germination to occur. The trick with this method is keeping the baggy in a warm location (either on top of a refrigerator or in a cupboard). Once the seed germinates, you’ll need to use a small instrument, like tweezers, to transfer the germinated seeds to potting media so they can grow into seedlings.
Biodegradable seed pots
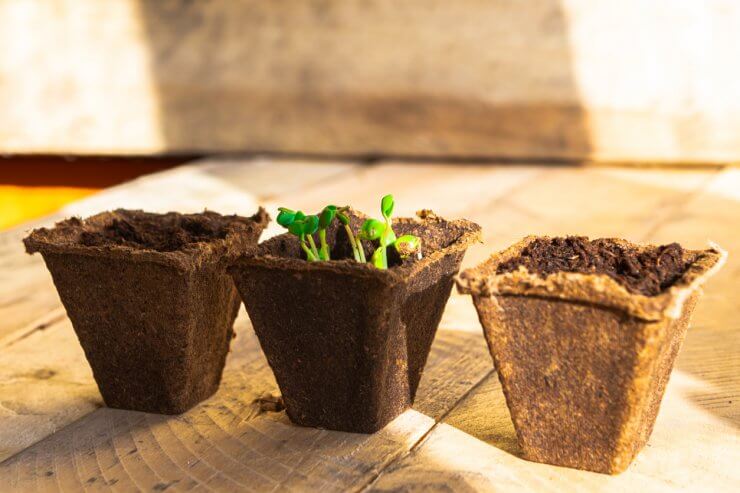
I love biodegradable seed pots because you can plant them directly in your garden when it’s time to move your seedlings outside. You can purchase them or make your own out of egg cartons. When deciding how often to water vegetable seeds using biodegradable seed pots, the key is to start with a premoistened pot. You can accomplish this by either watering the empty pots with a watering can or fine mist hose, or bottom-watering them by letting them soak a bit in a large tray.
Eliminate any excess moisture and fill with your desired potting media. Add a couple of seeds and tamp down with your finger and add a drizzle of warm water right on top. Top off with a little more potting media and water again until the whole pot is damp. Cover your pots with some kind of a lid or plastic wrap and place in a warm location indoors like a heat mat, on top of the fridge, or near a heating register. Once the seeds sprout, the moisture-watch begins. You want to make sure the soil remains moist to the touch but not oversaturated.
Seed watering tools
Once you have mastered how often to water vegetable seeds, the next thing to think about is your method for watering. As mentioned above, most seeds and seedlings prefer a bottom-watering method to start, but there are a few other tools that can be useful when getting your seeds and seedlings started.
Humidifier – This is especially useful if your indoor climate is very dry. Set up your humidifier near your seed starting trays or other seed systems
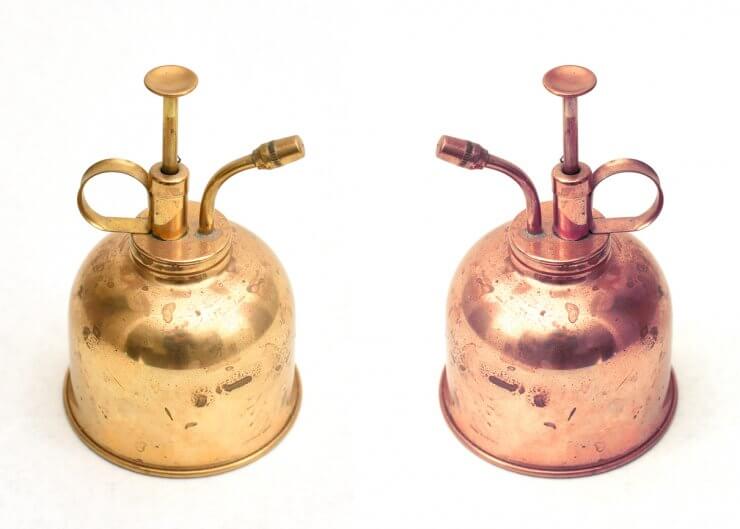
Plant mister – Sure, you can use a regular ol’ spray bottle, but a mister designed specifically for watering plants gives an ultra-fine mist, perfect for seeds and seedlings.
Squirt bottle – for delicate seedlings, a squirt bottle is a great way to dispense an exact amount of water. These are also great for watering delicate house plants and a great tool to add to your gardening kit.
Do you have any seed-watering success stories? How about lessons learned? Share your seed-watering secrets in the comments!
Discover 7 top tips for growing, harvesting, and enjoying tomatoes from your home garden—when you access the FREE guide The Best Way to Grow Tomatoes, right now!


good advice for the different methods of starting seeds. Thank you for your help.
Thank you for the excellent tips on seed planting. Much appreciated, as I have a small greenhouse and planted various seeds,like citrus, brinjal and cucumber. Without success. I’ll follow your tips. Regards.