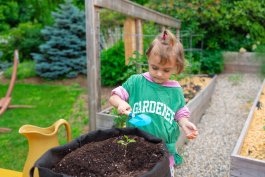
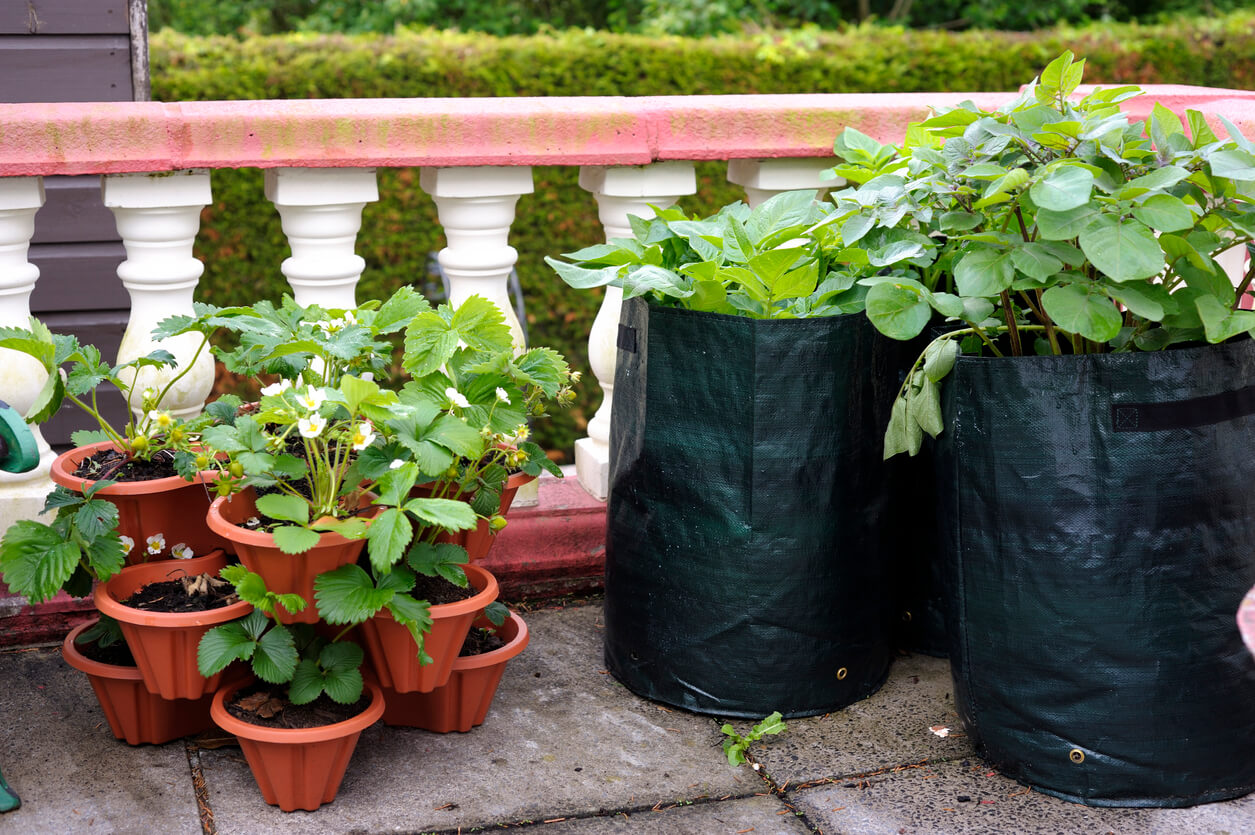
Are you familiar with using grow bags for vegetables, fruits, or flowers? Grow bags are plastic or fabric-based “bags” made of felt or non-woven fabric, or polypropylene (similar to weed barriers) with flat bottoms and usually reinforced handles built-in.
You simply fill them with the same type of soil and amendments you would for a container or raised bed and start planting. The tiny holes in the fabric allow the free circulation of air, which makes roots happy because it prevents root rot and entanglement (more on that later).
Grow bags are most popular with people who rent and can’t plant a garden or don’t have the space, but they’re suitable for everyone who wants to garden. I find them handy when I’ve over-bought tomato plants and don’t want to give any of them up for the sake of space.
They are easy to fill and grow in, and the handles make the plants easy to move around as needed.
They’re not always pretty to look at, but if you don’t like their look, some people put them inside terracotta pots for the best of both worlds.
Grow Bags for Vegetables and Fruits vs. Regular Containers
Compared to a simple plastic container, plants in grow bags benefit from “air pruning.” In plastic containers, roots will entangle themselves because they will hit the edge of a pot and keep spiraling around and around. In a grow bag, when roots reach the edge of the bag and the dry soil that tends to be on the outside edges of the bag, the roots will “prune” themselves and stop growing.
This is a good thing because it prevents spiral or “girdling” roots that can choke the plant, especially in fruit trees. This isn’t as much of a concern for annual plants, though tomatoes do perform better in grow bags for this reason.
Like containers, grow bags keep the soil warm longer, so plants, such as tomatoes and eggplants, are happy. But unlike plastic pots and containers, moisture wicks out quickly in the sun, which means they need to be watered regularly. This also means it’s hard to over-water grow bags.
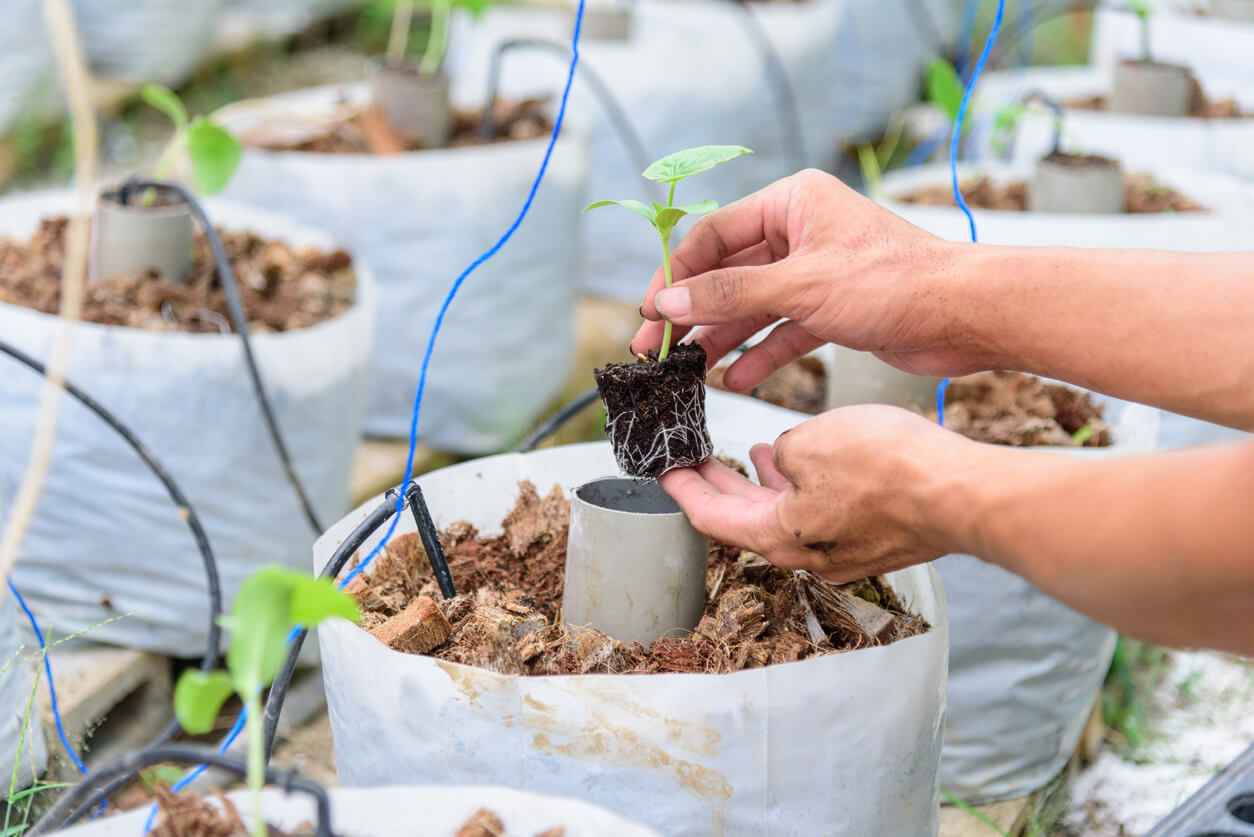
Many people who use grow bags to create a garden, also use a drip line irrigation system to water their bags, particularly if they are creating a big grow bag garden for vegetables.
What Can You Grow in Grow Bags?
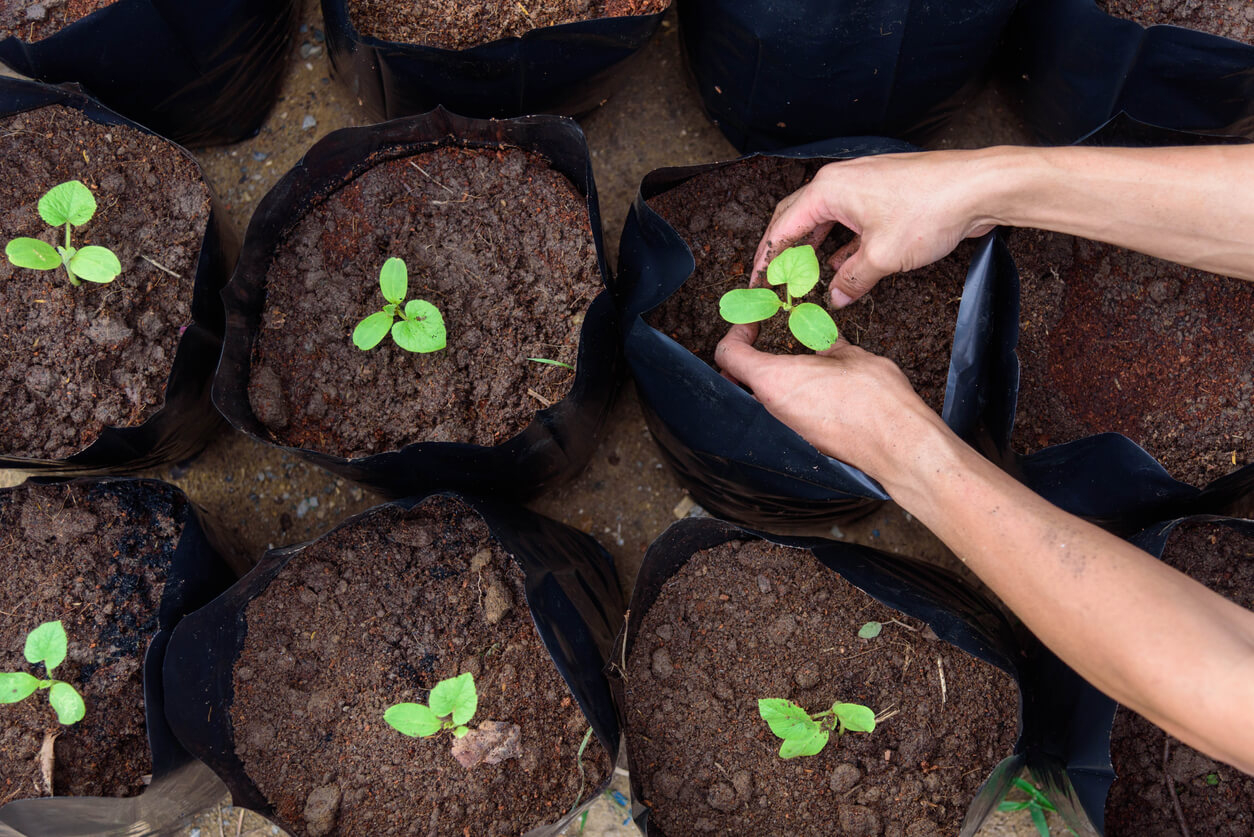
Pretty much everything! Potatoes are most famous for grow bags because you can simply dump them onto a tarp like a pile of gold at harvest season and collect your bounty. Carrots can grow in bags that are at least 12″ tall (and most are) and can be pretty densely planted. You can also pour them out onto a tarp at harvest season, just like potatoes, though I like the joy of pulling them!
Fruit trees are happy in grow bags and benefit from the aeration that grow bags provide.
Tomatoes are also very happy in grow bags. They give the roots exactly the “air pruning” they need while keeping the soil warm, just like they want it to be. Tomatoes also don’t like to be moist all the time, which grow bags certainly help with.
The question is whether you have the time to commit to your grow bags. While plants love them, they offer superior aeration, which is suitable for many plants as long as you water them often. Plants that prefer moist soil will be harder to sustain in grow bags if you aren’t careful.
One way grow bags come in the handy is for growing long-season crops. For example, I don’t particularly appreciate using a whole garden bed for garlic or potatoes. So instead, I prefer a 25-gallon grow bag for those longer-season root crops.
Alternate Ideas for Using Grow Bags
Outside of using them to grow your desired crops wherever you want, there are a few other good ways to use grow bags that I’ve come across over the years, even though I have garden beds:
- To plant trap crops like marigolds, which attract pests such as aphids away from your summer tomatoes.
- When you’re planting tomatillos for the first time and realize you need at least two for pollination, but you’ve already run out of room.
- When you want to try cantaloupe for the fifth time, but you already know what’s going to happen, and you don’t want to waste precious bed space again this year.
- For leafy greens, which can last longer if you’re able to move them out of the hot sun when deep summer hits.
- When you’re out touring the country in your RV and want to bring your garden with you on the road.
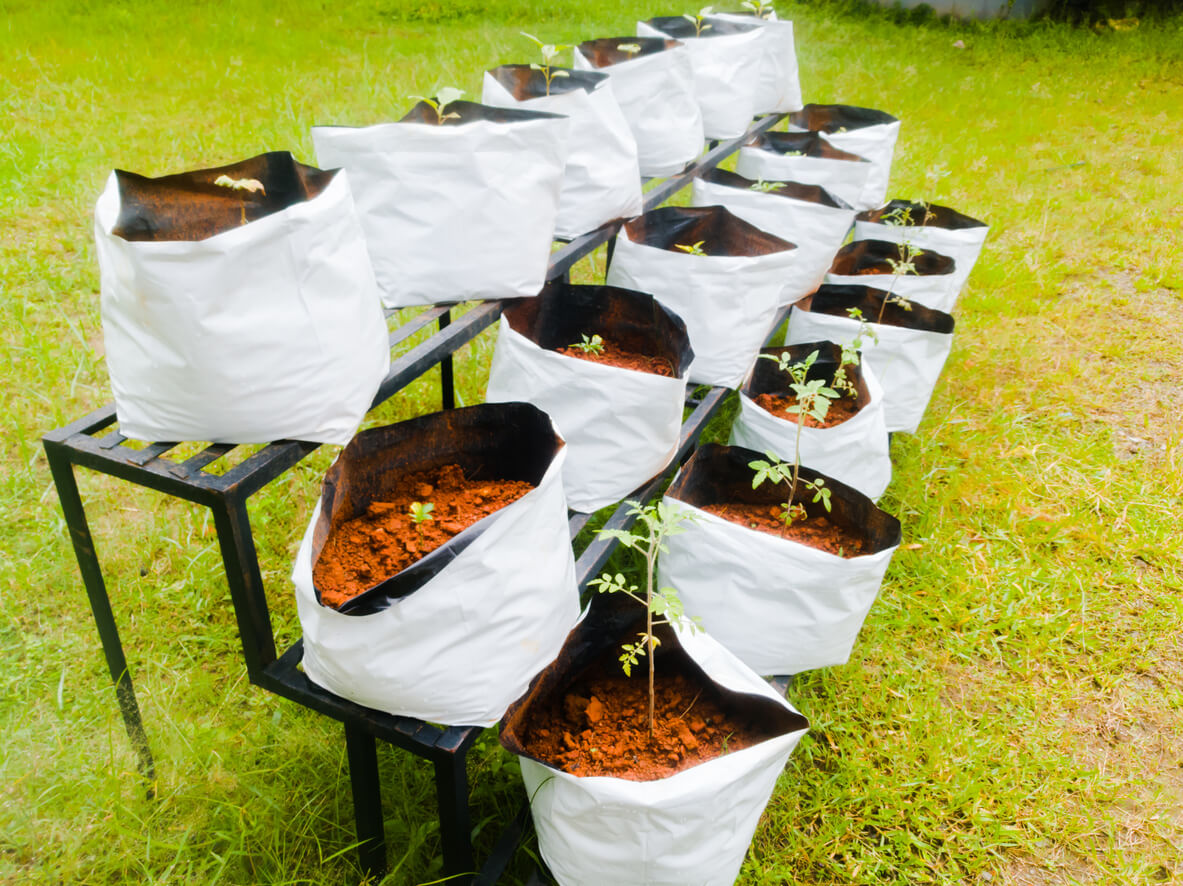
What Size Grow Bags Do You Need?
- Use a 5-gallon grow bag for a small collection of leafy greens and trap crops like marigolds (fill with .66 cubic feet of soil)
- Use a 7-gallon grow bag for nightshades like tomatoes, peppers, and eggplant (fill with .93 cf of soil)
- Use a 10 or 25-gallon grow bag for potatoes and your full-season crops like garlic and onions or carrots and beets. Small fruit bushes or trees are also good in a 10-gallon bag (fill with 1.3 cubic feet to 4 cubic feet of soil, depending on which you get.)
- Use a 100-gallon grow bag if you want a raised bed but can’t install one (fill with 10.3 cf of soil).
When filling your grow bags, please do your best to press the soil into the bag and then fill it to the top. Air pockets in the bottom or sides can house critters and affect the roots.
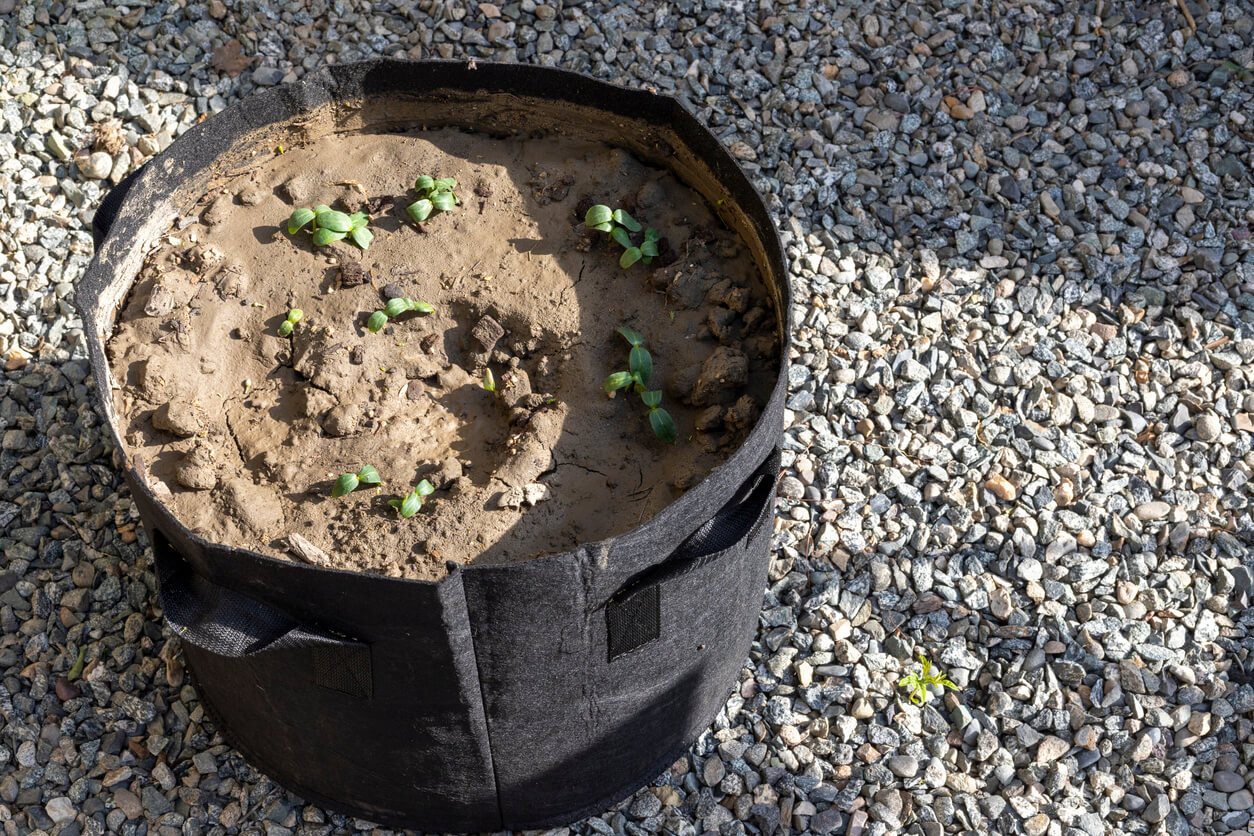
To Use a Tray Under Your Grow Bag or Not
The jury is still out on whether you should put something under your grow bags. Indoors, you certainly want a tray or something under your grow bag to protect your floors. However, outside, gardeners do it both ways. Here’s what I have found to work best:
When placed on the grass, grow bags have a wicking effect, meaning that if the bottom begins to dry out, it can sort of slurp up moisture from the ground, which is what you want it to do.
If placed on a hot patio, it can have the opposite effect, which is when I might use a tray to keep the bag in check and not drain moisture into porous cement or brick.
Some people do use trays under their bags in the grass. Some people have said that bermuda grass, in particular, will crawl right into it, though I haven’t had that experience yet.
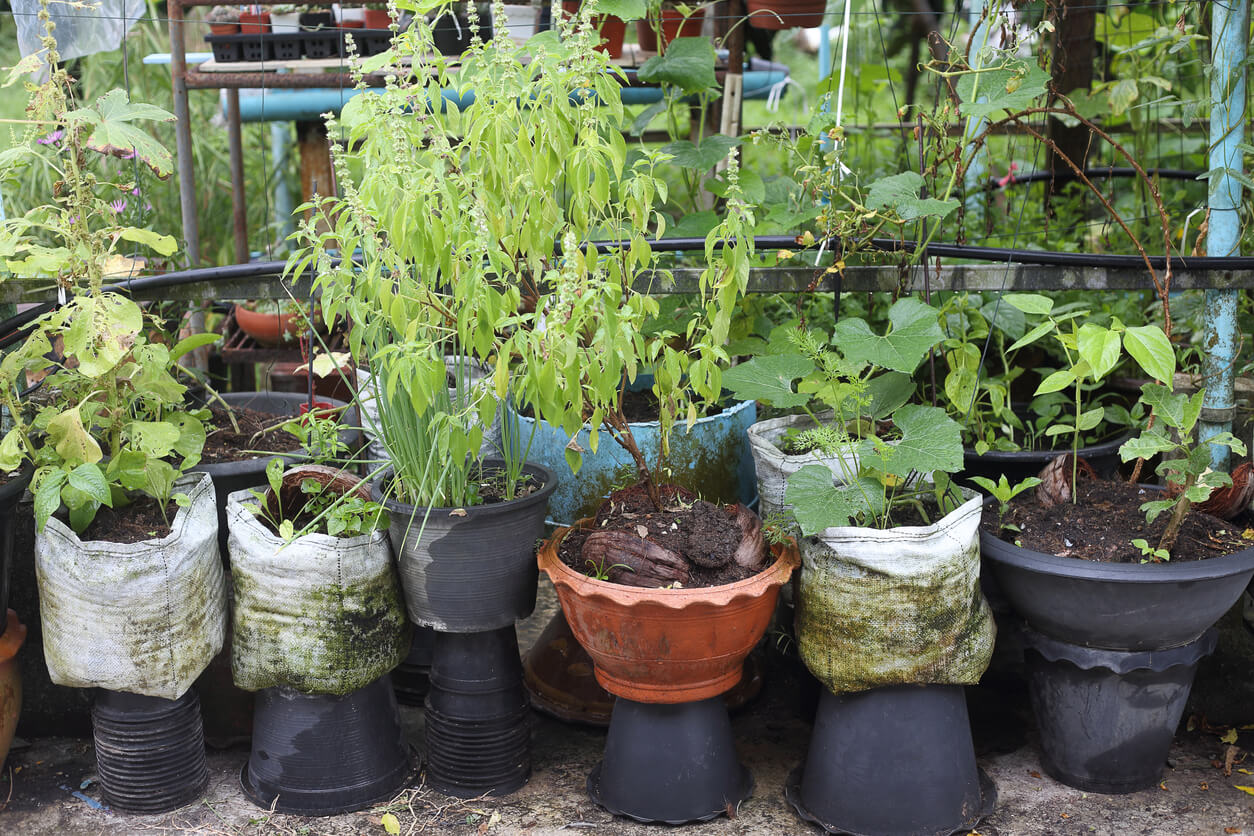
Red Flags to Look for
Grow bags sound like Easy Street, but there are a few red flags to keep an eye on:
- Mold growing on top of your soil is a sign that you are over-watering, however, moss on top of your soil is a good sign that you’ve created an ideal environment.
- Plants that aren’t growing might not be getting enough water. Grow bags need to be watered frequently in the middle of summer or they’ll dry out. However, adding mulch or straw to the top can help. If you are leaving for a week on vacation during the middle of summer, some gardeners will fill a plastic children’s pool with water and place the bags in there like a watering tray for the week.
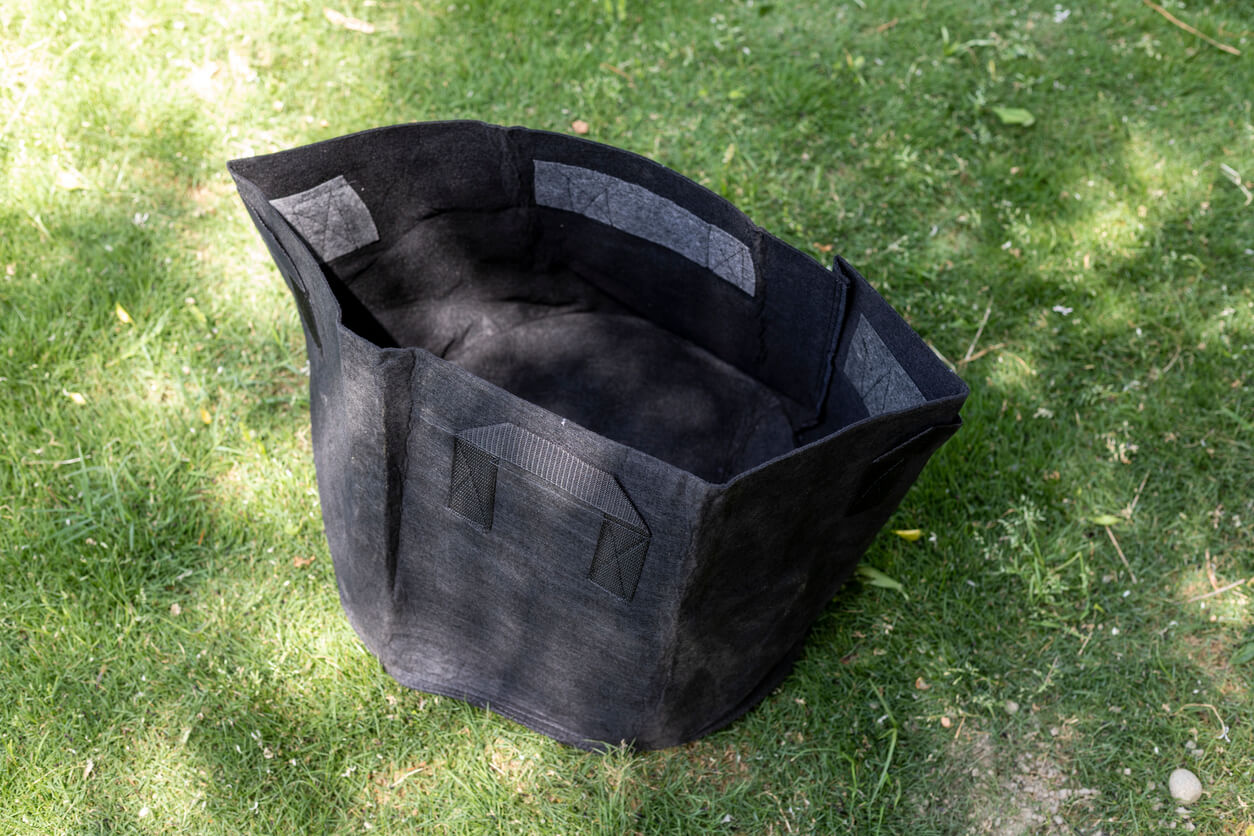
How to Care for Your Grow Bags
Grow bags will only last a few seasons, but there are ways to keep them in good shape until their day comes.
After each season, empty your grow bags (back in the garden, flower pots, or wherever you like) and wash them with detergent and vinegar to get rid of any pathogens. This is particularly helpful if you plan to re-use them year after year for the same types of crops.
During the winter I like to hang mine on hooks to keep any pests out of them, but you can store them any way you’d store other types of containers. If you’re leaving them outside in a shed, you might want to do something preventative so that mice don’t nest in them. Many gardeners like to store them with cotton balls soaked in peppermint oil to keep the critters away.
What else would you like to know about using grow bags? I’ve used them on and off for years, mostly for potatoes and root veggies. What do you use them for?


 Previous


I was hoping you’d talk about what kind of soil mix to use in grow bags because obviously they don’t have the diverse biological life that soil in the garden has. Would the 50% compost, 25% coco coir and 25% perlite apply for most things you might grow? And do you mean a nice wormy homemade compost or purchased compost that is usually sterile. Nothing in my grow bags is doing as well as my past gardens, but I’ve move to a rental with no place for a traditional garden. So i’d like to get the hang of the grow bags! thanks.
This sounds like a good soil mix for grow bags – I’ve had good results with both purchased and home-made compost. I find that moisture retention is one of my biggest struggles when using grow bags.
Can you tell me what to do with garlic planted in the fall. Do I water until it freezes and do I leave them out all winter?
Water immediately after planting and then add a layer of mulch, such as straw or shredded leaves, to insulate the soil and suppress weeds. Let the bulbs winter over – no need to remove the mulch in the spring because the garlic shoots will come through.
Could you grow a zucchini in a grow bags? What size would you suggest if answer is yes
Yes! At a minimum, use a 5 gallon bag, but 7-10 gallons is preferable. Use a well draining, nutrient rich soil mix – 50% compost, 25% coco coir and 25% perlite
Hi, this is our second season in central MA with grow bags. We are growing the usual, tomatoes, zuccini, green beans. We started using them when we had the soil tested and it came back that there were high lead levels. The grow bags were an economical way to grow like a traditional raised bed (lumber prices to diy was not in our budget) where we could control the soil nutrients etc. We love them ! , also yes we are renters so no worries if we move elsewhere.
I have used my grow bags for several years and each year and left the dirt in over the winter then dumped it out and mixed with new potting soil. Am I able to wash the bags as above and do the same thing with the soil or do you recommend getting rid of the soil and starting fresh? I have noticed green moldy on the outside of the bags.
Thanks, Amanda! I’m getting more and more pumped to get planting. Have to wait a few more weeks to get past the worst of our summer heat. We do things backwards down here in the low desert. Our planting year starts in late summer, with the monsoon rains, and stops around late May and June when we get temps that few plants can endure in their seedling state.