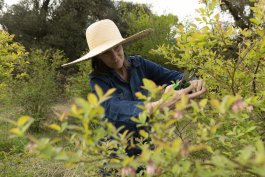
I have zero regrets about planting blueberry bushes in my yard. In fact, they are my prized plants! My daughter will in fact, only eat blueberries in season, from our bushes. She refuses to eat them from the store. (I mean, who can blame her, really?) I have four bushes now, but after many years, they are healthy and sturdy, so I decided to learn how to propegate a blueberry bush from my pruning cuttings!
If you want to expand your blueberry garden in an affordable and satisfying way, consider propagating blueberry bushes from cuttings too! With these simple instructions, you can transform a blueberry bush cutting into a new plant and enjoy the delicious fruits of your labor. Let’s begin!
Softwood vs. hardwood blueberry bush cuttings
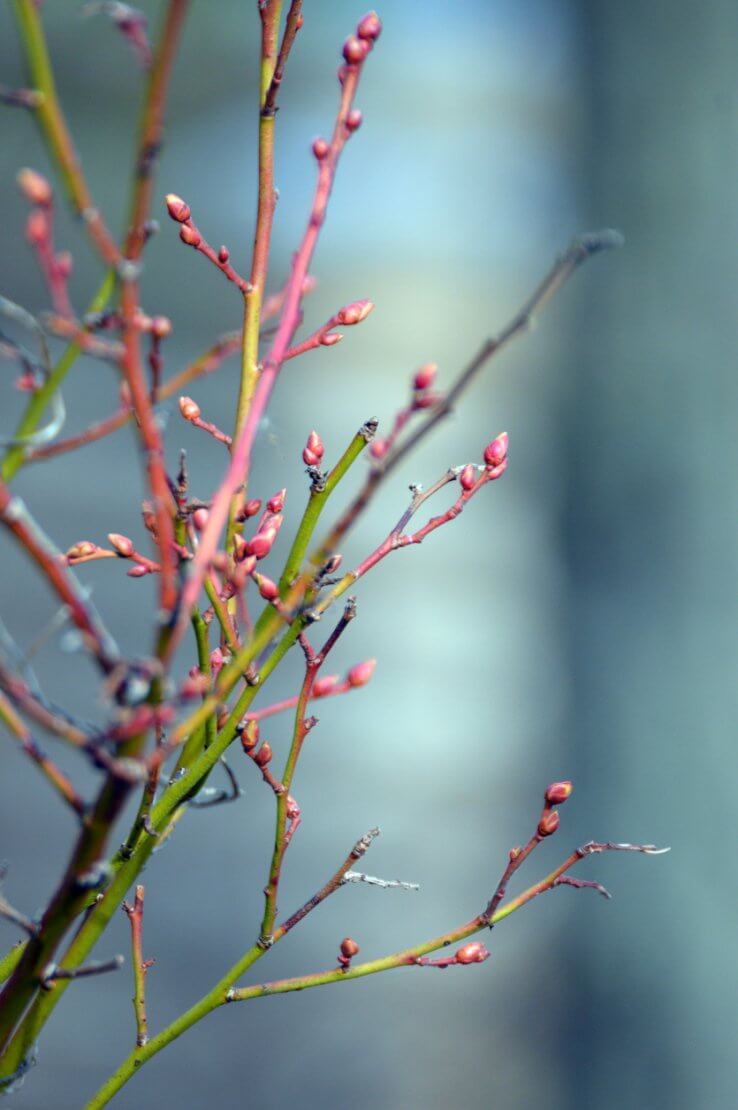
Hardwood cuttings are taken during the winter, when the plant is dormant. They have the highest success rate, but take months to grow. Softwood cuttings, those taken during the growing season, are more fragile and take more work, but can grow in a matter of weeks.
These instructions are for softwood cuttings. If you are cutting in the winter, you can follow the same instructions, but skip the excessive humidity requirements. When you cut an in-season plant, they need a bit more tender love and care!
How to choose cuttings
If you’re planning to take softwood cuttings from a blueberry bush, it’s best to select the upper parts of the stem where the terminal leaves are half-grown or almost mature. It’s also important to choose stems that are flexible. If you take cuttings too early, when the terminal leaves are very soft and the stems are too flexible, the cuttings may wilt before rooting. On the other hand, if you take cuttings too late, when the terminal leaves are mature and a second flush of growth has already begun, your chances of rooting may be low.

How to propagate from cuttings: A step-by-step guide
Materials needed:
- A healthy blueberry bush cutting (6 to 8 inches long)
- Pruning shears or sharp knife
- Rooting hormone powder or cinnamon
- Planting container or pot (1 gallon, or a pot 5 inches deep)
- Well-draining potting soil (see mixture in “pro tips” section below)
- Plastic bag or humidity dome
- Watering can or spray bottle
- Indirect light source
Step 1: Prepare the cutting
- Select a healthy blueberry bush cutting during late spring or early summer when the plant is actively growing.
- Cut a 4- to 6-inch young supple stem from a mature, disease-free blueberry bush using clean pruning shears or a sharp knife. Choose a cutting with at least two sets of leaves and the thickness of a pencil. (First-year young wood is easiest to propagate, but without access to a young plant, choosing a healthy mature plant is most important.)
Step 2: Remove lower leaves
- To help the roots develop, it’s best to remove the leaves from the lower half of the cutting, which will expose a portion of the stem.
Step 3: Apply rooting hormone
- Dip the bottom end of the cutting into a rooting hormone powder. Make sure to follow the manufacturer’s instructions for proper usage.
- Gently tap the cutting to remove any excess powder.
Step 4: Prepare the planting container
- Fill a small planting container or pot with well-draining potting soil. Moisten the soil lightly without saturating it.
Step 5: Plant the cutting
- Make a hole in the soil using your finger or a pencil.
- Insert the bottom end of the cutting into the hole, ensuring that at least one set of leaves is above the soil line, about 2 inches deep or 1/3 their total height.
- Gently firm the soil around the cutting to provide stability.
Step 6: Provide optimal conditions
- Place a plastic bag or humidity dome over the cutting to create a greenhouse-like environment that retains moisture. This step promotes root development.
- Position the container in an area that receives bright, indirect light. Avoid direct sunlight, as it may cause the cutting to overheat or dry out.
Step 7: Watering and monitoring
- Water the cutting thoroughly but avoid overwatering. The soil should be consistently moist but not waterlogged.
- To maintain humidity, mist the cutting regularly or place a small saucer filled with water near the container.
- Monitor the cutting for signs of growth, such as the emergence of new leaves. This process typically takes several weeks to a few months. If you did this in the late spring, it may be ready to plant in the fall.
Step 8: Transplanting
- Once the cutting has developed a well-established root system, it is ready for transplanting into a larger pot or directly into the garden soil.
- Gradually acclimate the new plant to outdoor conditions by exposing it to increasing amounts of sunlight over several days.
By following these step-by-step instructions, you can successfully propagate a blueberry bush from a cutting. With patience and care, you will soon have a new blueberry plant that will flourish and provide you with delicious berries in the future.
A few pro tips
- While blueberries can self-fertilize, they will yield larger fruit and better crops through cross-pollination. To achieve optimal results, it’s recommended to propagate from at least two different varieties.
- For making a high-quality propagation mixture, mix coarse sand, ground pine bark, and peat moss in equal proportions. Alternatively, you can also use equal amounts of perlite and peat moss. Before inserting the cuttings, make sure to moisten the mixture, but avoid saturating it.
Happy gardening! Let me know if you have any bonus suggestions!


 Previous


Don’t have them where your horse can reach them! Learned this the hard way but the bush came first and next, the horse and the bush was too large for me to dig up and move. Love your articles, Amanda!
Love this, I will definitely give it a go as I love blueberries