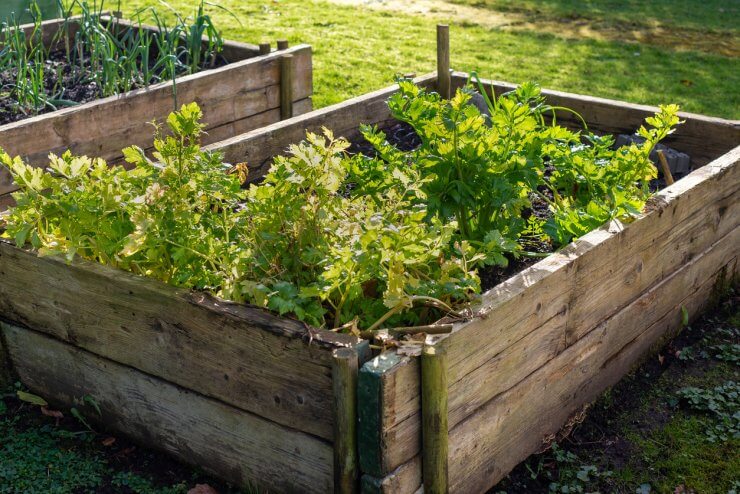
Personally, I love growing celery. I might be lucky, but celery grows easily in my raised beds, and are generally no-nonsense unless the bugs get to them. But it wasn’t always that way for me; in fact, in other homes and other garden beds, I didn’t have much luck at all! So before diving into the niche tips, let’s quickly review the fundamentals of celery cultivation. Celery (Apium graveolens) is a cool-season crop that thrives in temperatures between 60-70°F (15-21°C). It requires rich, well-draining soil with a pH between 6.0 and 7.0. Celery has a long growing season, typically taking 120-140 days from seed to harvest. Got it? Great.
There’s a lot to share, but I want to start with blanching, a technique for sweteening celery while it’s still growing – something new gardeners often don’t even realize should be done when growing celery.
This process involves covering the stems of your celery plants for two to three weeks prior to harvest, limiting their exposure to sunlight. The result is pale, tender stalks with a distinctly different flavor profile from their unblanched counterparts. While blanched celery lacks the vibrant green color of unblanched plants, it offers a unique culinary advantage. Blanching effectively reduces the natural bitterness of celery, allowing its subtle sweetness to come forward. This technique is particularly valuable for celery, as it’s known for its strong, sometimes overpowering flavor. By blanching, you can achieve a milder, more versatile celery that’s perfect for raw consumption or as a delicate addition to various dishes.
To blanch your celery, simply wrap the lower portions of the stalks with newspaper, cardboard, or specialized blanching sleeves about 2-3 weeks before your intended harvest date. As you do this, be careful to leave the leaves exposed, as they need to continue photosynthesizing to keep the plant healthy. This simple step in your celery cultivation process can dramatically improve the taste and texture of your homegrown celery.
Now let’s talk about a few fun celery varietals. While most people are familiar with the common green celery found in grocery stores, if you really want to get your hands dirty and expand your green thumb, there are several unique varieties worth exploring:
- Golden Self-Blanching: This heirloom variety is a dwarf variety that’s not bitter or stringy like standard-sized celery.
- Red Venture: An open-pollinated variety resulting from a cross between Giant Red Celery and Ventura. It offers a delightful chewy texture with vibrant interior red coloration delicious in soups and salads.
- Tango Celery: Known for its disease resistance and ability to withstand heat better than other varieties, making it ideal for warmer climates. Large, dense and nearly stringless too!
- Green Cutting Celery: Very easy to grow, and this one is grown for it’s abundant leaves, though the stalks can be eaten as well.
- Chinese Pink: This celery is easy to grow and is made of thin neon pink stalks. It’s usually eaten diced in fresh dishes, and the flavor is lightly sweet.

Niche Tips for Successful Celery Cultivation
- Trench planting: For USDA zones 4-7, try the trench planting method. Dig a trench about 8 inches deep and 12 inches wide. Plant your celery seedlings at the bottom of the trench, gradually filling it in as the plants grow. This technique provides extra protection for the tender stalks and promotes blanching.
- Companion planting: Interplant celery with compatible companions like bush beans, spinach, or onions. These plants can help create a microclimate that benefits celery growth and may deter certain pests.
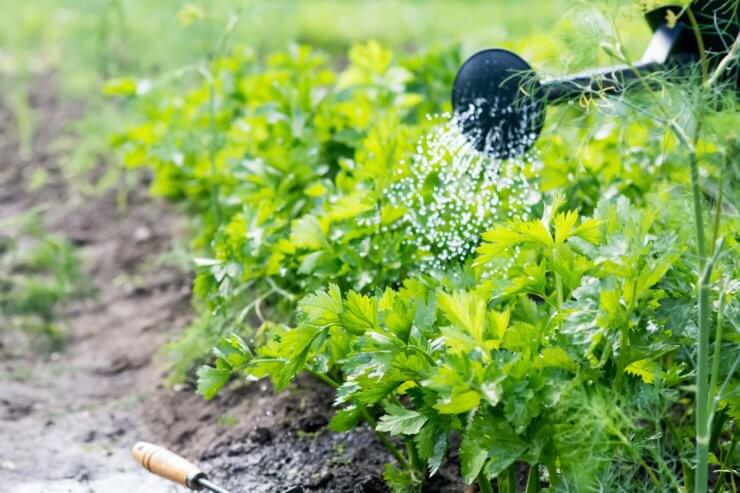
- Eggshell tea fertilizer: Celery is a heavy calcium feeder. Create a nutrient-rich “tea” by steeping crushed eggshells in water for a few days, then use this to water your celery plants every few weeks.
- Celery regrowth: After harvesting your celery, don’t discard the base! Place it in a shallow dish of water and watch as new leaves sprout from the center. Once roots develop, you can transplant it back into your garden for a second harvest.
- Salt stress for flavor enhancement: In USDA zones 8-10, where celery cultivation can be challenging due to heat, try this trick: About two weeks before harvest, water your celery with a mild saltwater solution (1 tablespoon of salt per gallon of water). This mild stress can enhance the celery’s flavor and crispness.

USDA Zone-Specific Advice for Celery Cultivation
Your success growing celery may depend on your USDA planting zone, so let’s talk about the differences.
- Zones 3-5: Start celery indoors 10-12 weeks before the last frost date. Use row covers or cold frames to extend the growing season. Choose cold-hardy varieties like ‘Ventura’ or ‘Tall Utah’.
- Zones 6-8: In these transitional zones, celery cultivation can be done in both spring and fall. Use shade cloth to protect celery from excessive heat in summer. Consider heat-tolerant varieties like ‘Tango’ for summer plantings.
- Zones 9-11: Focus on heat-tolerant celery varieties like ‘Tall Utah’ or ‘Pascal’. Plant in partial shade and provide consistent moisture. In these warmer zones, you might be able to grow celery year-round with proper care.

Maximizing Your Celery Harvest
- Blanching for tender stalks: About 2-3 weeks before harvest, wrap the lower portion of your celery stalks with newspaper, cardboard, or specialized blanching sleeves. This reduces chlorophyll production, resulting in paler, more tender stalks.
- Succession planting: For a continuous celery harvest, start new seedlings every 2-3 weeks. This technique ensures you always have fresh celery available throughout the growing season.
- Harvest strategically: Instead of harvesting the entire plant, cut outer stalks as needed, allowing the inner stalks to continue growing. This “cut-and-come-again” method can extend your harvest period significantly.
- Celery leaf utilization: Don’t waste those flavorful leaves! They’re packed with nutrients and can be used like herbs in soups, salads, and pestos. This tip maximizes your celery cultivation efforts by using the entire plant.
- Microclimate creation: In challenging zones for celery cultivation, create microclimates using raised beds, south-facing walls, or water-filled containers to moderate temperature fluctuations.

Advanced Celery Cultivation Techniques
- Hydroponic celery: For gardeners with limited space or those in extreme climates, hydroponic celery cultivation can be a game-changer. This soilless method allows for precise control of nutrients and growing conditions.
- Celery seed harvesting: Allow a few of your celery plants to bolt and produce flowers. The resulting seeds can be harvested for use in cooking or for planting next season, completing the full cycle of celery cultivation.
- Celery juice soil amendment: After juicing celery, don’t toss the pulp! Work it into your garden soil as a nutrient-rich amendment that can improve soil structure and feed beneficial microorganisms.
- Intercropping with fast-growing crops: While celery takes its time to mature, make the most of your garden space by intercropping with quick-growing vegetables like radishes or lettuce. This maximizes your garden’s productivity during celery cultivation.
- Vertical celery cultivation: In small gardens, try growing celery vertically using tiered planters or repurposed gutters. This space-saving technique can dramatically increase your celery yield per square foot.
By implementing these unique tips in your celery cultivation journey, you’ll not only improve your gardening skills but also enjoy a diverse and extended harvest. Remember, gardening is a journey of continuous learning and experimentation. Don’t be afraid to try new techniques and varieties in your celery cultivation adventures!
Want to dive deeper into the world of celery cultivation? Check out our comprehensive Celery Gardening Guide for even more expert tips and tricks!
We’d love to hear about your experiences with celery cultivation. Have you tried any of these unique techniques? Share your successes, challenges, and questions in the comments below!


 Previous
