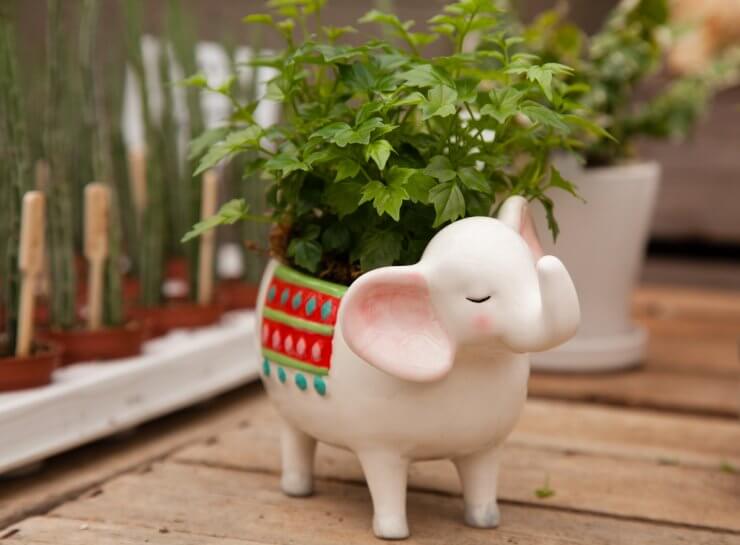
I found the most adorable bowl in the shape of an elephant at a local pottery studio and knew I wanted to use it as a planter in my indoor herb garden. I bought Ellie (that’s what I named her) and took her home where she sat on my counter for three weeks while I tried to figure out the best way to add drainage holes. Husband wanted to grab the drill gun, but I couldn’t bear the thought of damaging the precious pachyderm. I knew if I planted herbs without drainage holes, I’d end up with a moldy mess. Surely, there must be some guidelines for how to drill drainage holes.
Lo and behold, there is a wealth of guidance out there on how to drill drainage holes in different types of planters. I learned that what works for ceramic and terracotta pots needs to be adjusted when working with plastic or metal. The key with all methods is patience and a gentle touch. But before revving up the drill, I needed to figure out how big the drainage holes should be.
Discover 7 top tips for growing, harvesting, and enjoying tomatoes from your home garden—when you access the FREE guide The Best Way to Grow Tomatoes, right now!
How big should drainage holes be?
The rule of thumb (and advice from gardening experts) is that quarter-inch holes are adequate for a planter that is 12 inches or less in diameter. For containers larger than 12 inches, half-inch holes are preferable.
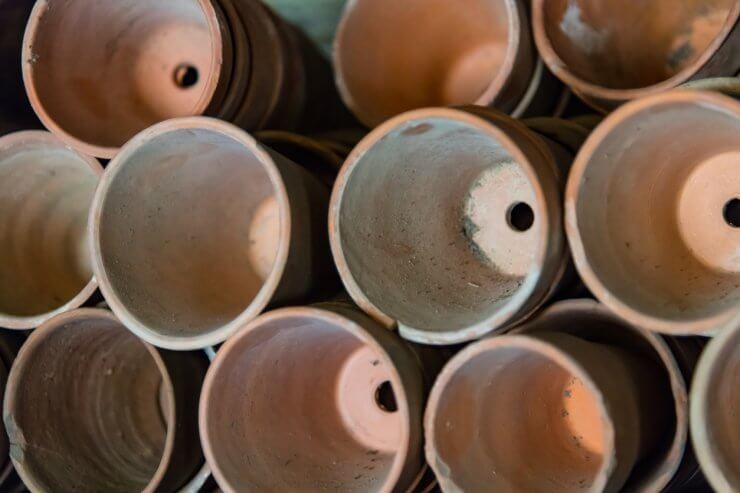
How many drainage holes do I need?
If the planter is between 4-12 inches, you’ll want to have three to eight holes spaced evenly from each other. You may opt to have just one larger drainage hole in the bottom of your planter, though you may need to include a screen to prevent your potting mix from washing out.
How to drill drainage holes in ceramic or terracotta pots
When it comes to stonewares like ceramics or terracotta, water is your best friend. Think about those special tile saws used for home improvement projects. They have water cascading between the blade and the tile to prevent friction from overheating the tile and causing damage. The same principle is necessary when learning how to drill drainage holes in ceramic or terracotta pots.
Use a glass/tile drill bit or a diamond-tipped hole saw bit. The glass/tile drill bit will take a little longer than the diamond-tipped hole saw bit. Flip the pot over and determine the location for the drainage hole(s). Pour a thin layer of water over the drainage hole location and lift the drill gun into place. The glass/tile bit should be held at a direct 90-degree angle. If using the hole saw bit, start at a 45-degree angle and then move to 90 degrees once the bit has broken the surface of the pot.
How to drill drainage holes in metal containers or pots
Metal is easier to drill into than terracotta or another stoneware. All you need is a drill bit designated for metal surfaces. The key to drilling drainage holes into metal is to go slow and steady. Metal surfaces can cause drill bits to slide around if you go too fast. One thing to consider is the potential for jagged edges around the hole. Use a bit of sandpaper to grind down any sharp edges before use.
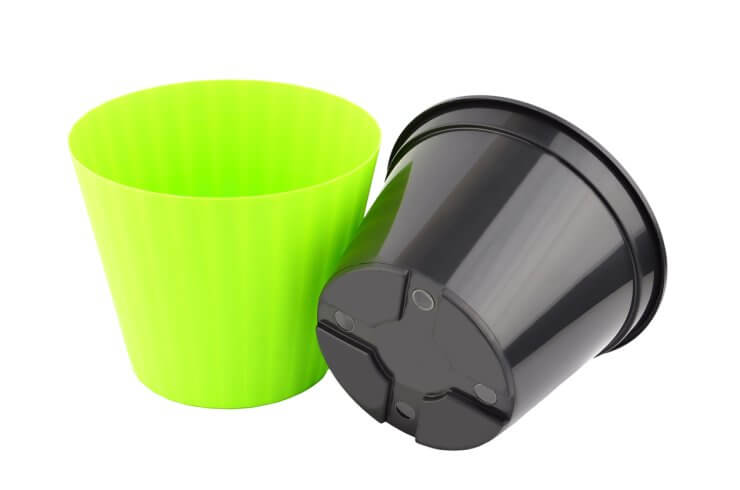
How to drill drainage holes in plastic containers or pots
Before you start drilling, take a look at your plastic container. For many garden-specific containers, there will already be divots or dots along the bottom of the pot intended for drilling drain holes. But even if you don’t have those markings, drilling into a plastic container is not a big deal. An all-purpose drill bit will work just fine for plastic containers. Like the metal containers, there may be some jagged edges to look out for, though they won’t be as dangerous as the metal ones. Simply sand off any rough spots.
Well, Ellie is now sitting on my windowsill with parsley growing on her back. And I’m on the lookout for more creature containers to make an animal-themed indoor garden. I’m a sucker for a good theme.
Have you learned any tips on how to drill drainage holes for your container garden? Share them with me in the comments!
Discover 7 top tips for growing, harvesting, and enjoying tomatoes from your home garden—when you access the FREE guide The Best Way to Grow Tomatoes, right now!


