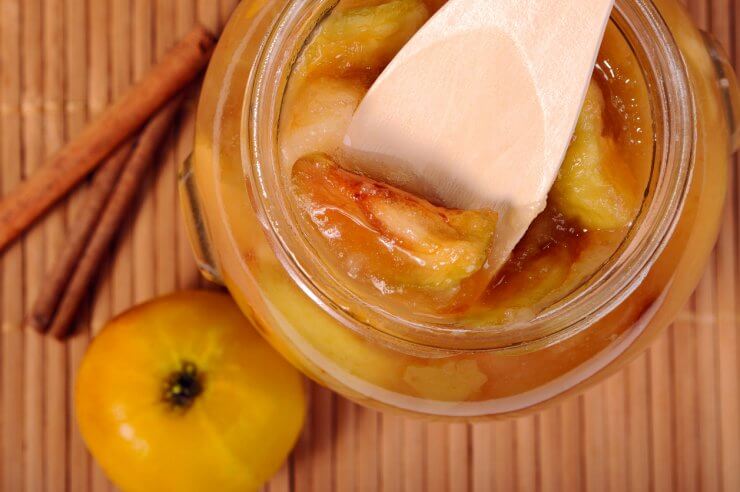
When it comes to buying or picking apples, I always end up with way more than I actually need. The giant basket of apples taunts me from my countertop, knowing that I will never get through them fast enough before they start to go bad. Freezing fresh apples is one way of keeping them from going bad, but I also love pressure canning apples and storing them in my pantry for later use in pies, breads, apple butter, and apple sauce.
Discover 7 top tips for growing, harvesting, and enjoying tomatoes from your home garden—when you access the FREE guide The Best Way to Grow Tomatoes, right now!
Canning gets a bad rap for being time consuming and old fashioned. Even my own opinions were shaped by Little House on the Prairie or some grandma making jam. (For the record, I think grandmas make the very best jam and I stand by that statement!) I just didn’t think canning food would ever be my thing. And I’m happy to report that I was very wrong! This past year, especially, has taught me a lot about the importance of self-sufficiency and not wasting resources. Pressure canning apples gives me the ability to enjoy apples months after I’ve picked or purchased them. Here are seven tips for pressure canning apples so you can enjoy them all year long.
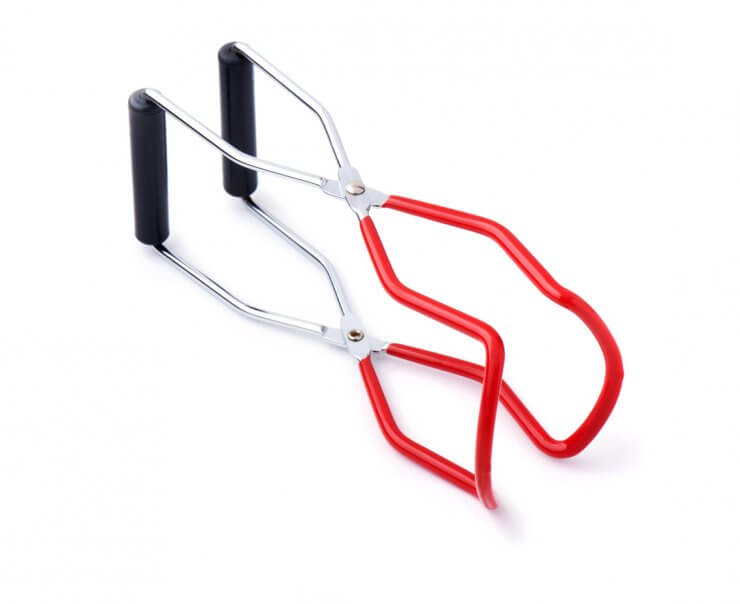
Use the right tools
Normally I don’t like to buy extra kitchen gadgets when a spoon, fork, and knife typically do the job. But for pressure canning apples, and any type of canning, it’s definitely worth the investment. From a personal safety standpoint, you’ll be dealing with hot liquids and canned goods well over boiling temperatures. Having the right instruments to protect your hands and body from extreme heat is important. From a food safety standpoint, using the right tools will help keep you from contaminating your canned apples. Here is a simple set of tools that will get you started.
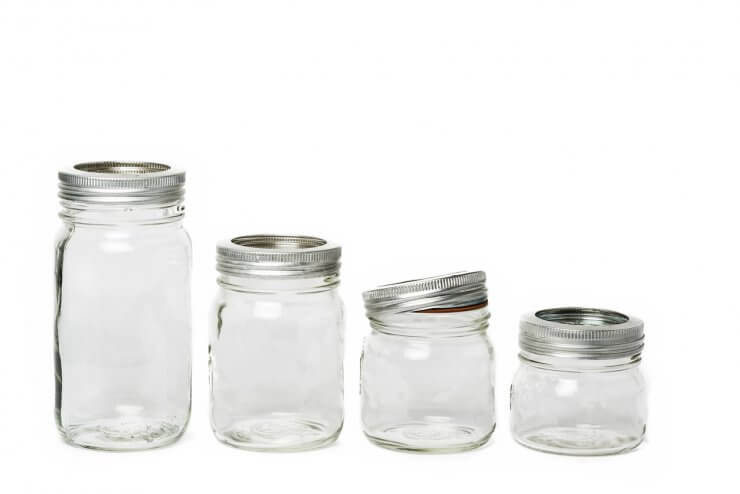
Prepare your jars and lids
Before pressure canning apples, make sure your jars, lids, and bands are clean. You can clean your jars in a dishwasher or hand wash. It’s a good time to inspect your jars during this step for any cracks. Never use jars with cracks or chips when pressure canning apples, or anything else for that matter, since the jars can further break and even cause other jars in your pressure canner to shatter.
The neat thing about pressure canning is that you can skip the sterilizing steps you would normally take for a hot-water canning method since the temperature of the pressurized steam will heat well beyond boiling to 240 degrees. This is hot enough to kill dangerous bacteria that can grow in low acid foods.
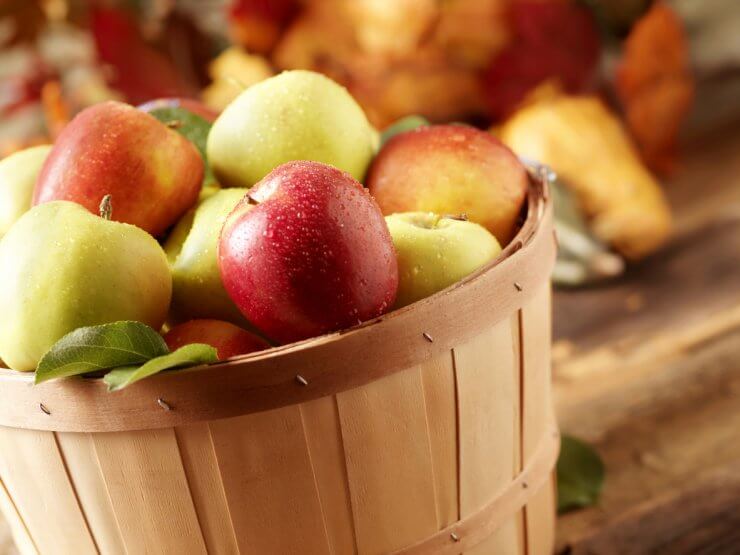
Choose the right apples
When pressure canning apples, it’s good to think about how you may use the preserved apples in the future. If you want the apple slices to retain their shape, for use in pies and crumbles, you’ll want to choose a medium-hard to hard apple like a Gala, Red Delicious, or Cortland. Pressure canning a softer apple, like Fuji or McIntosh will still work just fine, but you might end up with a mushier canned apple better suited for apple butter or baking.
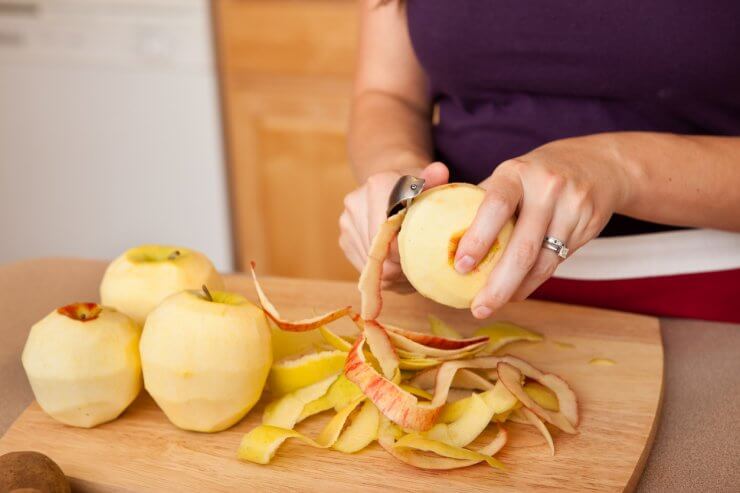
Peel, Core, and Slice
After you peel, core, and slice your apples, give them a good rinse and soak them in a bowl with water and lemon juice. This will prevent the apples from browning.
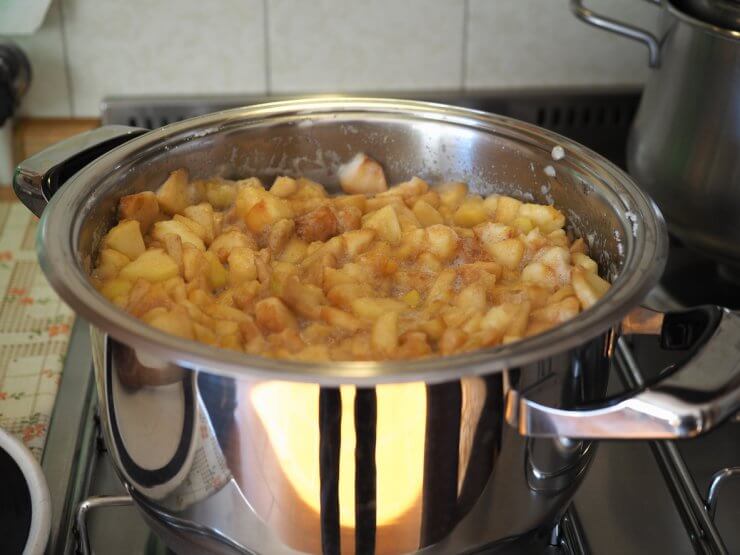
Use a simple syrup or even apple juice!
Depending on the recipe you’re following, you can blanch the apples in boiling water, simple syrup, or bottled apple juice. You can adjust the sweetness to your liking, but using a simple syrup made from pure cane sugar and water is a great way to enhance the flavor of the apple. Follow your recipe for exact timing but for pressure canning apples, it’s usually 5-10 minutes after the mixture begins to boil.
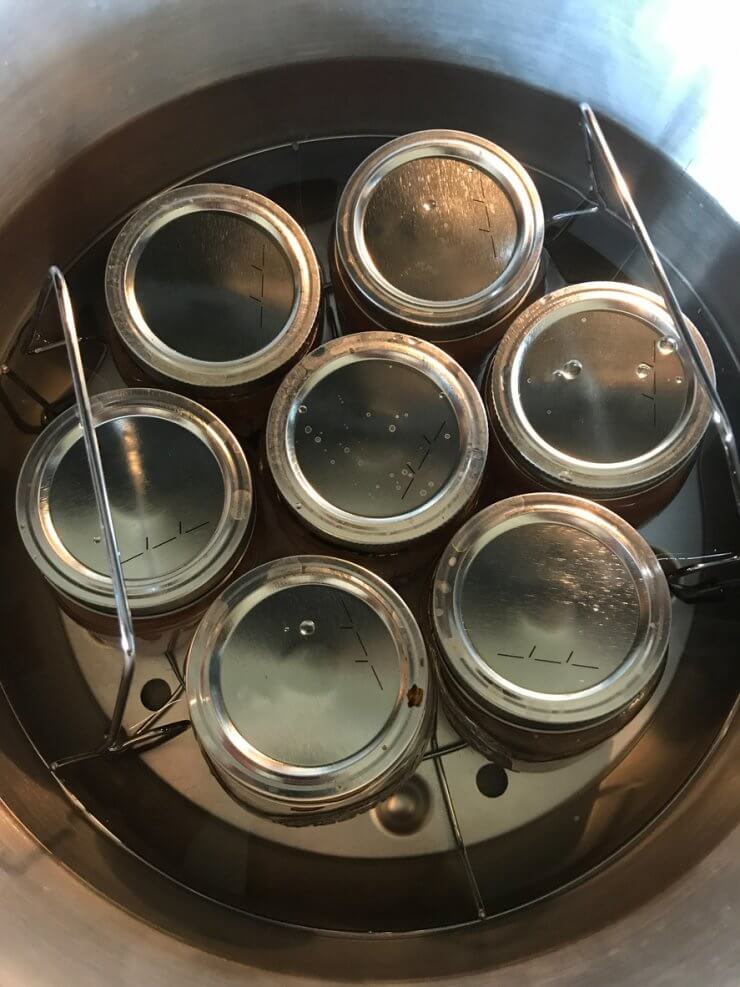
Use the right temperature of water in your canner and follow your canner’s instructions
Match the temperature of the water in your pressure canner with the temp of the contents of the jars. For pressure canning apples, you’ll be adding a hot mixture to fill your jars. Use boiling or very hot water to fill the base of your pressure canner to prevent your jars from cracking. (Likewise, if you fill your jars with cold food and liquid before pressure canning, use cold water to fill your pressure canner.)
Each pressure canner will come with its own manufacturing instructions and different models may have different guidelines to follow. Be sure to take some time to familiarize yourself with your pressure canner and pay close attention. Pressure canning is a great way to safely preserve foods if you follow the directions carefully. Unlike a hot water canning method, you will not submerge your cans underwater, but rather just use a few inches or so. (Check your canner instructions for exact amounts). For some food safety guidance and pressure canning information, check out the National Center for Home Food Preservation.
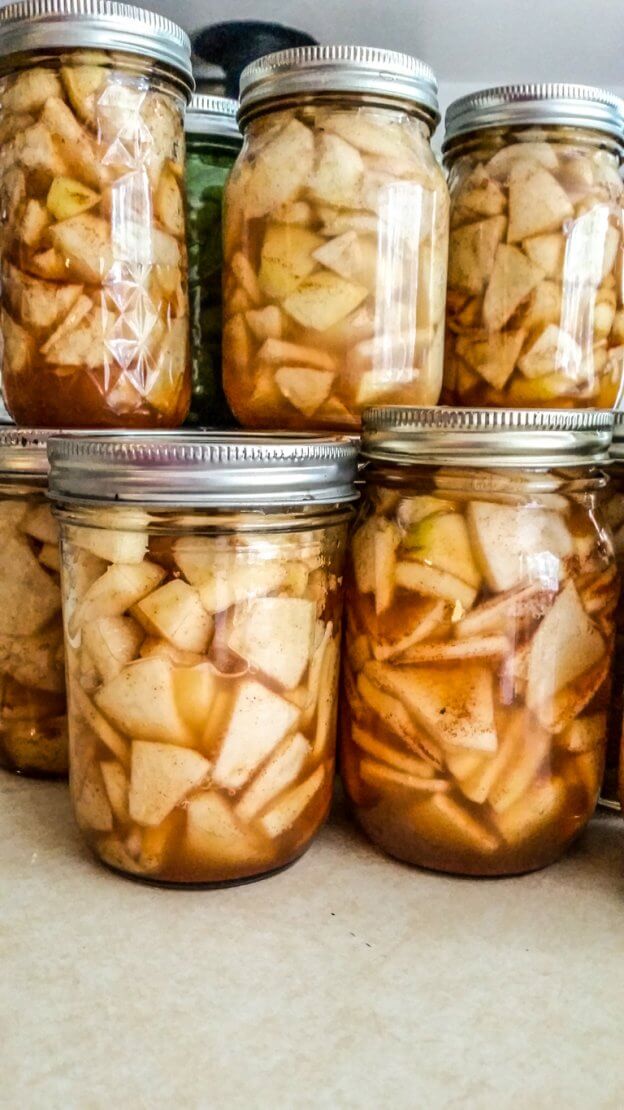
Storing pressure canned apples
When pressure canning apples and other fruits and vegetables, how you store your jars is just as important as pressure canning in terms of food safety. Depending on the size of your jars, you may have the urge to stack your jars in the pantry. Use caution in stacking jars, since too much weight placed on a jar can damage each jar’s seal. I recommend no more than a two-jar stack.
What recipe do you use for pressure canning apples? What is your favorite tip or trick? Share your ideas in the comments!
Discover 7 top tips for growing, harvesting, and enjoying tomatoes from your home garden—when you access the FREE guide The Best Way to Grow Tomatoes, right now!





How many pounds of pressure for the apples? 5-10-15???
Can you can apples in an instant pot or do you have to have a stove top canner?
An instant pot is a pressure Cooker, not a pressure canner. So, no. It is not the same.