As you might be able to tell by the name, hugelkultur comes to us from Germany. The word translates to “hill culture,” and it is a very environmentally friendly and efficient type of raised bed gardening.
Hugelkultur (pronounced Hoo-gull-culture) is sustainable, low-maintenance, drought-resistant, affordable, and can vastly improve the nearby landscape. Better yet, it’s easy to build and maintain. It’s what you get if you put your compost pile and raised bed together. These beds can be shaped to fit your landscape. They can be large or small, and really, there are only a few rules to follow in building them.
Here’s how it works.
Discover 7 top tips for growing, harvesting, and enjoying tomatoes from your home garden—when you access the FREE guide The Best Way to Grow Tomatoes, right now!

Bringing hugelkultur to your backyard
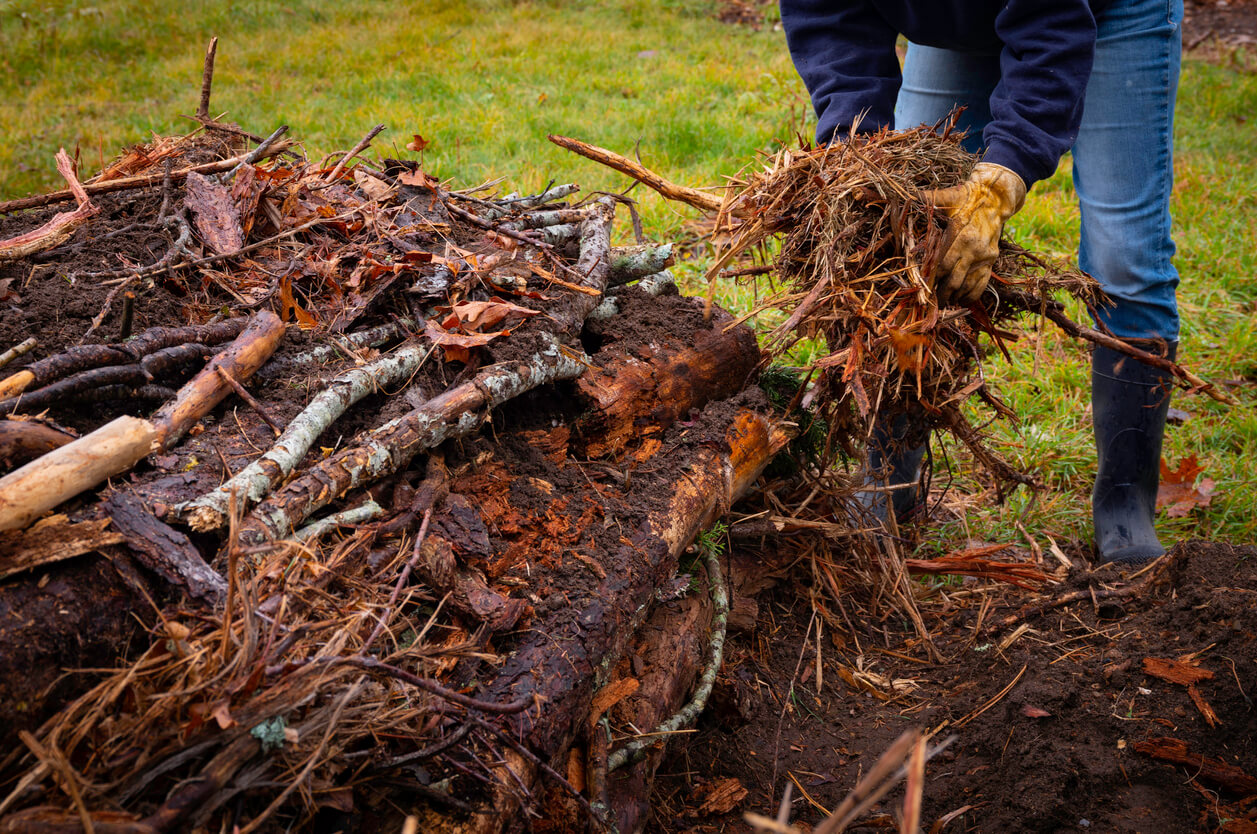
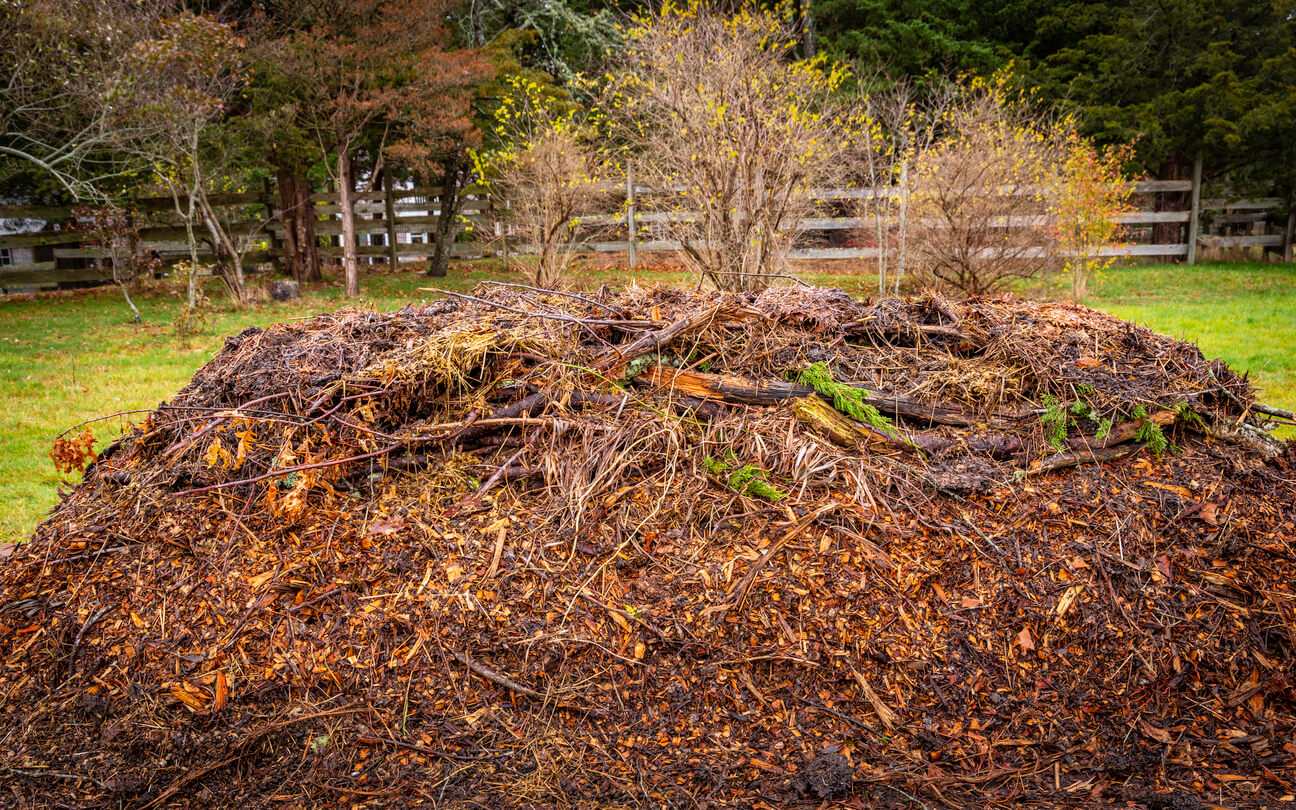
A hugelkultur garden bed is a layered raised bed. It begins with a bottom layer of dead logs or tree branches, followed by layers of sticks and twigs, hay or grass clippings, compost, and topsoil.
As the bottom layers of logs and twigs decompose, they add nutrients to the soil while at the same time becoming more able to absorb moisture. In fact, building your hugelkultur garden at the bottom of a slope can help prevent runoff while absorbing the moisture that your plants need.
Before we get into the details of building your own, there are some essential points to keep in mind.
- Don’t use wood like black walnut, which has allopathic qualities (when one plant inhibits the growth of another often via toxins).
- Avoid woods like cedar that don’t easily rot.
- Avoid treated wood or grass.
- Just like a regular compost pile, avoid human, dog, and cat waste as it may contain toxic bacteria.
Remember, while some hugelkultur garden beds are long and straight, they can be any shape that suits your fancy.
Now then, how to build one? It’s about as easy as could be. Some people opt to dig a small trench about a foot or so deep, while others just start these beds right on the ground level. You can add a border of wood or stone, as well. I’ve even seen some built inside fully enclosed raised beds or tubs, though I would argue that might not qualify as hugelkultur because their ability to retain water and decrease runoff aren’t as pronounced.
In any case, once you have your space figured out, it’s just a matter of layering. First, start with your largest ingredients, such as the logs or tree branches, which, by the way, you can cut down to a manageable size. Then start filling in the space with smaller limbs and twigs.
Once you have some good layers of these solid materials, add filler material such as hay, dried leaves, or grass. Feel free to pile this on. It may look like a lot, but as your mound settles and decomposes, it will shrink a little.
The subsequent few layers are compost, topsoil, and mulch. However, if you create your hugelkultur bed on the ground level, you won’t have the topsoil you would if you dug a trench for your mound. If that’s the case, just add the compost and mulch.

The ideal time to build your hugelkultur bed is in the fall, so the ingredients have time to start decomposing. To avoid erosion, consider planting a cover crop such as ryegrass or winter wheat. That said, this is a pretty forgiving method of planting, so if you’re doing this in the spring, go ahead and plant your garden.
One of the benefits of using hugelkultur for gardening is that you don’t have to pull up any plants at the end of the season. Instead, simply cut them back and let the roots maintain the soil. Easy, right!
What is your experience with Hugelkultur? I’d love to read about it in the comments section.
Discover 7 top tips for growing, harvesting, and enjoying tomatoes from your home garden—when you access the FREE guide The Best Way to Grow Tomatoes, right now!


