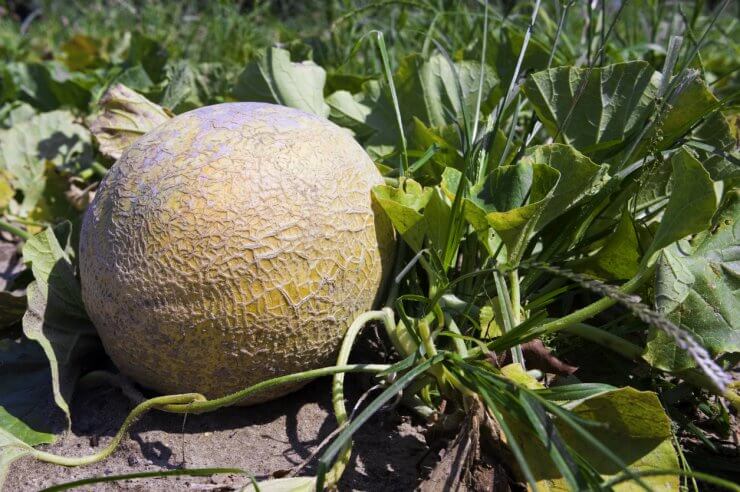
Healthy cantaloupe plant
Light
Melons like their days long and hot—eight to 12 hours of sunlight each day to flourish. Make sure that wherever you’re growing them, they get plenty of sunshine.
Water

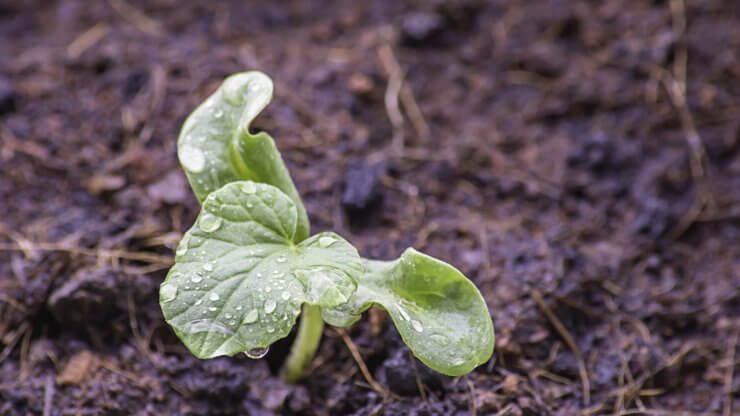
Water droplets on melon plant
Once your melon plants are settled in—whether it’s in a container, a raised bed, or open ground—consistency is key when it comes to watering. Most varieties need 1 to 2 inches of water a week.
In general, you’ll want to water deeply about once a week. This is especially important when you’re tending plants growing in containers—it’s not like they can stretch their roots out in search of more water.
For plants in the ground, a long deep watering is the way to go. To ensure that the plant roots get the thorough watering they need, consider using drip irrigation so the water goes right to the roots. You want to avoid overhead watering, since that can set up your plants for fungal infections. If you must use overhead watering, do it early in the morning so the sun can dry off the excess water.
As the melons begin to ripen, you can cut back a little on watering. Be careful not to overwater during the last two weeks of the melons ripening. This can cause the fruits to split. Splitting can also occur if you have a dry spell and you haven’t managed to water your plants. The sudden influx of water can make the fruit expand beyond its skin’s capacity to hold it. The key is consistent, deep watering.
Mulch can help conserve water and deter weeds. A 3-inch layer of wood mulch, compost, or natural grass clippings can help with water retention. Black plastic mulch is also great at helping to retain soil moisture as well as to deter weeds.
Pollination
Melons are self-pollinating. But while that may give you a “set it and forget it” sort of feel, don’t be lulled into a false sense of security. When female flowers on a cantaloupe plant open, that’s the day they need to be pollinated. So, if you don’t have active pollinators in your area, you’re going to want to watch for those female flowers and get out into the garden that day to help them along. You can tell the difference between the male and female flowers by looking at how the flower attaches to the plant. A flower growing directly from the plant with a longer stem is male. A flower that has what looks like a wider extended bit of stem is female; that extra bit below the base of the flower is the ovary—your future melon.
If you don’t have active pollinators where you’re growing your cantaloupe, you’ll want to lend a hand and pollinate the flowers yourself. You can take a male blossom from your plant and rub it on the central fruit-producing part of the female flower, the pistil. You can also use a soft paintbrush or a cotton swab to do this. You can use one male flower to pollinate more than one female flower. If your female flowers don’t get pollinated, you’ll wind up with misshapen fruit stunted on the vine, or no fruit at all. If you don’t have a lot of pollinators, you may need to work this pollination activity into your gardening schedule.
In some melon varieties, the female flowers are only open for pollination for one day. Ask about your preferred variety before you make the commitment; you could be a busy bee in the garden if your melons need a little help.
Weeding

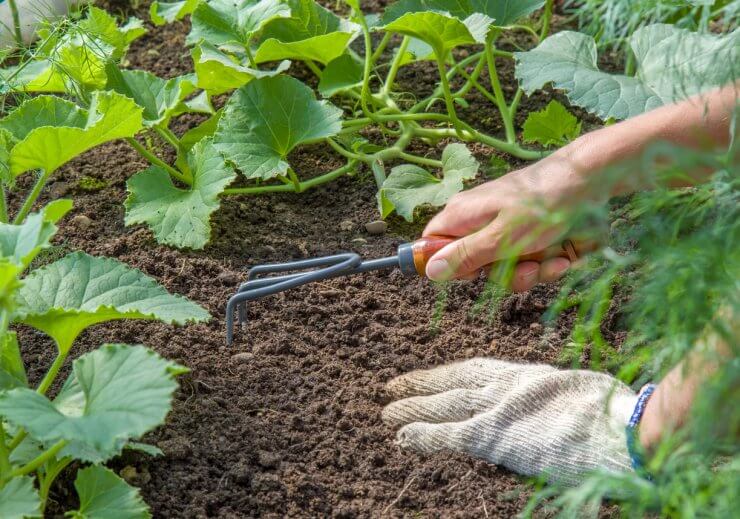
Gardener weeding melon plants
When it comes to weeding around your melon plants, early and often is best. If you’ve used weed-free soil and well-rotted organic matter, and laid down mulch, you shouldn’t have a big weed problem.
Properly preparing your soil is an excellent preventive measure against the emergence of weeds. When you till or cultivate the area where you’ll plant your melon plants, remove weeds and debris. You’ll likely find that the first few weeks after planting are the only time you’ll be pulling up weeds around your plant. And if you use black plastic mulch, you’ll be way ahead of the weeding game, since it does a great job at keeping weeds away. The only plants that should be growing through the plastic mulch are your melon plants.
If weeds spring up around your melon plants during the growing season, work the soil around the base of the plants with a hoe—only deep enough to kill the weeds and not damage the plant’s roots. When the plants have grown enough that you can’t get a hoe in to loosen the weeds, pull them by hand.
As the fruits continue to grow, you’ll want to give them a little support; you don’t want them to stay on the ground, and if they’re growing on a trellis, the weight of the fruit could damage the vine. You can fashion a sling from panty hose or mesh bags. There are also little melon cradles available that stake into the ground so you can put your fruit on its own little pedestal.
Fertilizer
Before you plant your melons in the spring, you should add 3 to 4 pounds of 10-10-10 fertilizer for every 100 square feet of soil. Work it well into the top 2 to 3 inches of soil.
Shortly before the runners start to spread out, side dress each plant with a half cup of 10-10-10 fertilizer. Sandy soils will especially benefit from this treatment. But if you’re using black plastic mulch, you probably won’t need to fertilize during the growing season. The mulch does a great job of retaining the nutrients in the soil.
How often do you have to fertilize or water your melon plants? Do you have any particular challenges growing melon plants? Please tell us your tips for nurturing healthy melon plants.


 Previous


I live in NW Montana. Sun is no problem, but what is your definition of warm? Daytime temps are no problem, but nighttime gets into the 50’s and high 40’s.