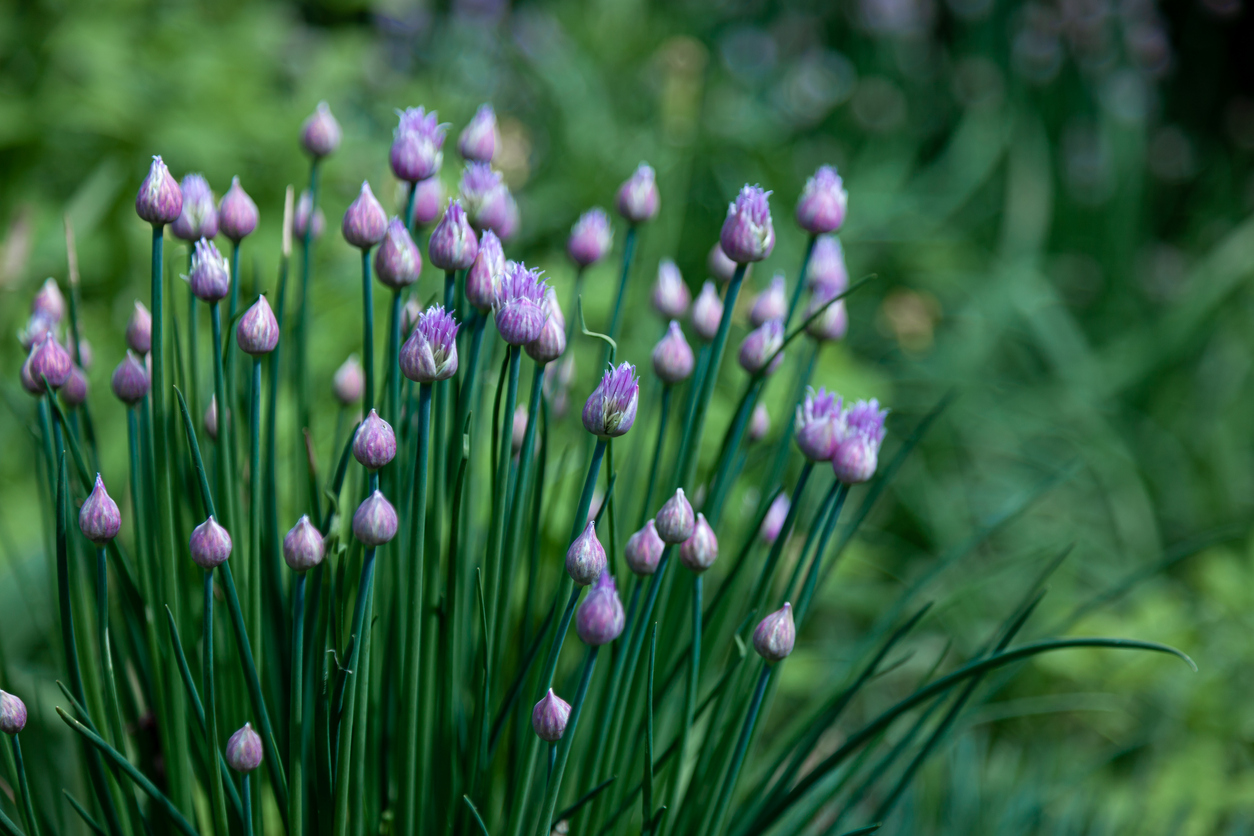
Common chives growing in garden
I don’t know who gets as excited about chives as I do, but I’d like to meet them. I think my fondness for chives stems from afternoons with my cousins in my grandmother’s backyard. She had heaps of chive plants; we’d gnaw on them and the flowers all day. They were too far from the kitchen to be useable, so I think they were mostly for decoration.
When we moved into our house, and I saw a string of chive plants, I vowed never to hold them back. They could chive their lives away in my garden for all I cared! But here’s the thing about chives. If you let them chive, chive away, boy, are they going to do so. Thus, my border hedge of chives became a garden of chives bit by bit, with new clumps popping up each year.
To be honest, I’m still not mad about it, but I do need to spread the wealth. And so, I came up with an easy way to divide my chive plants to sell or give away to friends and family. Who wants chives? I’ve got ’em! If you want to share your chives, too, here’s what I do:
Timing: First things first, let’s talk about the best time to divide your chive plants. Ideally, you want to do this in early spring or fall when the plants are not actively growing. This gives them a chance to settle into their new homes before they have to put all their energy into producing those delicious, oniony leaves.
Method: Grab a sharp spade or a garden fork, and head out to your chive patch. Look for a clump that’s about 6 inches in diameter. That’s the perfect size for dividing. Gently dig around the clump, being careful not to damage the roots. Once you’ve got it loosened up, use shears to cut the roots, or pull the clump apart with your hands into smaller sections. Each section should have a few healthy shoots and a good chunk of roots.
Potting: If you’re planning on selling or giving away your chive divisions, pot them up in some fresh soil and let them grow for a few weeks before handing them off. This gives them a chance to establish themselves and look their best for their new owners.
Gifting: Speaking of new owners, let’s talk about who might want some chives. Gardeners, of course, are always looking for an easy-to-grow herb to add to their collection. But don’t forget about foodies! Chives are a staple in many recipes, from baked potatoes to egg dishes. And let’s not forget about the aesthetics – those pretty purple flowers make a lovely addition to any garden.
If you’re feeling extra generous, you could even put a little table at the end of your driveway with a sign for “FREE CHIVES!” Or, invite your friends and neighbors over for a garden party, and have them bring a pot or container to take home their very own chive clump. It’s a fun way to share your love of gardening (and chives!) with the community. I’m not sure I want to give away too much of my chives though…what if people got greedy and I was left… chiveless?!
Going a bit beyond the basics, I’ve learned a thing or two about dividing chives, and here are a few key take-aways from my journey:
Time of Day: Sure, you can divide your chives any old time, but if you want to give them the best possible start, aim for a cool, overcast day. I like to wait until the late afternoon, when the sun is starting to dip and the temperature is a bit more forgiving.
Shears for the Roots: While you can certainly use a spade or garden fork to dig up your chives, I’ve found that a good pair of pruning shears can make the process a whole lot easier. Look for a pair with sharp, clean blades and comfortable handles. When you’re ready to divide, simply snip the clump into quarters or eighths, depending on the size. This method is a lot less disruptive to the roots than trying to pry them apart with your hands.
Sizing: When dividing your chives, aim for clumps that are about 2-3 inches in diameter. Any smaller, and they might struggle to establish themselves in their new homes. Any larger, and you’ll be dealing with a root ball that’s harder to manage. I like to think of it as the Goldilocks principle of chive dividing – not too big, not too small, just right.
Rooting: Try dusting the roots with a bit of powdered mycorrhizal fungi before replanting. This beneficial fungus helps the roots absorb nutrients and water more efficiently, giving your chives a leg up in their new digs. You can find it at most garden centers or online.
Watering: Chives are pretty drought-tolerant once they’re established, but newly divided clumps will need a bit of extra TLC. Water them well after replanting, and then keep the soil consistently moist (but not waterlogged) for the first few weeks. A good rule of thumb is to stick your finger about an inch into the soil – if it feels dry, it’s time to water.
With these secret tips in your arsenal, you’ll be the talk of the chive town. Your neighbors will wonder how you get such lush, flavorful chives, and you can just smile and nod, knowing that you’ve got the inside scoop. So go forth and chive on, my friends. Happy dividing!
Are you planning to divide your chives this year? What other questions do you have? And don’t forget to check out our Chives Gardening Guide!


 Previous

