Are you seeking a cost-effective solution for storing your garden surplus without breaking the bank? Look no further—here are some practical and budget-friendly ideas for crafting your own DIY cold storage space at home.
If the thought of constructing your cold storage room crossed your mind but you hesitated due to limited construction skills, fear not. After discovering the steep cost of commercial refrigerators, you might be reconsidering the DIY route. While a restaurant-grade refrigerator priced at $2,999 is an attractive option, it’s worth noting that refrigeration was not always available.
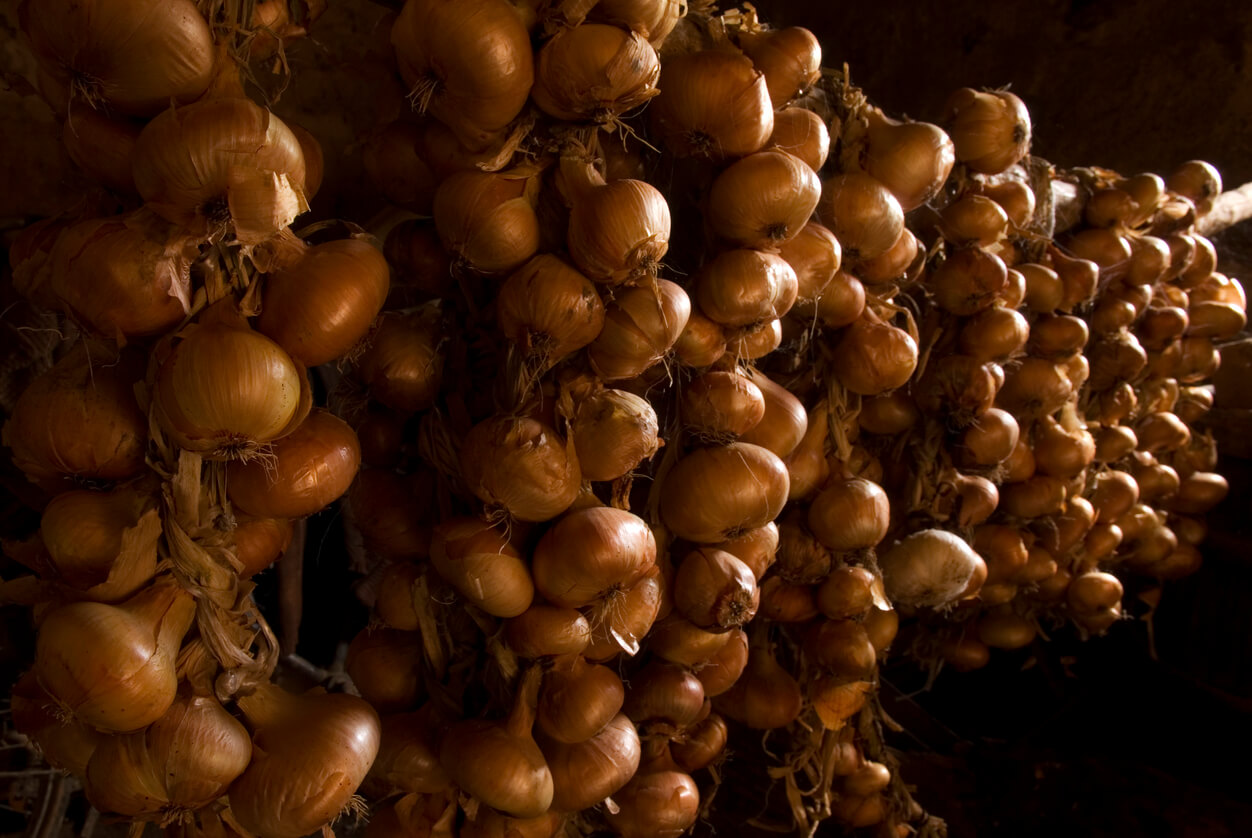
Back in the day, before widespread refrigeration in the 1930s, people relied on ingenious cold storage solutions like the root cellar. Positioned into hillsides or built in basements, root cellars capitalized on earth’s insulation and dirt floors to maintain a constant temperature and humidity—ideal for preserving vegetables such as beets, potatoes, winter squash, carrots, and onions.

Embracing the wisdom of the root cellar, our goal is to create a DIY cold storage solution that eschews electricity, maintains temperatures between 32 and 40 degrees Fahrenheit, and fosters optimal humidity levels.
For those fortunate enough to have an unfinished basement with a dirt floor, you’re in luck. Most of us, however, will need to put in a bit more effort.
Crafting DIY Cold Storage at Home
In the Basement:
If you have a basement, consider transforming a corner into a DIY cold storage room with minimal construction:
- Identify the northwest corner with ventilation, such as a small window.
- Erect 2×4 posts around the perimeter, spaced 4 feet apart, with additional horizontal support.
- Attach plywood or particle board, insulate the inner portion, and add plywood to form a sturdy structure.
- Install a door and insulate the ceiling.
- Incorporate freestanding wooden shelving for flexibility.
- Darken the space by covering the window with thick fabric.
- Maintain high humidity levels with a humidifier or pans of water.
- Alternatively, use space underneath the basement stairs, though ventilation may require extra effort.
No Basement? No Problem!
- Bury a Trash Can: This is the DIY cold storage version of a root cellar. Drill small holes in the can, bury it in the ground, and add straw between vegetable layers.
- Insulate a Closet: Older homes with poorly insulated walls can benefit from converting a closet into cold storage. Insulate the space, add moisture with a bowl of water, and ensure darkness.
No Basement and No Yard:
- Insulate a closet along a cold perimeter wall, blocking heat from your home, and consider using an insulation kit for added effectiveness.
- Remember, perfection is not the goal. Even a simple wooden crate in a dark corner can extend the life of your vegetables. Check out related articles on vegetable storage and share your DIY cold storage story in the comments.
Related Articles:
- How to Store Potatoes for the Winter
- Are You Storing Onions the Wrong Way? Learn How to Store Every Variety
- 7 Tips for Storing Squash No Matter What Type
Have you embarked on creating your DIY cold storage? Share your experiences in the comments!
Note: Food Gardening Network contains links to affiliate websites, including Amazon and Rakuten Affiliate Network, and we may receive a commission for any eligible purchases made by you through links on this page. Any reviews are based on honest reviews of the products.


 Previous

