Do you have a sloped yard and dream of growing your own garden? Fear not! With the ingenious solution of hillside planter boxes, you can transform even the steepest incline into a thriving vegetable and herb haven. Here’s your guide on creating these functional and attractive planters to make the most of your sun-kissed slope.
When planning your vegetable garden, identifying the sunniest part of your yard is crucial. If this happens to be a sloped or hilly area, worry not – hillside planter boxes are your answer. These boxes are not only practical but also enhance accessibility and aesthetics.
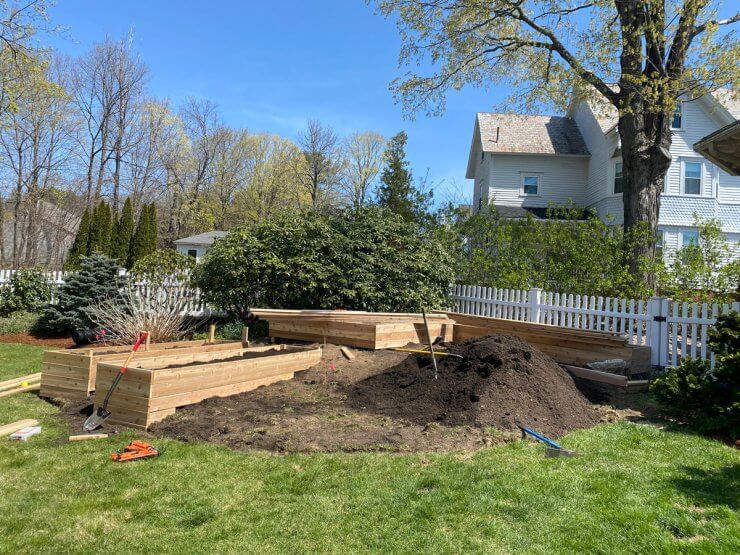
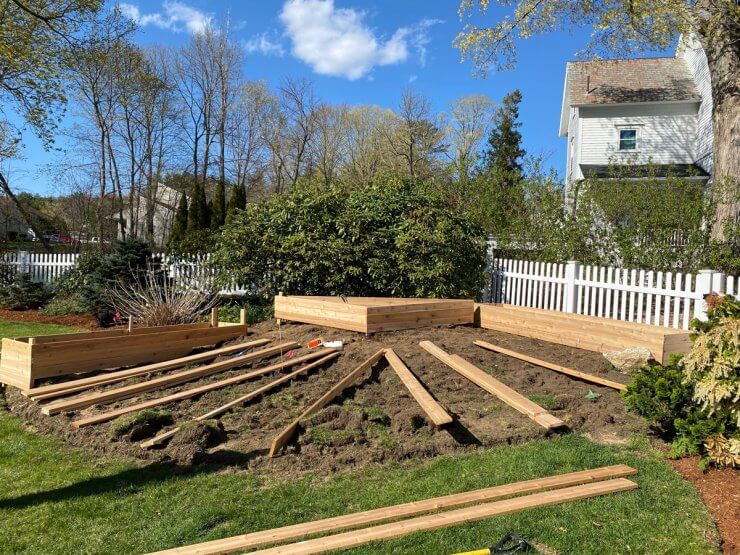
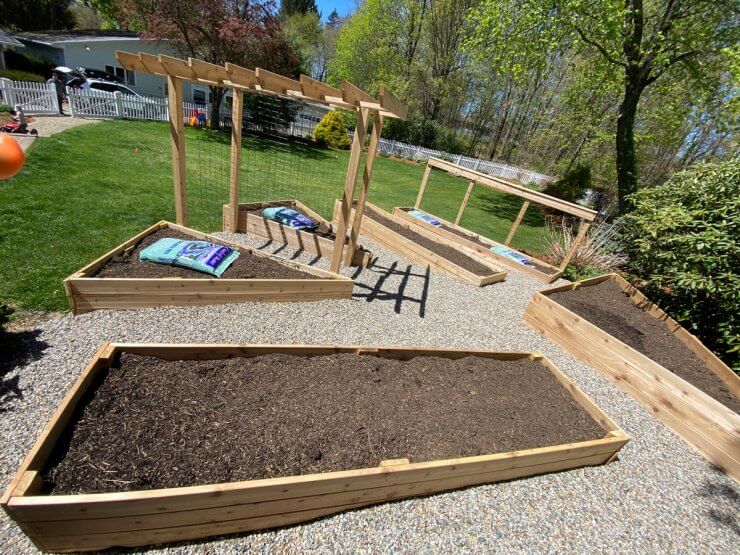
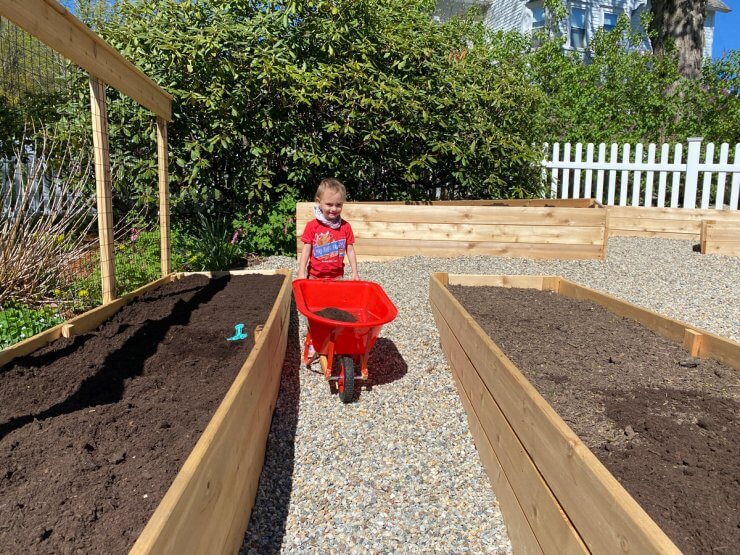
In my own garden, situated on a noticeable slope, we opted for raised beds that vary in height, providing both depth and dimension. The front beds stand at nearly two feet high, gradually decreasing to six inches at the back. Depending on your yard size, you can choose between full-size garden beds or embrace the charm of smaller built-in hillside planter boxes. The latter offers easy access from all sides, requiring only basic materials like wood and nails for construction.

Generally, two approaches can be employed to create built-in hillside planter boxes: leveling the land or building boxes that follow the slope. The choice between these methods depends on your skill level, the size of your planter boxes, and your budget for soil, wood, and materials.
Method One: Level Up!
This method involves leveling the slope by digging into the land, creating a flat surface to accommodate pre-made planter boxes.
- Outline the garden bed shape on the sloped land, with the lowest point determining the necessary depth for the entire footprint.
- Level the land, then assemble or build your planter boxes, placing them in the leveled footprint.
Method Two: Build Planter Boxes to Fit the Slope

This approach entails constructing raised bed frames that match the slope using cut wood. Keep in mind that using untreated wood, particularly cedar, is essential for preventing toxicity.
- Determine your desired dimensions, considering a smaller scale for hillside planter boxes.
- Set up a mock-up using wood scraps, shims, or cardboard to accommodate the slope temporarily.
- Measure the height required to make the bed level, ensuring you have enough wood for the box.
- Build the box, adjusting for the slope by stacking 2x4s or building legs if needed.

Remember, these methods are customizable, offering flexibility in height and design. You can even incorporate cold frames during colder months to extend your growing season. Once your hillside planter boxes are in place, it’s time to fill them with herbs and vegetables, ensuring a bountiful harvest while keeping those pesky weeds at bay.

Have you tackled a sloped yard with hillside planter boxes or garden beds? Share your experiences, ideas, and advice in the comments below!


 Previous

