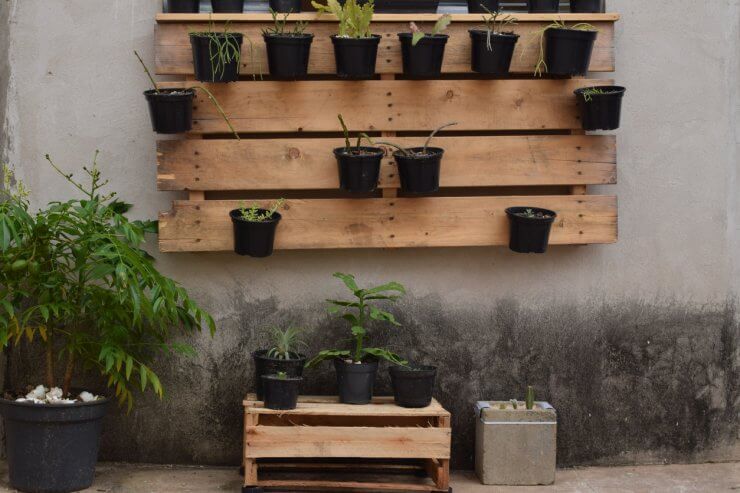
Looking for an inventive way to cultivate herbs while maximizing vertical space? Explore the world of DIY with this innovative pallet hanging garden concept!
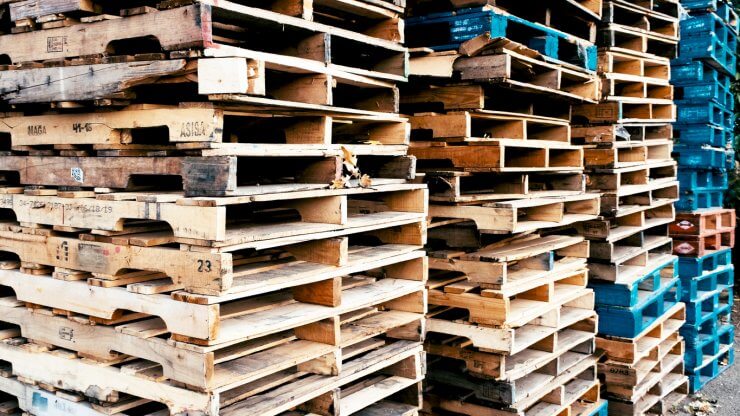
Wooden pallets, originally designed for transporting a myriad of goods, have found a second life through the rise of DIY trends on platforms like Pinterest and various TV shows. Repurposed into furniture, fencing, and garden structures, pallets have become versatile assets in the hands of creative enthusiasts. In the realm of gardening, they serve as excellent trellises for climbing vegetables and can even be transformed into compost containers. Among the myriad of possibilities, constructing a pallet hanging garden for herbs has emerged as a personal favorite.
Utilizing vertical space in a garden offers numerous possibilities, and a pallet hanging garden stands out as a practical example. This self-contained structure is particularly advantageous for those with limited garden space or none at all. All it requires is enough room to lean a pallet against a supporting structure.
Various methods exist for constructing a pallet hanging garden for herbs. The spotlight here is on a method that demands neither power tools nor advanced carpentry skills, ensuring accessibility for gardeners of all proficiency levels.
Materials Needed:
- Wooden pallet
- Hammer
- Staple gun
- Landscape fabric
- Potting mix
- Herb seeds or seedlings

Ensuring Pallet Safety:
Not all pallets are created equal, and it’s crucial to choose the right one for your herb haven. There are two main types: chemical-treated and heat-treated. Opt for heat-treated pallets if you plan to grow any food products. Look for the “HT” marking, indicating heat treatment, and avoid pallets marked “MB” for Methyl Bromide, a hazardous pesticide. Additional markings like “KD” (kiln dried) and “DB” (debarked) are generally safe.
Note: If unsure of the pallet’s treatment, consider affixing pots to create a vertical herb garden instead.
Crafting Your Pallet Hanging Garden:

Space Out the Pallet Slats:
Flip the pallet and identify the three main “foot” slats for each herb box. Remove every other slat to create space for your herbs to flourish.

Staple Landscape Fabric:
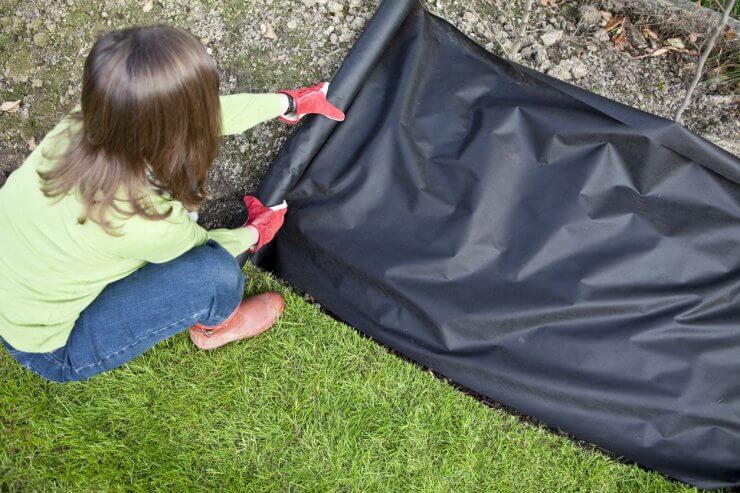
Use a staple gun to attach landscape fabric to the bottom of each “garden box.” Adjustments may be needed based on your pallet’s configuration, ensuring the fabric becomes the box’s bottom and wraps around the back slat.
Place Your Pallet:
Paint the “foot” slats for visual appeal and stability. Lean the pallet against a structure or bury the lower section if possible. For stability when leaning, use rope or cord as an anchor.

Add Potting Mix and Herbs:
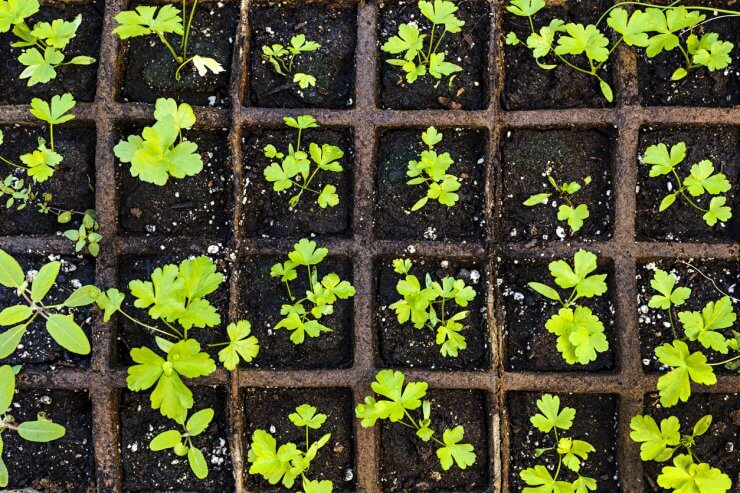
Fill each fabric pocket with potting mix, and plant your herb seeds or seedlings. As the fabric is porous, additional drainage holes aren’t necessary. Keep an eye on moisture levels, especially if rainfall is limited.
Personalize Your Herb Haven:
Once your pallet hanging garden is in place, get creative with herb identification. Use paint, store-bought plant ID tags, or other non-toxic signage for a personalized touch.
Have you tried building a pallet hanging garden? Share your method in the comments!


 Previous

