My daughter is two, and one of my favorite things to do with her is arts and crafts. As you might understand, being patient with a two-nager is a necessary skill in itself. Mine can go from wanting to glue and cut paper, to wanting to play with play-doh and then pulling out the paints in about 60 seconds. Making DIY plant pots at home, versus buying them at the store is not only cheaper, but a really good way to entertain a busybody toddler (and even moreso older kids!)
When given a new project she’s never done before, my kid is up to the task and I can keep her attention for a solid 30 minutes, which is about all the time this needs to take.
Making DIY plant pots with your kids is a great way to get kids into container gardening. By giving them something to create and “own” you can then work it into helping them plant a determinate tomato plant, or some peppers that they’ll be eager to water and keep alive.
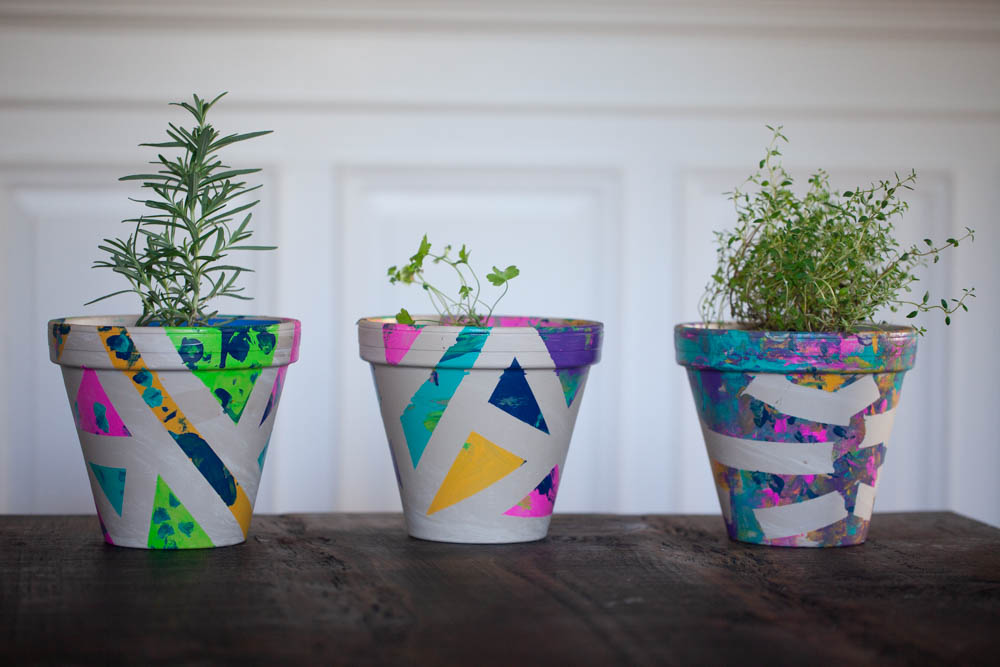
Depending how old your kids are, you can let them do the taping or do it yourself. The one on the right is an example where I let my two year-old do the taping.

As long as you aren’t terribly worried about how they look, you’ll have a blast. And if your daughter is two like mine, she probably won’t care if you tidy up a few bits once she’s decided she’s bored and wants to ride her tricycle. In the end, you’ll have a few new pots that your kids will be proud to show off.

Making DIY Plant Pots with Painters Tape and Paint
Materials:
- Drop cloth
- 8” clay or terracotta pot(s)
- Paintbrush(es)
- Painting tape or rubber bands
- Colored acrylic paint
- Spray sealer or shellac
The Basic Idea Behind these Painted DIY Plant Pots
When I was a kid, my mom went back to college, and the coolest class she had was an art class that required her to use tape to paint in a million little triangles on this huge canvas. It seemed like such fun and I always wanted to do it myself, so I brought the idea right to the pots.
You can use painters tape, or even rubber bands, on any porous pot, like clay or terra cotta, and come up with any design you want. If you have older kids, they can be the tapers, and if you have younger kids, it might be best if they’re just the painters.
To begin, put down a drop cloth or paper.
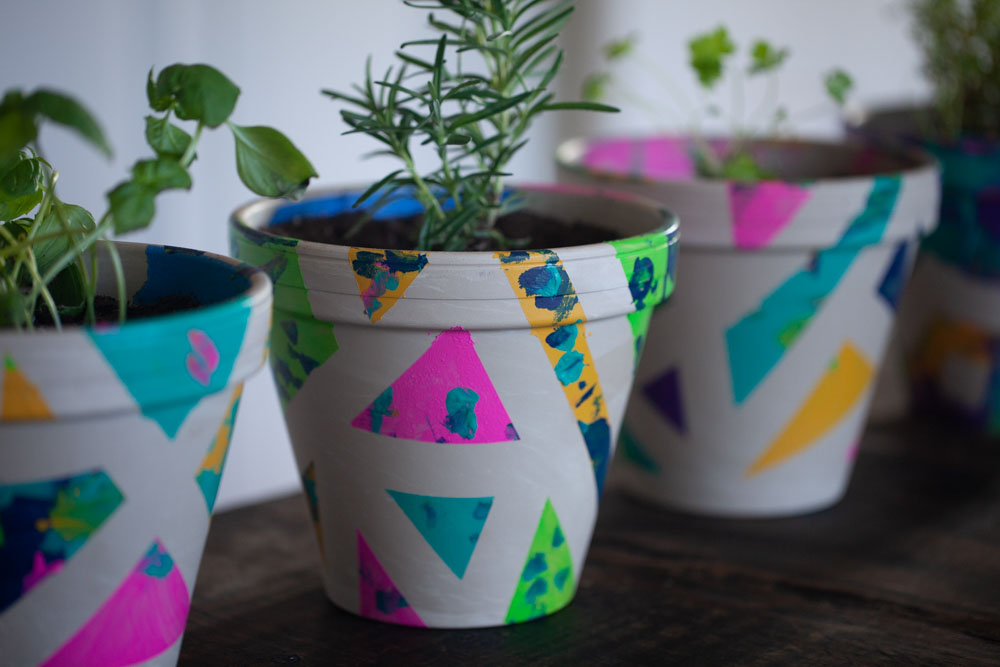
Next, cut your painters tape into long thin strips, with the sizing based on how big your pot is. Apply your painters tape (you can also use rubber bands!) in every which direction, creating a design you like, understanding that where the tape is, will be the lines that separate the colors.
Once the tape is on, you can begin painting in your patterns with whatever colors you choose. For a more dynamic look, you can let it dry, then tape another pattern on top of it and paint again.
If your kid isn’t really feeling the DIY plant pots with tape vibe and you want to get more simple, you can let your kid go to town and be expressive with paint on the plant pots and paint whatever they’d like, but I think this method is a little more stylish for your sake and is a fun technique to learn.
To seal the pots, simply spray a few layers of shellac over the outside of the pots and let dry completely. I wouldn’t paint or seal the inside if you’re planning to pot anything you’re going to eat. Let the sealer dry.
Finally, remove the tape to reveal your final design!


 Previous

