

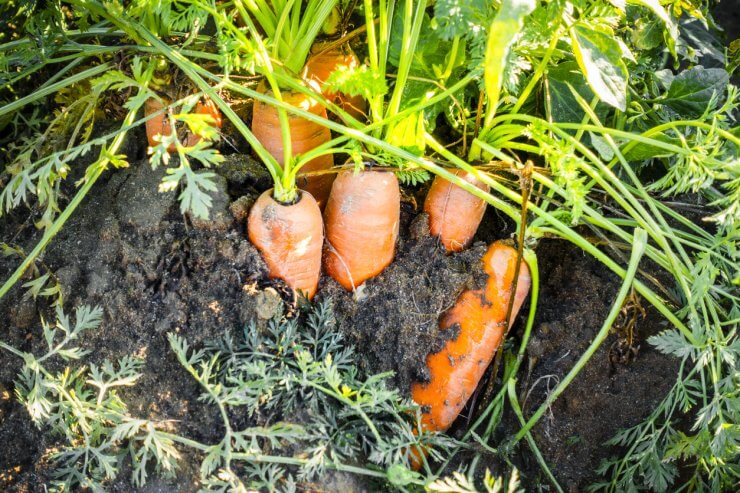
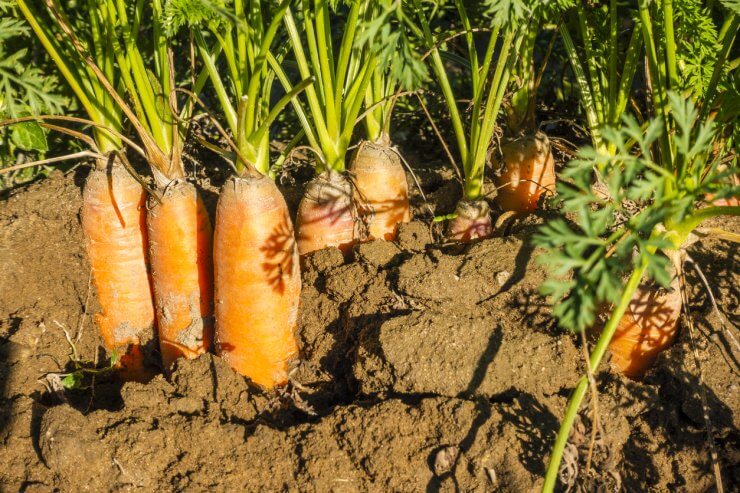
Ask any carrot grower about their first harvest, and you’ll likely hear tales of twisted, tangled, or stumpy roots that looked nothing like those perfect grocery store carrots. The secret to those picture-perfect carrots isn’t just good soil or proper watering – it’s having the heart to thin out your seedlings. Yes, it feels almost cruel to pluck out tiny carrot sprouts, but those long, straight, and properly developed roots we dream of need their personal space to thrive. Since carrot seeds are about the size of a grain of sand, even the steadiest hands struggle to space them perfectly at planting time. Without the courage to thin them out, your carrots will wage an underground battle for resources, resulting in small, misshapen, or stunted roots that might make you question your gardening skills.
Don’t worry – while thinning might test your gardener’s resolve, it’s a skill anyone can master. Let’s explore the best techniques for thinning carrots, when to do it, and how to make the most of those pulled seedlings so nothing goes to waste.
Why Thinning Carrots Is Important
Unlike crops such as tomatoes or beans that can tolerate close planting, carrots grow entirely underground, meaning they need adequate space to develop properly. When carrots are overcrowded, they face several challenges:
- Misshapen or forked roots – Carrots growing too close together will twist and tangle around each other instead of growing straight.
- Small and stunted carrots – Without enough room, nutrients, and water, carrots stay undersized.
- Increased risk of disease – Crowded plants trap moisture, increasing the likelihood of fungal diseases like carrot rust fly and damping off.
- Difficulty harvesting – When carrots are packed too tightly, pulling one out may disturb or damage its neighbors.
Thinning eliminates these issues and gives each plant enough space to reach its full potential.
When to Thin Carrots
Carrots should be thinned in two stages to ensure the best results:
1. First Thinning (When Seedlings Reach 2 Inches Tall)
- The first thinning should take place about 2-3 weeks after germination, when seedlings are 2 inches tall and have developed their first set of true leaves.
- At this stage, remove the smallest and weakest seedlings to give the strongest ones more room to grow.
- Space the remaining seedlings about 1 inch apart.
2. Second Thinning (When Carrot Tops Are 4-6 Inches Tall)
- The second round of thinning happens when the carrot tops are 4 to 6 inches tall.
- This time, space the remaining plants 2-3 inches apart, depending on the variety.
- Many baby carrots pulled during this stage are edible, so they can be used in salads or eaten fresh instead of being discarded. I have even used them as garnish on carrot cake cupcakes!
By thinning in stages rather than all at once, you avoid removing too many plants early on while still allowing for healthy root development.
How to Thin Carrots Without Disturbing the Roots
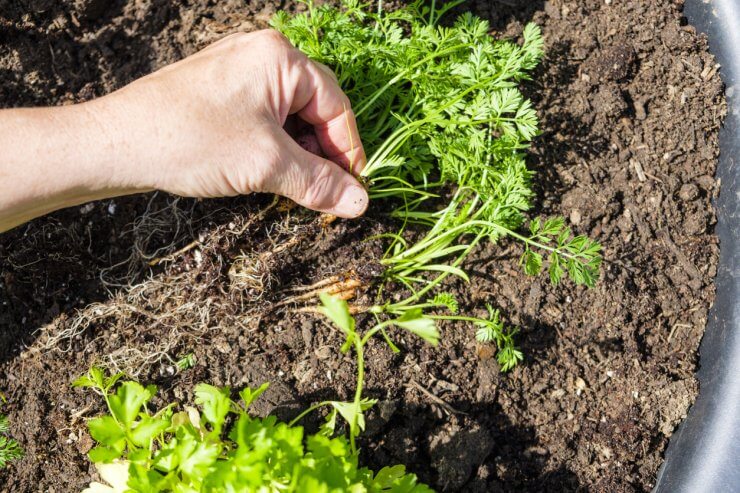
Since carrots have delicate, shallow roots, improper thinning can cause damage to nearby plants. Here’s the best way to do it without disturbing the remaining seedlings:
1. Thin by Pinching or Snipping
- The safest way to thin carrots is to use small scissors or pinch off the tops at the soil level instead of pulling them out.
- This method prevents disturbing the roots of the carrots left behind.
- Discard or compost the removed seedlings, or use them as microgreens in salads.
2. Thin by Gently Pulling (Only in Loose Soil)
- If you prefer to pull out seedlings rather than snip them, water the bed lightly before thinning.
- Grip the seedling near the base and pull straight up to minimize root disturbance.
- Immediately press down the surrounding soil to prevent damage to the remaining roots.
3. Water After Thinning
- Always water your carrot bed after thinning to help remaining roots settle and reduce stress.
- A light layer of mulch (such as straw or fine compost) can help retain moisture and prevent weeds.
How to Avoid Thinning by Planting Carrots Correctly

If you want to reduce the need for thinning, try these planting techniques:
1. Use Seed Tape or Pelleted Seeds
- Seed tape is pre-spaced, biodegradable paper with carrot seeds embedded in it. Simply unroll it, cover with soil, and water. I made a whole video on how to make your own seed tape.
- Pelleted seeds are larger and easier to handle, allowing for more precise spacing when planting.
2. Mix Seeds with Sand or Coffee Grounds
- Since carrot seeds are tiny, mixing them with fine sand or used coffee grounds before planting helps distribute them more evenly.
- This method reduces overcrowding and minimizes the amount of thinning required later.
3. Use a Seeding Grid or Dibble Board
- A seeding grid (a board with holes for precise spacing) can help ensure evenly spaced planting from the start.
What to Do with Thinned Carrot Seedlings

Instead of throwing away the seedlings you remove, consider these creative and useful ways to repurpose them:
1. Eat Them as Microgreens
- The tiny carrot tops are tender and flavorful, making a great addition to salads, soups, and sandwiches.
2. Use Them in Smoothies or Pesto
- Blended carrot tops can add a nutrient boost to smoothies or be used in place of basil in carrot top pesto.
3. Compost Them
- If you don’t want to eat them, simply add them to your compost pile for nutrient recycling in the garden.
4. Feed Them to Chickens or Rabbits
- If you have backyard animals, carrot tops are a healthy treat for chickens, rabbits, and other livestock.
Thinning carrots is a crucial step in growing healthy, full-sized roots. By spacing out seedlings in stages and using the right thinning techniques, you can avoid misshapen, stunted, or overcrowded carrots.
For the best results:
- Thin twice—first when seedlings are 2 inches tall, and again when they reach 4-6 inches.
- Use scissors or gently pull seedlings to avoid disturbing the remaining roots.
- Water after thinning to help plants recover.
- Reduce the need for thinning by using seed tape, pelleted seeds, or a sand-mixing technique when planting.
With the right approach, you’ll be rewarded with straight, uniform, and flavorful carrots at harvest time.
Carrots may just be the perfect vegetable: sweet, crunchy, and delicious. They’re easy to grow, and they come in a rainbow of colors from palest white to deepest purple, and in sizes from golf ball to gargantuan! In our Carrots Gardening Guide, learn how to choose the carrots that are right for you, whether you have a sprawling garden, a couple of raised beds, or only room enough for container gardening. We’ll get you on your way to a delicious carrot harvest!
Do you have any other carrot-thinning techniques to share? Leave a comment below!