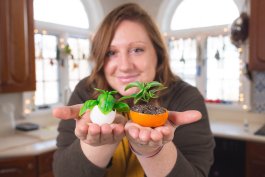
There’s an anonymous quote out there about gardening that says, “gardening is cheaper than therapy, and you get tomatoes.” I don’t know about you, but gardening is definitely my most expensive hobby (except maybe skiing). Sure, I could save all my seeds, work harder to make as much compost as I need so I don’t need to buy it, maybe take care of my tools better, which would all be huge money-saving endeavors, but that would take all the fun out of going to the gardening supply store every weekend, wouldn’t it? And what say you about the DIY garden tools I could craft?
I also have to say in jest, don’t get me started on hydroponic gardening, which I absolutely adore for so many reasons, but it’s certainly for the joy of gardening and lack of pesticides than it is for the cost-savings.
That’s why I do like to have fun making my own DIY garden tools once in a while. My favorite hack is the last item in this list, which I first saw maybe on Pinterest or TikTok, but it’s absolutely brilliant, especially for those filthy root veggies!
10 Easy DIY Garden Tools You Can Make
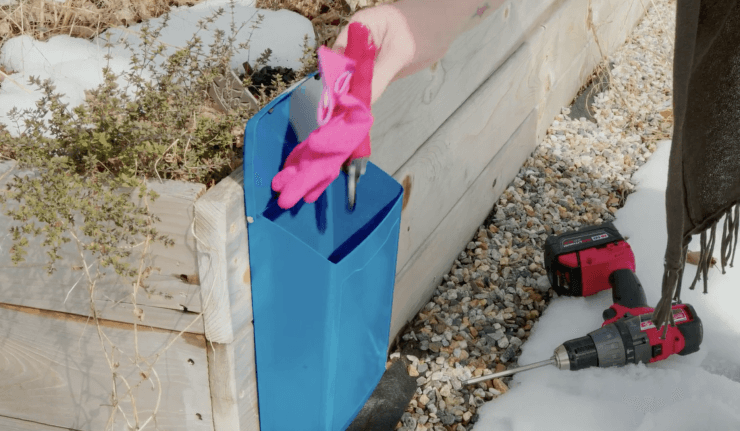
1. Use a mailbox to store gardening tools and gloves out in the garden. The mailbox doesn’t have to be new or pretty, and a brightly colored one is not just fun, but might also remind you to pick up your stuff before you head inside. Just make sure you affix it low enough to see inside so you don’t get stabbed pulling snips out one day. Also, use short screws so you don’t injure yourself digging later, or put them in a raised bed with perennials. Mine is affixed to my herb and asparagus garden.
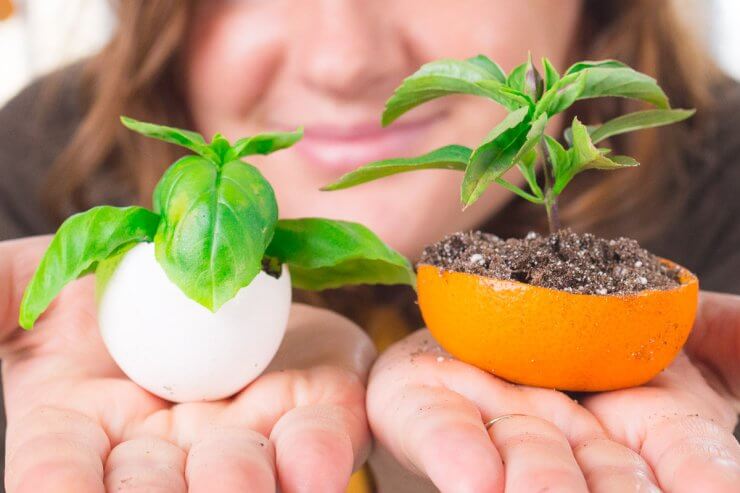
2. Make seed-starters out of eggs (bake them first to kill bacteria), egg cartons (washable styrofoam or plastic), toilet paper rolls, and even orange rinds (for acidic soil-loving plants like radishes and peppers). As mentioned in the video above, there are lots of things to consider when choosing what you want to use for seed starters. The first thing is that whatever you use should have a drainage hole. Second, it should be washed so you’re not transferring anything into your garden. That makes paper egg cartons not ideal, but does put plastic and styrofoam ones to good use. If you’re using toilet paper rolls, make sure the roll is at least an inch below the surface so it doesn’t pull moisture away from the roots.
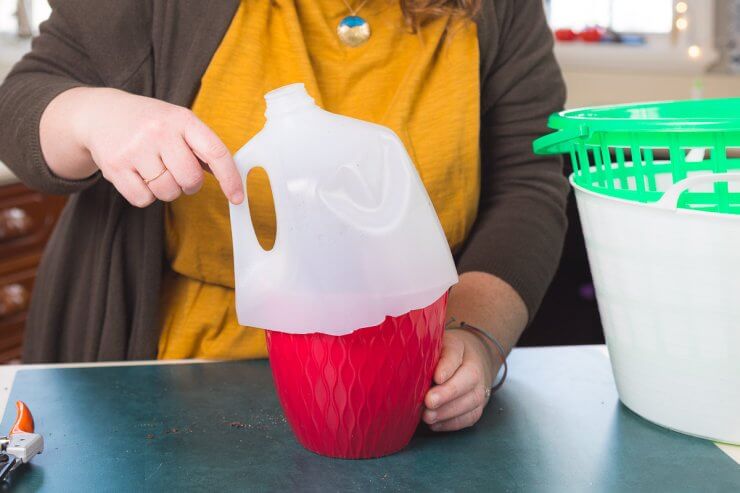
3. Use the jug from a gallon of water or milk to make little greenhouses for your plants. All you need to do is cut the bottom off. Use the top to create a greenhouse inside for seedlings, or outside over your spring transplants and lettuce in case of a late frost. Use the bottom as a seedling tray, or to grow microgreens. You can even take the cap on/off to control the temperature in a very non-scientific way. If you have even more jugs, use them as a DIY watering can, just punch holes in the cap! Great for mixing up fertilizer too.
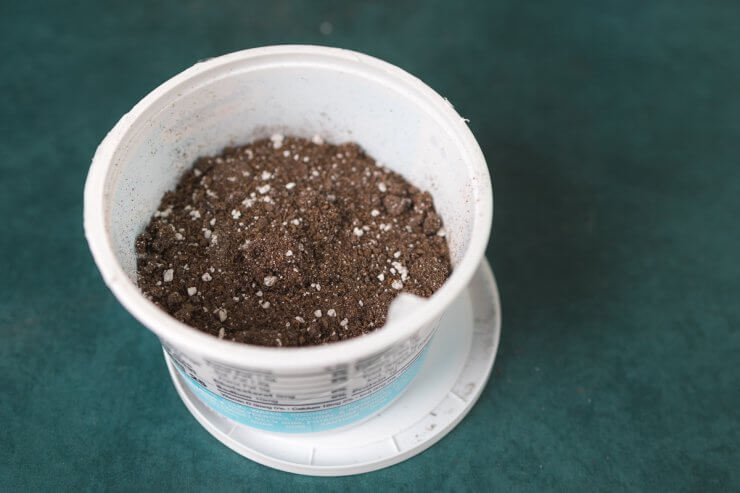
4. Use sour cream or yogurt containers with lids to create plant pots. Just use a nail to pop holes in the bottom, and use the lid to catch water underneath.
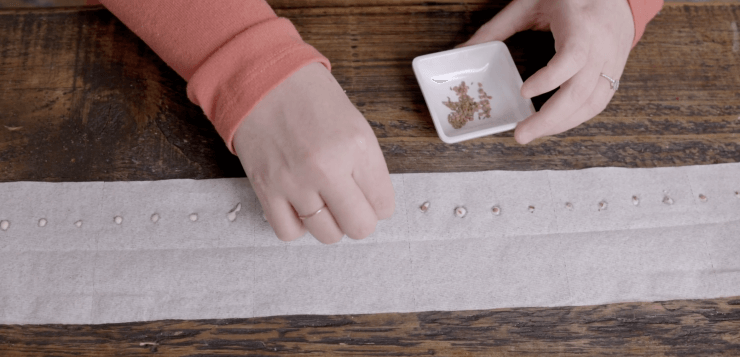
5. Use toilet paper and flour-based glue to make DIY seed tape. Simply create a glue-like solution of flour and warm water (just enough water to make a paste). Fold 1-ply toilet paper in half the long way, open, then place dots of paste on one half, about an inch or two apart. Then place a seed or two on each glue spot, and fold the top half down and press to seal. Let it dry, and now you have perfectly spaced seeds ready to bury under the soil. See my full video on How to Make Organic DIY Seed Tape for Perfectly Spaced Vegetables.
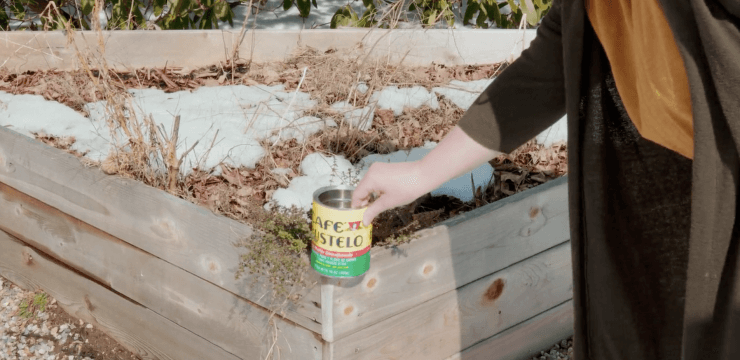
6. Use random cans to collect rainwater. Place one in each of your beds and they will tell you how much your beds are getting watered naturally every week. Simply empty them each week to keep track.
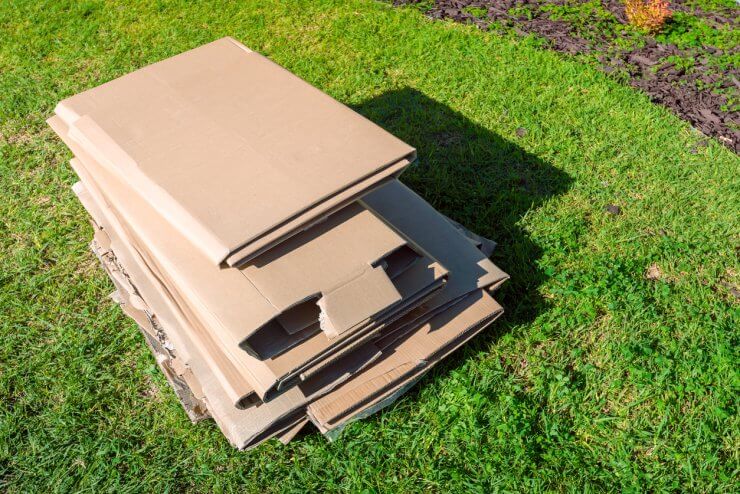
7. Cardboard, particularly the ink-free kind, can be used to cover your beds. You can do this in the fall to prevent weeds in the spring, and if your beds are low in soil, you can even keep them there and cover them up with soil, which will not only prevent weeds and grass from coming up but will eventually degrade into compost.
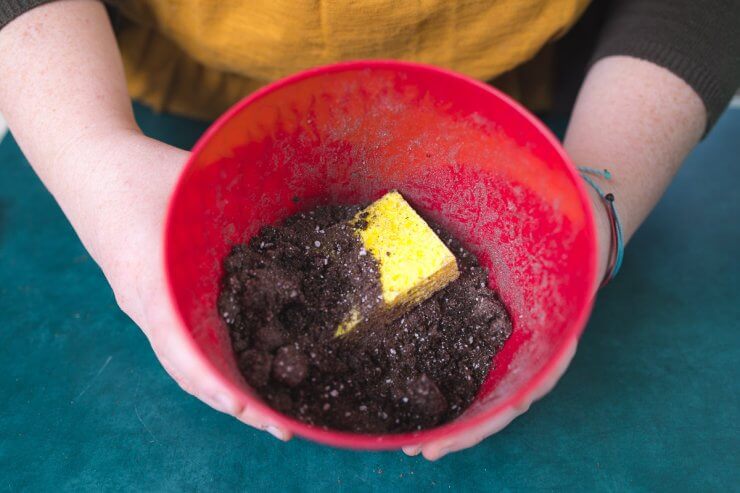
8. In potted outdoor plants, put sponges in the bottom of your containers before adding soil to help wick away moisture and prevent root rot.
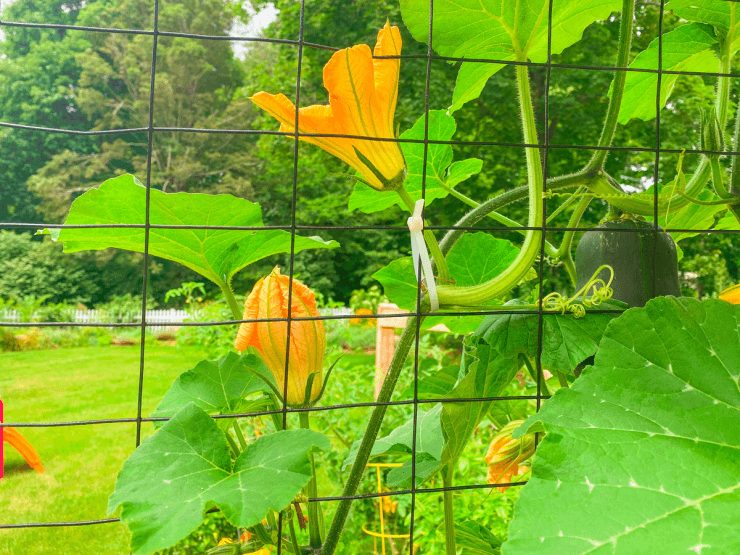
9. Zip ties and metal twist-ties are definitely the easiest and most cost-effective solutions for training climbing vines. They’ll sell you more expensive solutions at the store for a pack of 10 or 20 clips, but you can get a pack of 100 zip ties for just a few bucks. I showed you how I do it in How to Train Squash to Grow Vertically.
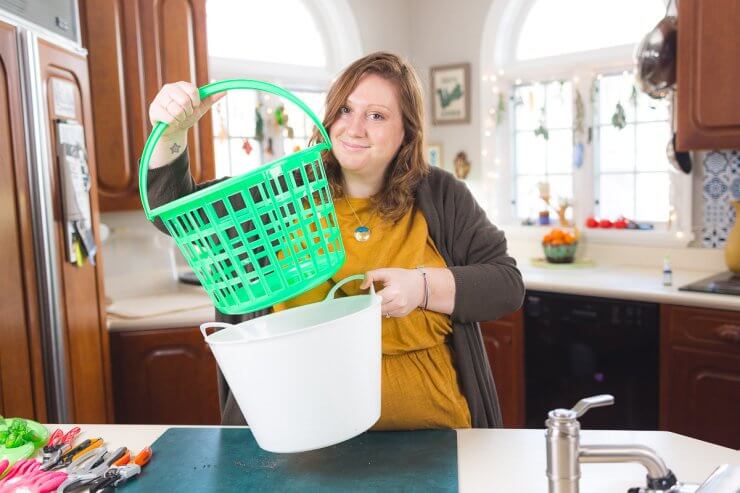
10. Use a dollar store laundry basket inside of a bucket to create a veggie washer and strainer. Just fill your bucket, put all your veggies in the laundry basket (aka strainer), shuffle and soak, then pull up the laundry basket to bring veggies inside for their final rinse. This is perfect for root veggies!
Do you have any DIY garden tools you have made or like to make? Another one of my favorites is the trellis I made in How to Build a Pole Bean Teepee Trellis. Let me know what your favorite projects have been in the comments below.


 Previous


I really enjoyed this episode it gave me so many hints. Great job thank you.
Thank you, Amanda. This is a reminder for me. I already use most of these hacks but I especially like the mailbox. I have at least 4 trowels because I leave them all over the yard. I will use this one now!!!
The video did not have a picture. Sound came on good so I followed along with the pictures. Just a heads up on the video thing!
Oof! Maybe a glitch, seems to be working now!
This video was GREAT! Really reminded me about “repurposing”.
Thanks! It was fun to make and research as well!
Great ideas! Thank
You!!!!
Thanks for watching! 🙂