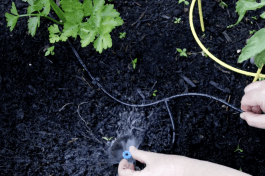
When I updated my garden from in-ground to raised beds, one thing became apparent very quickly—that I’d need to come up with a DIY irrigation system, which is something I know most gardeners realize, at some point. The ‘ol timed sprinkler is a good trick that I’ve used for many years, but raised beds are a whole new ballgame and they can dry out more quickly, just like other containers.
On the fence? Drip irrigation has the benefit of watering the roots, not any given seed that might have flown off a tree and landed in your garden. Sprinklers can contribute to leaf blight, powdery mildew, and other issues. On the other hand, drip lines can get clogged with mineral deposits, so nothing is perfect. Sprinklers are particularly useful for temporary use at the beginning of the season when you do want to water only seeds.
Spigot vs Irrigation System
My husband has a thing about leaving the faucet on with a timer because we own a 1920’s house and the plumbing is…fragile. If you’re confident in your system, I say a hose drip irrigation system is the way to go. A spigot, hose, a timer, and a pre-built drip irrigation kit are all you need, and they are easy to put together if you have a simple garden bed setup.
But if your beds aren’t neatly lined up in perfect rows (or if you just like a good DIY garden project) you can design your own, and you may need to if, like me, you’re trying to tap into an existing irrigation system.
I’ll save you a little time to start: When we came up with the plan for our system, we bought at least 10 different heads to connect to our existing irrigation system. I won’t get into the nitty-gritty details on that part because your system is probably different than mine, but if you’re trying to do the same, I’d suggest starting in the fall or winter before everything sells out, because it can set you back time-wise.
But the good news is that while you’re waiting, you can always set up your drip lines and get them into place.
So the focus of this DIY assumes you’ve already connected to a water source, and we’re starting with the line that comes from it.
8 Tools for a DIY Drip Irrigation System for Under $100
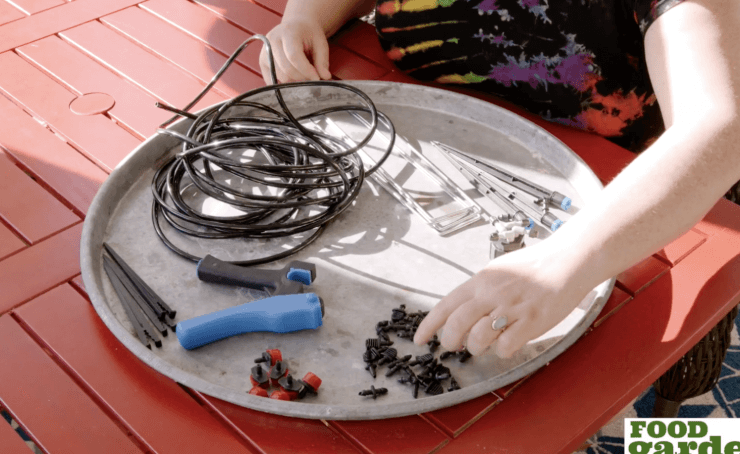
4-Port Drip Manifold: Whether you’re using a traditional faucet or tapping into an irrigation system, you’ll need a drip irrigation head that fits your drip tubing. For this project I’m using 1/4″ tubing, so the head I got has 4 heads that fit 1/4″ tubing. They make these with more than just 4 heads, so if you want to run more lines you can. Here’s what I used.
1/4″ Blank Drip Tubing: For this project, I’m using simple 1/4″ tubing so that we can create a totally custom solution. In hindsight, I would have used 1/2″ tubing because I have so many beds, because the water pressure does get weaker towards the latter beds. If you want to spend more, you can buy tubing that already has pre-made holes as well (also not a bad idea!), but that would make this a fairly simple project, so instead, we’re using the plain tubing where we’ll add our own heads, and customize completely according to what we plant and whether the plants can benefit from a basic drip line set up or emitters. Here’s what I used.
Tees, elbows, and plugs: In order for the tubing to split, and to climb up your raised beds in an organized fashion, tees and elbows are a great way to do this. So far I still haven’t found drip tubing with wires in them so that you can bend them like pipe cleaners, but a girl can dream! You’ll also need plugs to cap the end of your lines, and you can buy them in a variety pack. I would get a few packs of these for larger beds. Here’s what I used.
Endcap emitters: Instead of using plugs at the end of the line, you can also use emitters. Technically the ones I used could be punched into a 1/2″ line, but they also plug the end of a 1/4″ line and they’re adjustable so I can turn them off and use them as a plug if I want, or they just end up being a drip head at the end of the line. Here’s what I used.
Drip stakes: These are little stakes that hold your drip line in place in your beds, but you can also use garden staples, they’re just more expensive and a bit overkill. Here’s what I used.
Garden staples: These will hold the tubing down in place within the beds and in the ground. They’re also good for a number of other things, like holding down landscaping fabric. Here’s what I used.
Emitter stakes: You can use drip emitter stakes which have adjustable flow to maximize the space your drip line reaches. These are what I used most on my drip line. You’ll need to cut your line each time you use them to run a separate split line from your bed line (see video). Here’s what I used.
Hole Punch: To create a custom DIY drip line, you can punch your own holes. Alternatively, you can simply buy a pre-punched drip line. Punching your own holes gives you the benefit of making a totally custom solution, as many people have gripes about factory-made drip lines. Here’s what I used.
Steps for Creating your DIY Drip Irrigation System
In the video above, you’ll get a more visual and detailed explanation of how to create a DIY drip irrigation system like mine, but I’m outlining the steps below as well.
One thing I hadn’t considered was that I generally weed with a hoe by turning the soil often, and adding a drip line makes that more difficult if you go zig-zagging the line everywhere, so keep that in mind when you’re laying down the line, or consider weed barrier fabric.
With all that said, let’s lay out the details. Watch the video above for a more in-depth tutorial.
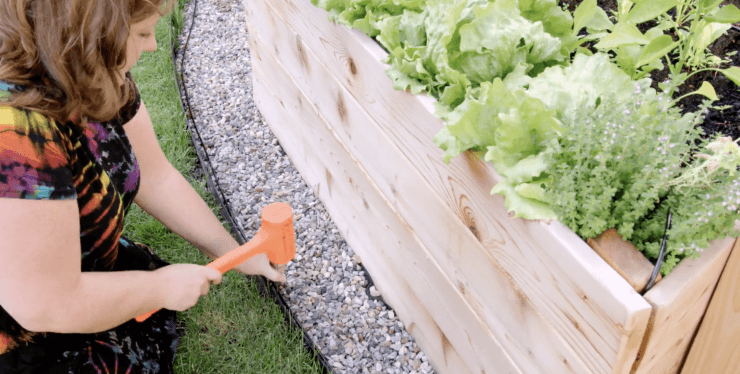
1. First, if you have beds laid out in rows, you may want to use one mainline and split off from that, so connect the mainline that is the length of your garden and lay it down where you want it. Use garden staples to keep it in place.
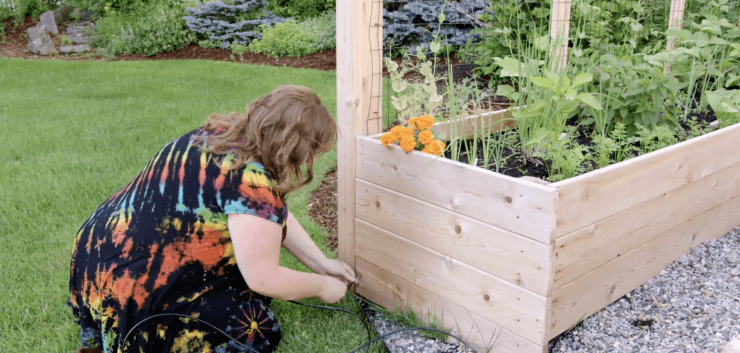
2. At the end of your mainline, in front of your garden bed furthest from the water supply, decide if you are going to run it up as-is, or if you’ll cut it to create an elbow. Pull more mainline if you want it to reach the end of your bed. Use garden staples to secure the line in place.
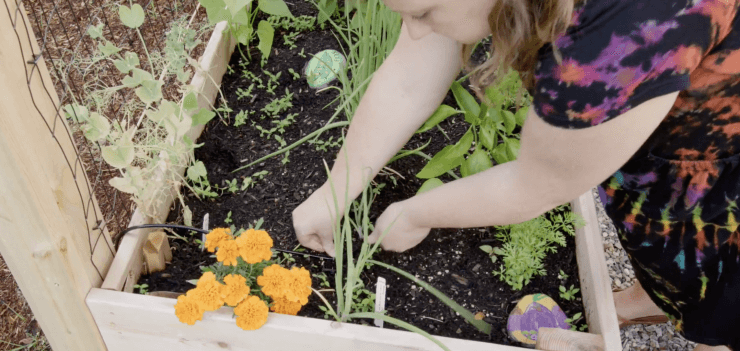
3. At this point, you can either tuck this line under and inside the corner of your bed and run it from there, or you can cut just enough line to make it to the edge of your box, and then use an elbow to run a new line up the side of the box, then use drip stakes or garden stakes to pin it down once inside.
In the rest of the beds, you’ll need scissors and a tee to create a new line that will run up inside your bed.
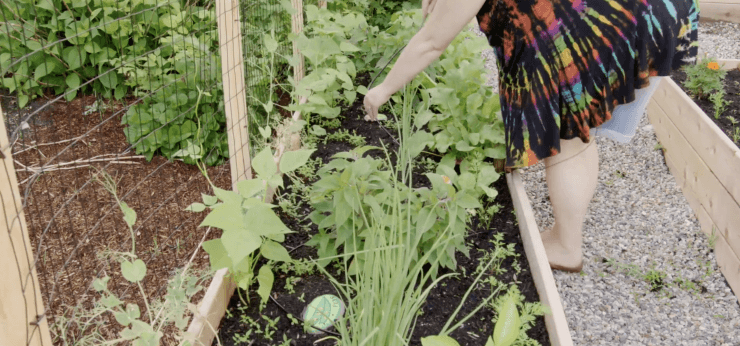
4. Once the line is inside the box, it’s all a matter of preference. You could do a few different things:
- Run the line straight down the box if it’s a thinner box,
- form a snake pattern to cover more of the raised bed, or
- do a little of both, depending on the shape of your raised bed.
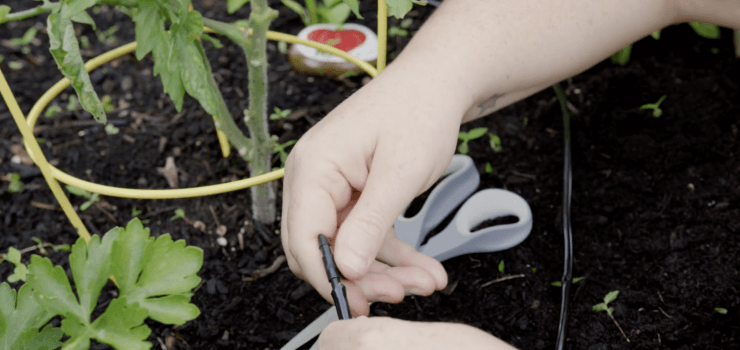
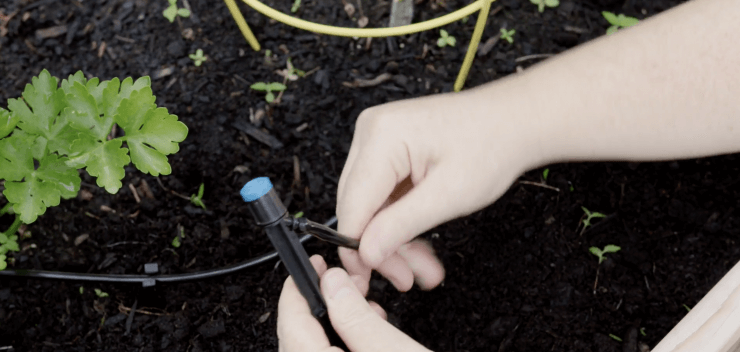
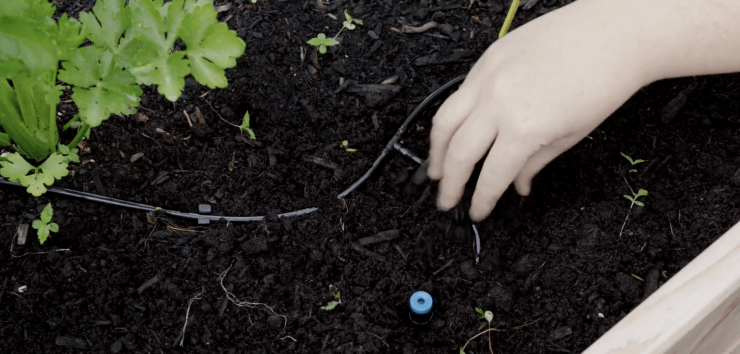
5. Use stakes to secure your drip line in place. Then, cut the line where you want to use stake emitters, and use elbows to create those offshoots. The hole punch tools can also be used for more traditional drip line holes, just know that the more you punch, the more water pressure you lose and you may end up running more lines, so only create as many holes as you think you need.
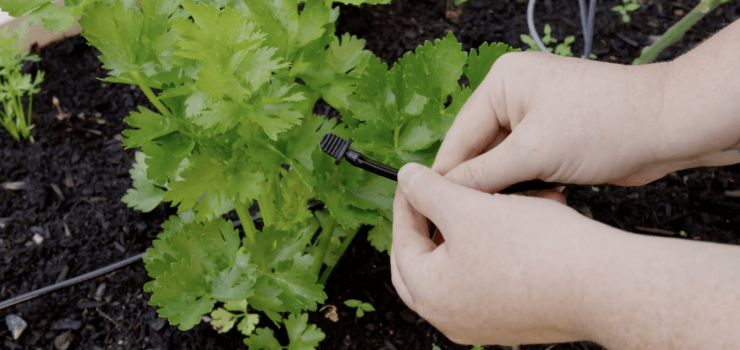
6. At the end of the line, add a plug. Connect the mainline to your water source, and turn the water on to test the line.

7. Continue to do this for all of your beds.
8. If you have more than a few beds, at some point, you begin to lose water pressure. It’s a sign that you need to start another mainline and work from that, which is why it’s good to get at least a 4-port drip manifold.
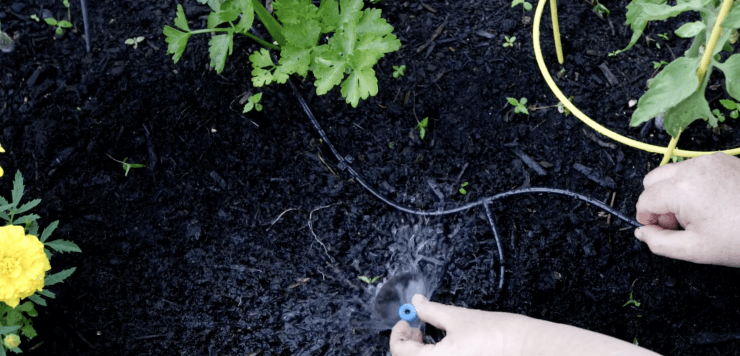
After you’ve set everything up, you can simply turn your spigot on to water. Preferably though, you use a timer or if you have an irrigation system, set a timer on that.
Other Approaches to a DIY Drip Irrigation System
There are many ways to build a drip irrigation system yourself, and this is just one of them. There are very sophisticated options with filters and shut-off valves which are costly and complicated to put together, and I say why over-complicate things when you can get exactly what you need through a homemade custom system like this.
If you’ve ever built a drip irrigation system yourself, I’d love to hear how you did it. Leave a comment below!


 Previous


how do I connect to a 5 gallon bucket
I think this may be overkill for a 5-gallon bucket, but if you have many, you could probably use clamps to wrap the hose around the edges, and only make holes inside the bucket area.
Hi Sandy, Did you add a timer to your system?
I now have a timer on my system.
I have a question about connection and placement of the 4 port manifold. What I saw on the video was it placed on top of a black plastic post. Was this connected to the main water line/spigot?
Yes they make them to connect to many things whether a spigot or sprinkler system. I believe mine is for a spigot, so I had to buy an adapter to add it to my sprinkler system. Another edit I’ve found since I made this video is that with a larger garden like mine, 1/2” drip line hose (or soaker hose) is more efficient than 1/4”.
you say watch the video link above but I’m not finding it
Hi Sandy, there is a video at the top of the page demonstrating the full setup.