


Hi, my name is Amanda, and sometimes I forget to water my vegetable garden! Phew, that feels good to get off my chest! If you can’t be out in the garden seven days a week, an irrigation system might be the next best thing. There are many irrigation methods to choose from like sprinkler systems or drip methods. Some of these systems can lead to wasting water if you’re not careful. An inexpensive and eco-friendly option is the clay pot irrigation method, which is one of the most water-efficient irrigation systems available.
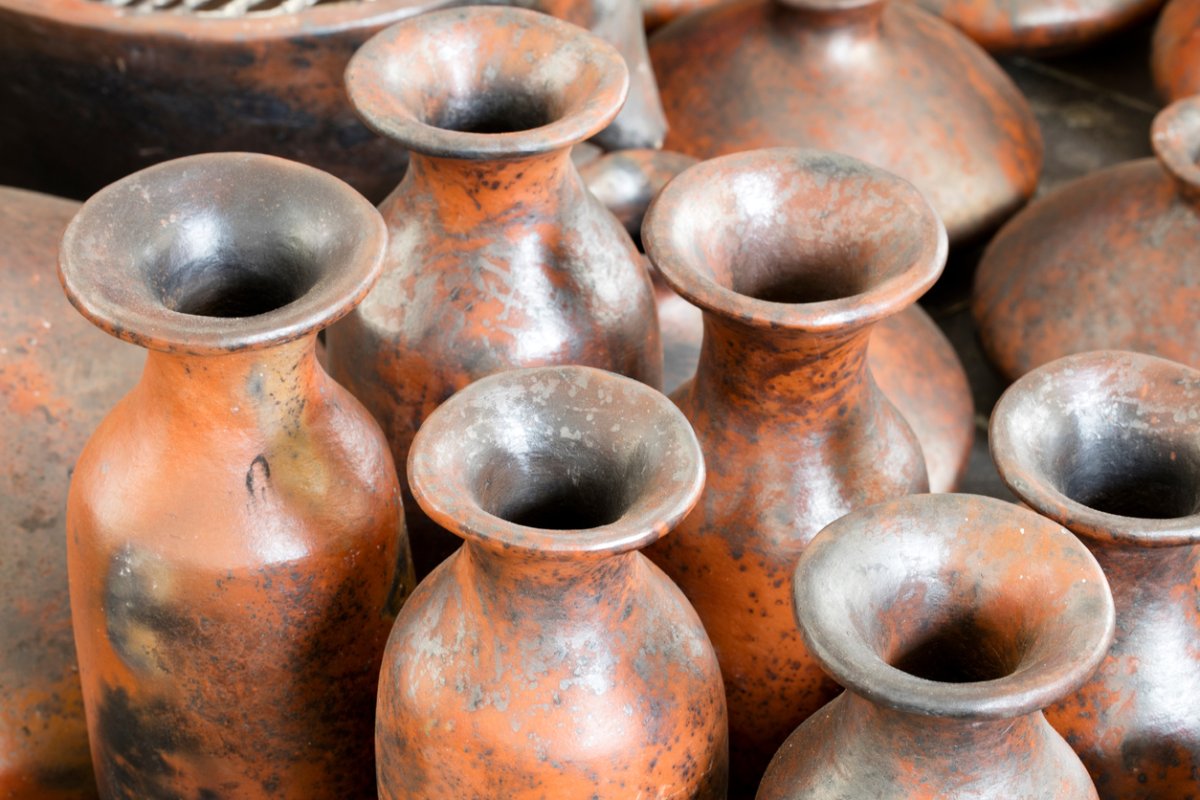
Settlers brought the concept of clay pot irrigation to the Americas during Spanish Colonization. Clay pots called ollas, were used in cooking, cleaning, rudimentary refrigeration, and eventually irrigation!
The concept for clay pot irrigation is simple enough. A covered clay pot or olla gets buried in a garden up to its neck and filled with water. Then, water seeps through the clay and slowly disburses water to the surrounding plants, only disbursing water as surrounding soil dries up.
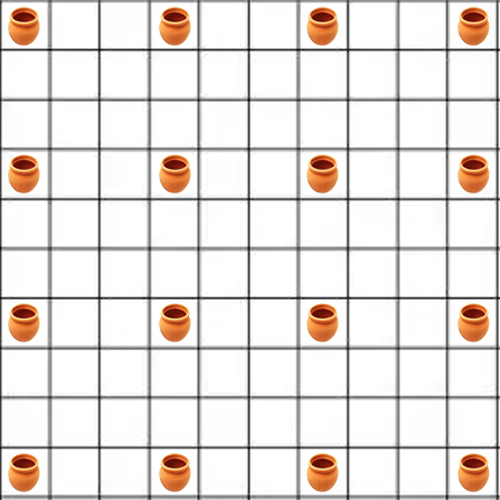
It’s recommended that you bury them 2-3 feet apart, so in a 10×10 foot bed, you could use a max of about 16.


Discover 7 top tips for growing, harvesting, and enjoying tomatoes from your home garden—when you access the FREE guide The Best Way to Grow Tomatoes, right now!
Benefits of using clay pot irrigation
- Water conservation: Great for preventing evaporation, especially in warmer climates or in summer months. Since the water is reaching the vegetables and herbs below the surface, there’s more direct access to water for each of the plant’s root systems.
- Weed control: Less surface water will reduce the number of weeds that pop up.
- It’s simple: Clay pot irrigation is relatively inexpensive, requiring readily available materials and not needing any fancy plumbing hookups.
- Goldilocks-approved watering: Using clay pot irrigation prevents overwatering and underwatering, making sure your vegetables and herbs get watered just right.

How do I make an olla for clay pot irrigation?
If you’re being particularly crafty, you can make your own ollas out of clay but I’m going to skip this because I would like to get this done in an afternoon and not the days it would take to build, dry, and fire a clay pot.
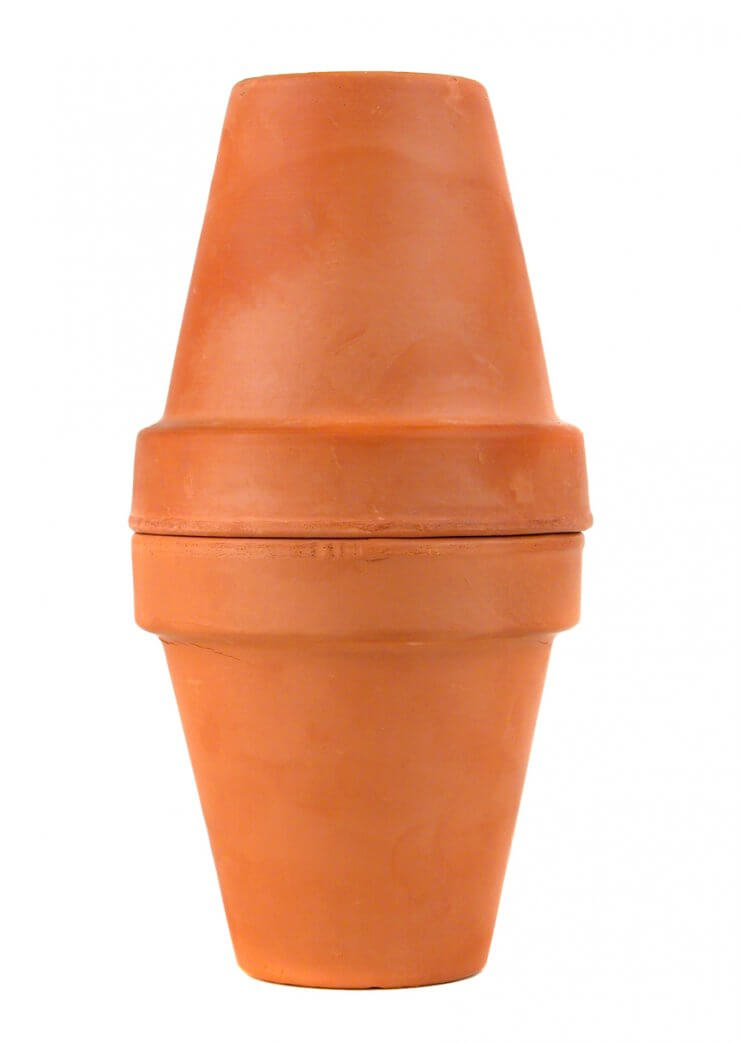
Instead, I recommend visiting your local garden or home store and picking up some terracotta pots. I like the method which uses two pots per olla. It’s important that these pots are unglazed since glazed pots will prevent water from seeping through the terracotta into the soil.
In one of the pots, plug up the drainage hole with either a wine cork or some silicone caulk. From there, squeeze a steady bead of silicone caulk along the rim of the pot. (For a secure connection, you can rough up the pot rim with a little sandpaper beforehand.) Attach the other pot upside down, so that the rims from each pot press together. Run your finger around the seam to smooth it out and let it dry.
Once dry, test your clay pot irrigation method by filling the olla from the top drainage hole (the one you didn’t plug up) and check to see if water leaks through the middle seam. You should also see moisture start to saturate the terracotta at this point which is a good thing! Once you know the seam is secure, it’s time to dig a hole.
Dig a hole just deep enough so the top of your olla is level with the ground. Place your olla into the ground and pack the sides in with soil, leaving the top exposed. You can get a small terracotta drip dish to place on top of the hole or use another wine cork, which will help keep critters and debris from getting into your olla. When it’s time to water your garden, just fill the top hole until the olla is full.
An even simpler method (good for shallow beds)
Another version of the clay pot irrigation method includes a one-pot technique. This method uses just one terracotta pot with its drainage hole plugged and a terracotta drip dish used as a lid on top. This method is good for smaller spaces and raised garden beds where the soil isn’t deep enough to accommodate two terracotta pots.
How big should my olla be?
Depending on the size of the pot, the irrigation coverage will vary. Smaller pots will cover smaller areas and larger pots will cover more. For a larger garden, you’ll likely need several ollas.

Bring the clay pot irrigation method indoors
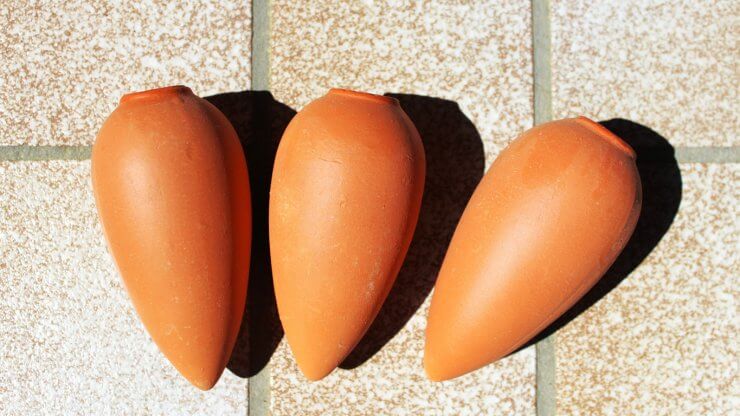
You can use a miniature version of this irrigation method on your house plants! The clay pot, in this case, comes in the shape of a hollow terracotta spike where you invert a water-filled wine bottle. These are extremely useful for keeping your houseplants alive when you’re away.
A note on water additives like fertilizer
Use caution when adding any enhancements to your ollas and reduce it by at least half, if not more! Because your water and fertilizer solution has a more direct line to your herbs and vegetables, too concentrated a mixture can burn the roots.
Have you used the clay pot irrigation method in your garden? What is your set-up? Share with me in the comments!
Discover 7 top tips for growing, harvesting, and enjoying tomatoes from your home garden—when you access the FREE guide The Best Way to Grow Tomatoes, right now!


12 replies on “How to Save Water with the Clay Pot Irrigation Method”
I am excited to try this method. Thank you from Oklahoma
To add to Bill Wrin’s question, can you give an estimate as to the size pots per square foot?
an 8-10″ pot should be sufficient
We bought a load of terracotta irrigation pipes from an auction site . I just need to seal the bottoms and I will be putting them around my perennial beds where I don’t have an irrigation system. I’ll pop one in any time I put in new plants. I tend to forget my poor perennials as I focus on my vegetables. Hopefully this will lead to happier plants
If you don’t want to use silicone try sand and lime mixture.
Silicone s a sticky chemical. If you put your finger in it, it is difficut to remove. Better to use a water soluable exterior type caulk, possibly a latex type caulk. It will wash off with water, silicone will not.
I like this method of watering. I live in Sedona, Arizona. I have tall raised beds that are 4’ x 4’. How many pots in each one?
What size clay pot should one use if one is going to use the two pot method where they are glued together with caulk?
These sound like a wonderful idea that will work quite well. I’m curious though, in cold climates they would have to be dug up and stored for the winter. I think they would crack if left in the ground?
MOST DEFINITELY!
Still a great idea and well worth it for my tomatoes who love ground watering and less hassle/money than irrigation…
I love this idea, especially as the hot, dog days of August roll around. By then, much of the spring motivation has worn off and most gardening energy left is spent on finding vegetables within the overgrown weeds. My question is about spacing. When using this method, I’m wondering how close do you put these together? So, say for a 10×10-foot bed, how many do you think are necessary?
Thank you!
Hi Bill, this is such a great question that I just added a new chart to the post above. To answer your question, it’s recommended that you bury them 2-3 feet apart, so in a 10×10 foot bed, you could use a max of about 16.