


When designing a vegetable garden, it’s a good idea to figure out which part of your yard receives the longest and most consistent light. Might as well get in a bit of sunbathing and call it “research,” right? For some, as luck would have it, the most sun-filled section of your yard will be the least conducive to growing. Sometimes your sunny spot is on concrete or pavement. Other times, you may find the sunniest area in your yard to be on a hillside or sloped land. You can work with that by building hillside planter boxes!
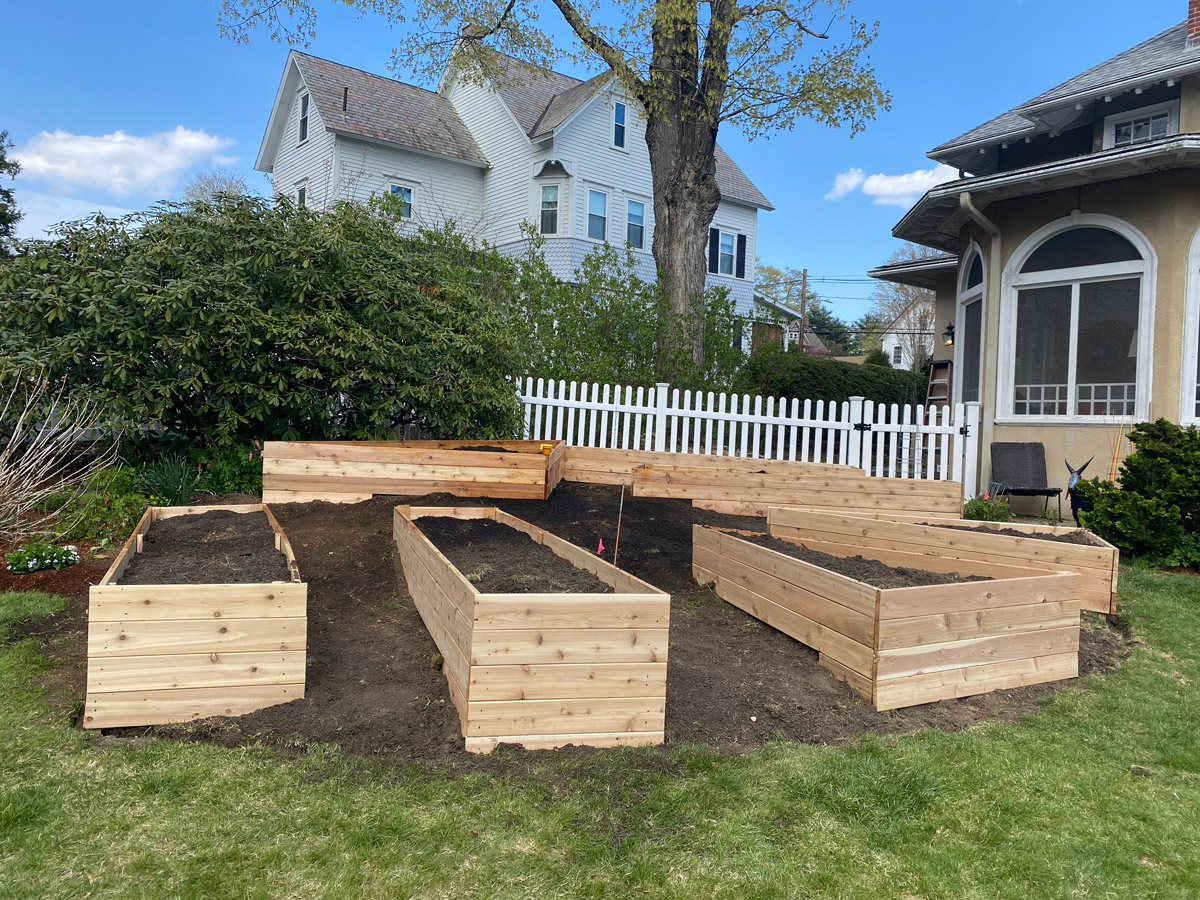
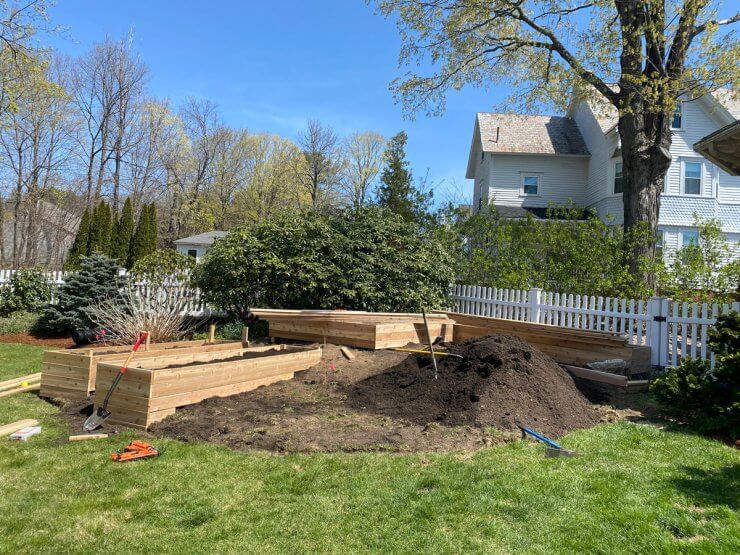
My current garden is actually on a slope, which turned out to be even more slopey than I had expected when we built our new raised beds. You can see in the front, the beds are almost two feet, and by the time you reach the backs, they’re barely 6 inches off the ground.

Depending on your yard size you may wish to make full-size garden beds, but you can also take advantage of a sunny hillside/slope by making some smaller built-in hillside planter boxes. I like planter boxes because they are very easy to access from all sides, and all you need is wood and nails to build them.


Discover 7 top tips for growing, harvesting, and enjoying tomatoes from your home garden—when you access the FREE guide The Best Way to Grow Tomatoes, right now!
Generally speaking, there are two methods to create built-in hillside planter boxes. The first involves leveling out the land and plopping a pre-made box on it, and the second involves cutting your wood and materials to align with the slope. I think both methods work great and it really just depends on your skillset, the size of your hillside planter boxes, and how much money you want to spend on soil, wood, and materials.
Method one: level up!
This method involves digging into the slope and leveling out a section by removing soil. This is a good method to use if you plan on buying and using prefabricated planter boxes, because you will need the ground to be level.
1. Dig the outline of your garden bed into the sloped land. In this method, the lowest point in your outline will be the depth you’ll need to match for the whole footprint of your hillside planter boxes. A hand fork comes in handy here for the detailed leveling.
2. Once you’ve leveled out your land, build, and/or assemble your planter boxes and place them in the level footprint. Voila!
Method two: build planter boxes to fit the slope

This method takes on building a sloped raised bed frame using cut wood to match the angle of the hillside. Note: In this method, you’ll likely need to use more soil to fill your hillside planter boxes. This could be an added cost if you are buying your soil.
Also, don’t use pre-treated wood or old railway ties, which can be toxic. Untreated wood is a must, and cedar is your best choice because it’s rot-resistant. If you don’t trust the wood you’re using because you’re using scraps, I’d suggest a garden liner.
- Figure out your dimensions. For a full-sized garden bed, I love making the dimensions 8’x4’ since most wood types come in eight-foot lengths. But for a hillside planter box, I like to scale it down a bit to no bigger than 4’x4’ and stack them next to each other so they’re more maneuverable. That is, unless you’re growing something big like pumpkins or squash. In that case, give them the room and build some 8-footers.
- Eyeball it. Set it up where you want it, and how you want it once it’s finished. You can try to stack 2×4’s on top of one another to accommodate the slope, but when you’re in this phase, you can just use wood scraps, shims, or cardboard to make it level for the time being.
- Measure. Look at the height you had to mock-up to make the bed level, and make sure you have enough wood to build the box to accommodate the slope. If the ground is weird and uneven, or the slope is particularly steep, you can also build legs instead.
- Build. Now that you know where you want it, and how much wood you’ll need to make it level, get building! Two nails in each end corner should do the trick, and you can use wood scraps to fill in any gaps.
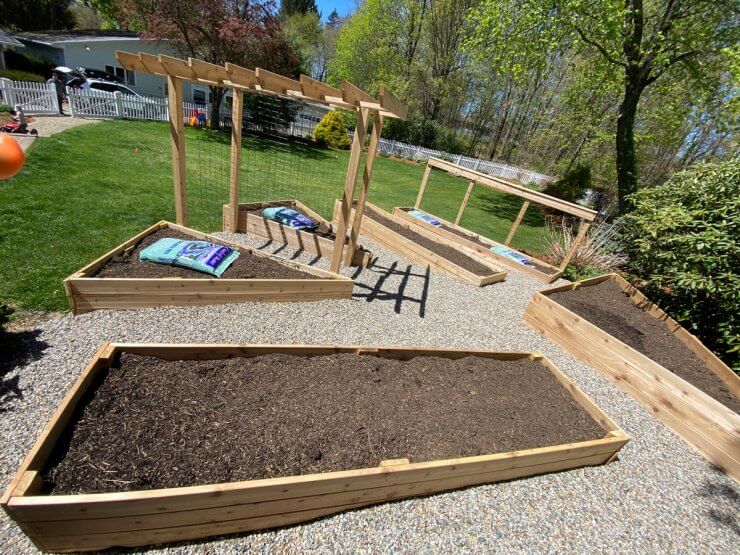
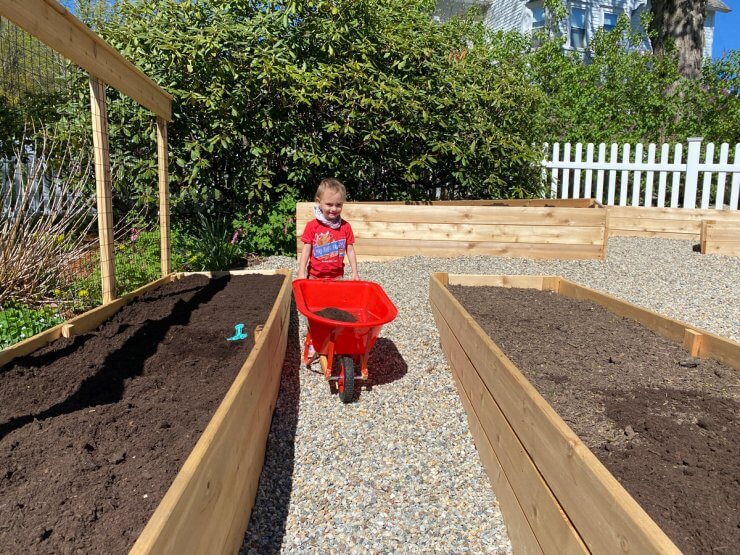
These two methods are just jumping-off points. So much of building hillside planter boxes or garden beds is customizable. You can raise the beds even taller if you want. And you can outfit these planter boxes with cold frames in the autumn and winter months to extend your growing seasons. Once your hillside planter boxes are in place, it’s time to plant your herbs and vegetables and keep those weeds out!
Have you ever built hillside planter boxes or garden beds in a sloped yard? What method did you use? Share your ideas and advice in the comments!
Discover 7 top tips for growing, harvesting, and enjoying tomatoes from your home garden—when you access the FREE guide The Best Way to Grow Tomatoes, right now!


4 replies on “How to Create Built-In Hillside Planter Boxes for Sloped Yards”
In Taiwan wood isn’t a good material bc it breaks down. Is there another suggestion In subtropical areas? Like FL. Preferably permaculture related. Thanks in advance
Here’s an article on hugelkultur – It is an interesting alternative to traditional wooden raised beds.
https://foodgardening.mequoda.com/daily/composting/how-to-build-hugelkultur-self-composting-garden-beds/
Love your ideas and information.! Keep it up.
Your beds are a lot longer than Mel Bartholomew recommends, and skinnier. The triangle shaped beds are a good idea for odd spots.