

Have you thought much about how to preserve asparagus? I admit that I used to only think about asparagus as something to enjoy in early spring. But it sure is tough to wait ten months for a taste of sweet asparagus.
Certainly, there’s something very special about the taste of fresh asparagus spears lightly grilled with just a little olive oil, salt, and pepper. But alas, it isn’t always spring, and asparagus is not always in season. Lucky for us asparagus lovers, there’s a way around this dilemma.
Discover 7 top tips for growing, harvesting, and enjoying tomatoes from your home garden—when you access the FREE guide The Best Way to Grow Tomatoes, right now!


How to preserve asparagus in 4 different ways
There are a few different ways to learn how to preserve asparagus. Some, like canning, require special equipment. And because asparagus is so low in acidity, you do, in fact, need a pressure canner to preserve it in that manner. Personally, I’m fond of freezing it.
Freezing. When it comes to the different methods of how to preserve asparagus, freezing is about as easy as it gets. You don’t need any special equipment or ingredients – just the asparagus and a few basic kitchen essentials.
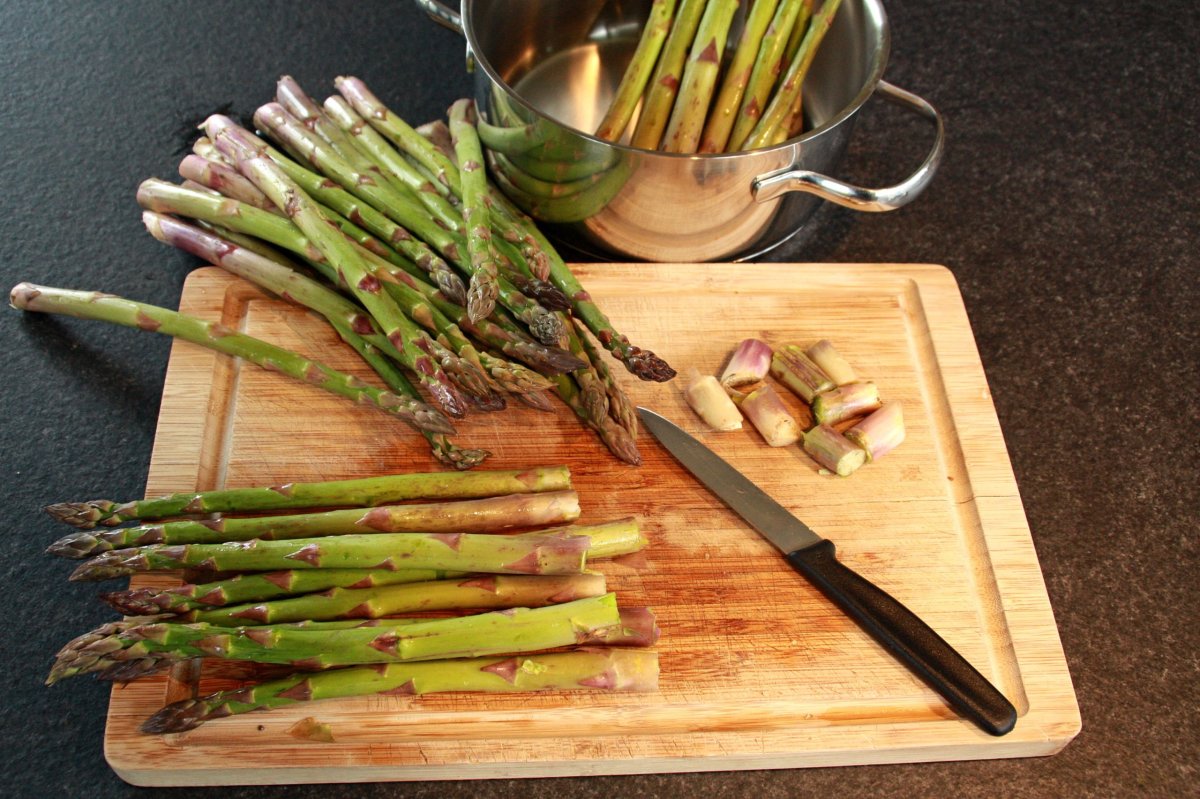
First, trim and wash your asparagus and sort it by size. You may need to cut larger pieces into more manageable sizes. Then blanch the asparagus in boiling water for 2 to 5 minutes, depending on the size of the spears. Immediately dunk the asparagus in cold water for the same length of time. If the water warms up, replenish it with more cold water. Spread the asparagus on baking trays and freeze them for an hour or two, then transfer them to an airtight container. Frozen asparagus will keep for about a year.
Drying. You can also dry your asparagus. The catch here is that it could take a while. Depending on the size of the spears, asparagus may take 6 to 12 hours, even in a dehydrator. In a conventional oven, you could be looking at 18 hours. Of course, there are several big factors here, not the least of which is the moisture content of the asparagus. Aside from the timing, though, it’s not complicated.
Begin like you would if you were freezing the asparagus: trim and wash it, then blanch it, but only for about 2 minutes. Next, chill the blanched asparagus, pat it dry with a towel, and spread the asparagus spears out on a baking tray. Bake it in your oven at the lowest setting (between 125 and 140 degrees Fahrenheit) and turn it every few hours. Towards the end of the drying time, keep a close eye on your asparagus as it can scorch easily at that point. You’ll know it’s done when it’s brittle, and you can’t bend it without breaking.
If you store it in a cool spot, dried asparagus could last up to 6 months. To use, rehydrate your asparagus by pouring boiling water over it and letting it soak for about 20 minutes.
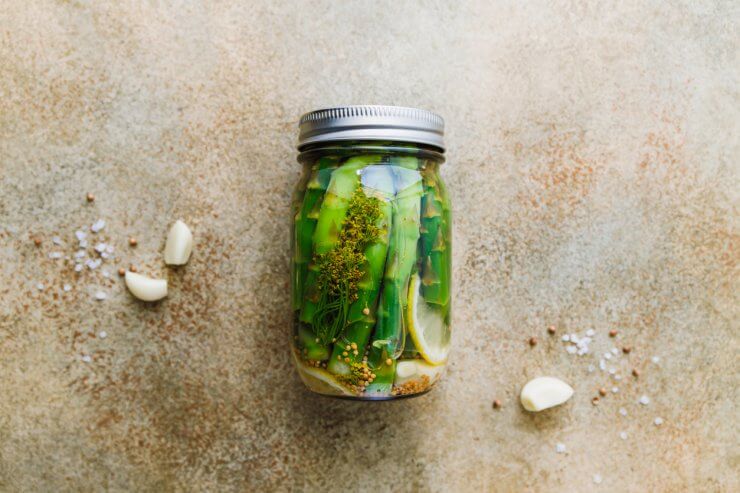
Pickling. If you’re wondering how to preserve asparagus and add a little zing at the same time, pickling is your method. It’s not the easiest way to preserve asparagus, but if you have a lot and like pickled vegetables, it’s a tasty option.
The National Center for Home Food Preservation from the University of Georgia has a good recipe and tutorial that you can look at here. The short version is that you make a brine of water, distilled white vinegar, canning salt, and spices. Fill your jars with asparagus, then boil the brine and pour it over the asparagus, leaving about 1/2 inch to the rim of the jar. Remove any air bubbles, tighten the lids, then process them in boiling water for 10 to 20 minutes.
Your pickled asparagus will need a few days to develop, and it will keep, refrigerated, for about 2 or 3 months.
Pressure canning. Yes, you can can asparagus. You could even make it extra fun and do the can can dance while you can asparagus. (Don’t mind me – just over here making dad jokes.) Anyway, because asparagus has such a low acidity, you do need to take some extra steps to ensure you’re following food safety guidelines. Of all the methods of preserving asparagus, this is probably the most complicated.
The flip side of that extra effort is that your canned goods will last quite some time. The USDA guidelines state that home-canned vegetables are good for one year, assuming they are properly processed and stored. The Ball Jars website, however, pushes that time up to 18 months, thanks to their new SureTight lids. The Michigan State University Extension Program points out that the reason for these timelines is that the quality of the preserved foods begins to break down after this time. While they may still be “safe” to eat, their flavor, color, texture, and nutritional value may be compromised.
We generally stick to USDA guidelines, but I’m mentioning these other opinions because that one-year mark doesn’t mean your preserved asparagus or other vegetables suddenly go bad. Of course, if foods aren’t preserved properly, they could go bad well before that one-year point.
As to the actual canning of asparagus, I’m going to point you to the National Center for Home Food Preservation again. There are just too many factors for me to give you specific instructions, including your altitude, the type of canner you have, and jar size.
Now, if you’ll excuse me, I’m off to enjoy some asparagus! Happy preserving!
Did you already know how to preserve asparagus? Do you have a favorite method?
Discover 7 top tips for growing, harvesting, and enjoying tomatoes from your home garden—when you access the FREE guide The Best Way to Grow Tomatoes, right now!