


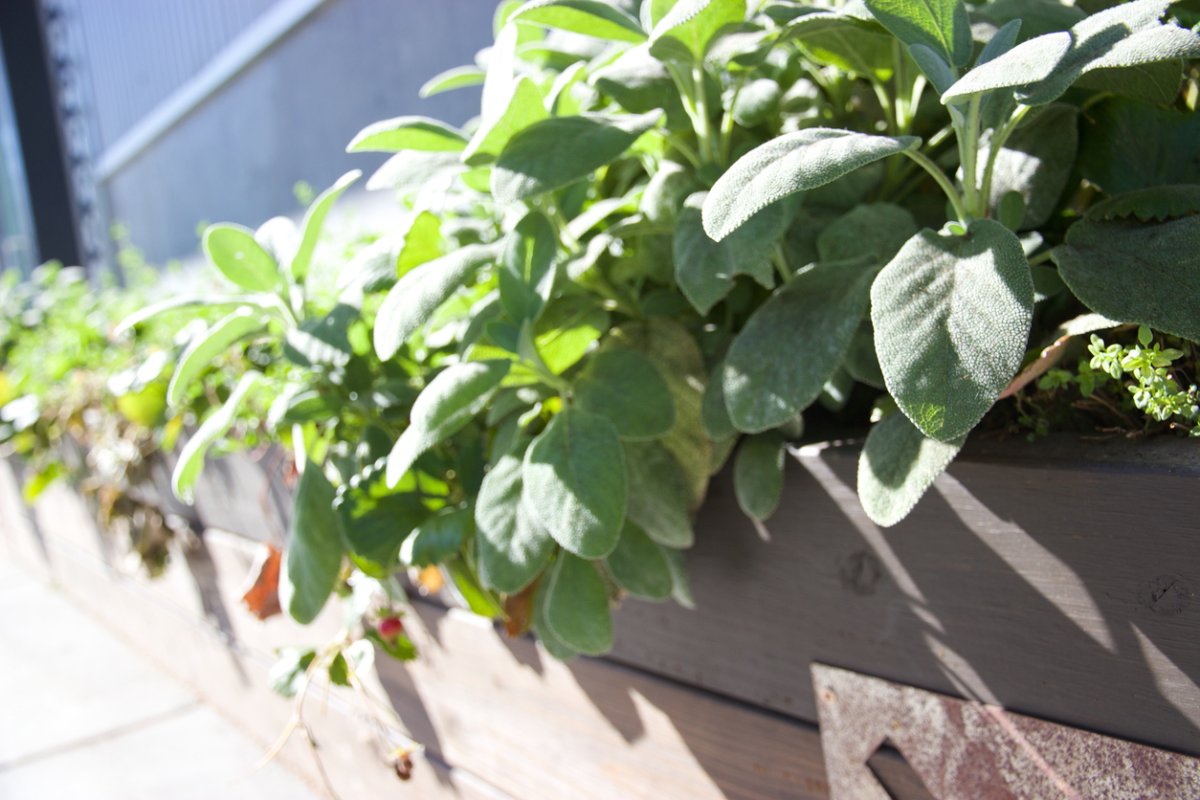
I love window boxes – especially those DIY window box planters I come across now and then. They’re just bursting with personality. I saw a fantastic steampunk window box a few years ago that I wish I would have taken a picture of. The box itself was ordinary, but it was embellished with these amazingly detailed metal gears, copper piping, and even a few pocket watches thrown in for good measure. Naturally, there was garlic growing in the box.
But that made me realize that even though window boxes are so often filled with flowers, you could have a nice “chef’s mix” window box while still adding color and beauty to your windowsill. And, of course, you can decorate the box however you like. That steampunk box was cool, but I’m not so sure it would work for me.
So how do you make DIY window box planters, and what could go in them that also works in your kitchen? The one thing you should keep in mind when going the DIY route is not to use anything that might have been chemically treated. So for example, everybody loves a good Pinterest pallet project, but those pallets can sometimes be used to move chemicals, may be treated, and be saturated in who-knows-what, so I prefer them for hanging planters, rather than using their wood to plant in them. If you’re just planting flowers though, go for it!
If you want to know about the best type of wood for raised beds and planters, read our article all about it.


Discover 7 top tips for growing, harvesting, and enjoying tomatoes from your home garden—when you access the FREE guide The Best Way to Grow Tomatoes, right now!

Materials for Making DIY Window Box Planters
When you make your own DIY window box planters, you can get pretty darn fancy. We aren’t going to do that here. Why? I like the idea that anyone with just a few simple tools can make a window box. I also really like the idea of repurposing things. And there are plenty of things you could repurpose to get a box full of herbs and greens outside your kitchen window.
Buy Window Box Brackets. Personally, I’m happy to buy the brackets I need rather than making them. There are a few out there that don’t even require drilling, but they may or may not work with your windows, depending on what your windowsill is like.
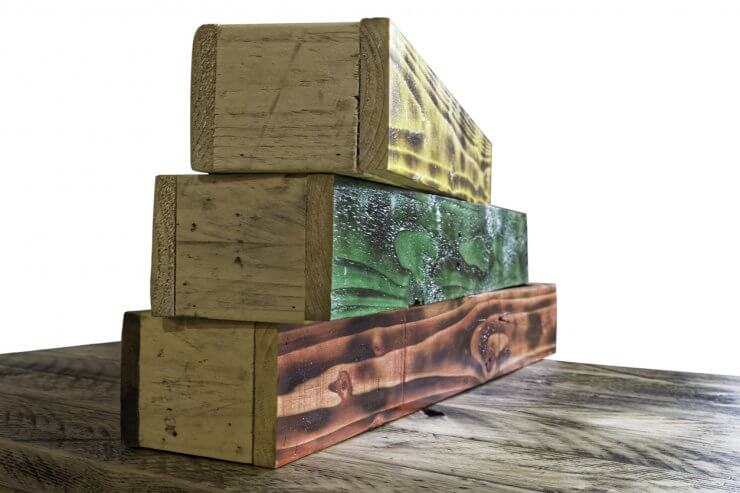
Use Light Materials. For the actual planter, you can use darn near anything as long as it’s food-friendly. You don’t want anything too big, again, thinking of the overall weight. And like any container or planter, you need some way for the soil to drain. For example, galvanized tubs can make great planters as long as you drill a few holes in the bottom for drainage. Cedar is also a classic material, but if you have untreated wood you can use that.
Prepare Your Tools. If you want to craft your DIY window box planters yourself, grab a saw, a screwdriver or drill, 3″ screws, wood glue, and untreated wood. Cedar is probably your best bet, as it’s resistant to rot. 1″ x 8″ boards work well, as that gives your plants enough room to grow roots, but it’s not so big that it gets too heavy.
Get Building Your Window Box Planter
- To get started, measure three of your boards to the desired length for the planter. Cut these, then cut your two end pieces into 6″ widths.
- To construct your planter, lay one of the longer boards flat, then glue one end piece to each end of the longer board. You’re gluing it to the long, flat surface, not the 1″ edges.
- Next, glue the second long board to the tops of the two end pieces. Once that’s in place, drill two screws into each end, flip the box over and drill two more screws into each end.
- Now put your box on a level surface with one of the open sides at the top. Place your third board on top. If you’ve measured correctly, it should fit perfectly – or close to perfectly, at least.
- Secure the bottom by drilling screws along the edges. How many you use will depend on the length of your planter, but one screw about every three to six inches should be good.
- Sand the rough edges (if applicable) and secure it to your brackets.
Now you’re ready to plant and hang! Grab your soil and your favorite container veggies, and go for it. Edible flowers like nasturtiums work or you can go with flowering herbs like dill or mints.
If you don’t have any food-friendly materials, you can also consider building a window box to hold your pots instead!
What do you like to plant in your window boxes? I’d love to hear about your favorites in the comments below.
Discover 7 top tips for growing, harvesting, and enjoying tomatoes from your home garden—when you access the FREE guide The Best Way to Grow Tomatoes, right now!


One reply on “Making Food-Safe DIY Window Box Planters Fit for a Home Chef”
This is so awesome … very informative ✌????