

We love when we get great helpful comments from our readers. As you well know, you’re never a perfect gardener, so I learn a ton from reading your comments and ideas in the comments, and I love all the crafty ways you’ve come up with to deter pests, start seeds, and more. Here are a few of my favorite gardening secrets from you all.
15 Gardening secrets our readers are sharing to help your garden thrive

Plant propagation and seed starting gardening secrets:
1. Seed germination. In our post 3 Seed Germination Methods That Don’t Require Soil, Cristina Q. offered another idea: “Another way to start is in damp vermiculite. No soil just vermiculite. Keep it moist and place it in a warm spot.”
2. Spreading the herb wealth. In How to Propagate Rosemary and Other Herbs Indoors, D. Anthony adds, “I propagate my Rosemary by selecting one of the long flexible stems and lightly scrape the bark away for a 1-inch length and halfway around the stem. I then bend the stem down to where the exposed scrape is touching the ground and place a brick on it to hold it in place plus block out the light. In a few months it will have a root cluster that can be cut away from the mother plant and leave you with a new transplant.”
3. Seed starting solutions. In Common Seed Starting Problems and Solutions, Gene writes, “Starting a lot of plants can take room and basements are often the place but not warm enough … mats are expensive. I’ve solved the problem two ways. I start all of a variety in a single 4” pot. They are all on a tray sitting on an inverted cardboard box containing that partially lit string of Christmas lights. Later transplant the strongest to deep individual pots. Saves having two nice starts in the same tangle of roots or none at all. They also have nice long roots at the second true leaf point versus the tangle from an egg carton. Last year, I filled ten flats from my initial tray of seedlings. The deep 4” pots allow the roots to all but fall apart. Just remember to handle the leaves and not the stems.”


Discover 10 top tips for growing, harvesting, and enjoying fruits, vegetables, herbs and more from your home garden—when you access the FREEBIE How to Grow a Vegetable Garden, right now!
Wind, weeds, water, and more:
4. Watch the weather vane. In 5 Resources to Build a Greenhouse from Scratch, Joyce R. added: “Pay attention to wind current when selecting location of greenhouse. We erected a small 6×8 or 8×10 greenhouse with a metal frame and plexiglass panels from a kit. We thought the tree-lined windrow and our home and outbuilding would block strong winds but we were wrong. By the end of 3rd year, we had missing panels and a bent frame. Our greenhouse would not have survived the first year if we had located it on the south side of the house which was more open to west and east winds.
5. Protect your berries. In our post 15 Easiest Fruits to Grow at Home, a reader replied, “When I plant blueberry bushes, I pound in a stake about 4 feet tall. I tie one corner of an 8-10 foot long piece of tulle (think bridal veil) to the top of the post. Then I loosely drape/wrap the tulle around the plant in circles, overlapping the tulle, walking around and around until it’s covered. Stick to ground with 3-4 landscaping staples. Sun and water get right in. Critters and birds stay out. Remove staples for harvest. (Seal gaps if any, with binder clips from the office supply store. This always works to protect the harvest!”
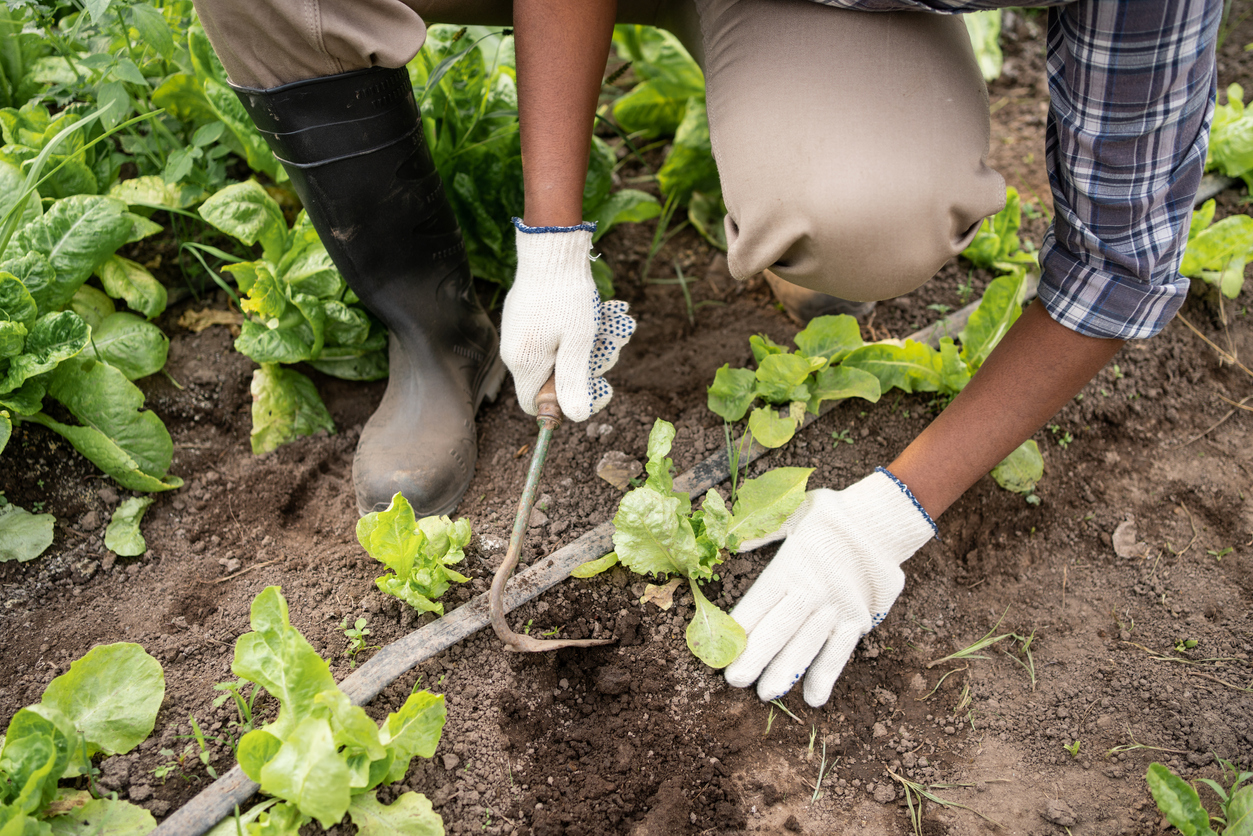
6. Weed-free garden. In How to Prepare an Above Ground Garden for Effective Weed Control, Jim H. adds, “I have 2 4×8 ft. raised beds. Every year I grow a cover crop in the fall/winter. Usually wheat, this year I mixed in some barley. Then in late February I cover the entire bed with landscape fabric to kill the cover. I leave it on all growing season and cut holes for my plants. I get zero weeds. My drip irrigation lays on top and waters through the fabric. As an added bonus, I give the tomatoes a good shake every day or two and get a surprising number of tomato worms to fall out. They are easy to see and collect for the bird feeders.”
7. A pot of (Mari)golds: In 10 Marigold Companion Plants in a Vegetable Garden, Mary writes, “I plant marigolds with my green beans (not pole beans, but they are runners). They do not stunt their growth. Year before last I put marigolds in both my gardens and everybody loved them. This years I did not plant them and that was a big mistake.” Another commenter, Rasoop added, ” I have a terrace garden that is 100 feet long by 12 feet wide. I have always planted marigolds on the outer edge of the terrace wall for more than 20 years now. I rarely have any bug problems in this garden and I know it is because of the marigolds. The other important thing that marigolds do is self propagate at the end of the season. When the flower heads start withering and shrink up into a tight seed head, that is when I get excited. Wait until the seed head is totally dry and brown before you pick it if you can. This last year our northern weather closed in really fast and I only got half of the marigold seeds gathered. So, this coming spring, I will gather any seed pods that have not been beaten off of the plants by the wind and snow and I will gather even those lying on the ground. When I plant them, I only remove about a 1/3″ of soil and rub the seed pods between my hands to free the individual seeds and sprinkle them on the soil and cover with the soil you removed. You need to know and remember that seeds you gather yourself will not have as high a germination rate as seeds you buy at the store. I don’t really know why this is true, but it is. Even with that downside to saving your own seeds, it is still a wonderful, money-saving practice.”
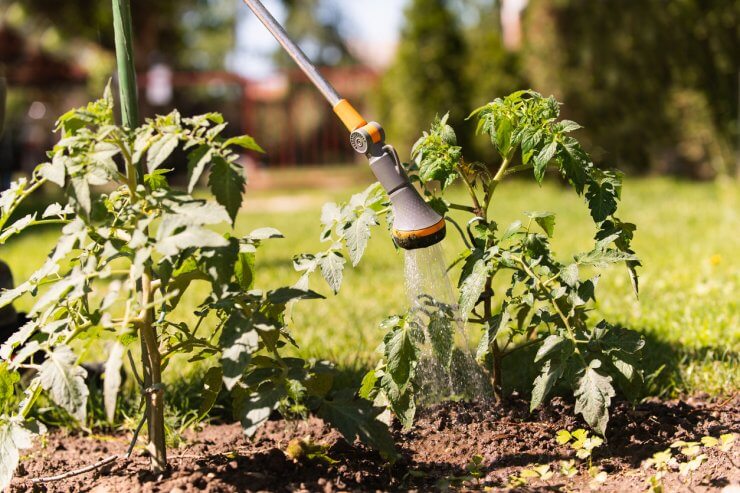
8. Tomato wisdom: In 5 Veggie Garden Hose Watering Mistakes, Gene comments, “Hand watering and/or soakers can help control the splashing of soil on the leaves; but a heavy rain can negate all your efforts. I take two extra precautions. First, be sure to have protective mulch for all the obvious reasons. Second, I trim the lower leaves from tomatoes (the most vulnerable to wilt & fungus) to raise the remaining ones above the ground.”
9. Winter gardening: Gene was also particularly helpful in How to Garden in the Winter. “By this time of the year, I no longer need to bend over to pick kale. I let it grow until I’m picking leaves smaller than my palm. I leave them be and wait to see which ones will start to grow in the spring. This year I had two plants give nice sweet growth in March. Two others got pulled. As other crops faded in late summer, I planted beets, carrots, parsnips, and salad turnips. My mid-Sept first planting has already given table servings from thinning. The carrots are starting to go into soup. Beets are ready to eat. The second planting will begin to go into the Holiday menus. By late November, I’ll be protecting the carrots, beets, and parsnips with bags of leaves between the rows. Later, I’ll bridge the rows with more bags. They winter well regardless of the weather and I can go out any time through February to lift the bags, pull some roots and enjoy fresh all winter. In another month, the leaves will be turned under or composted.”
Food preservation and gardening secrets
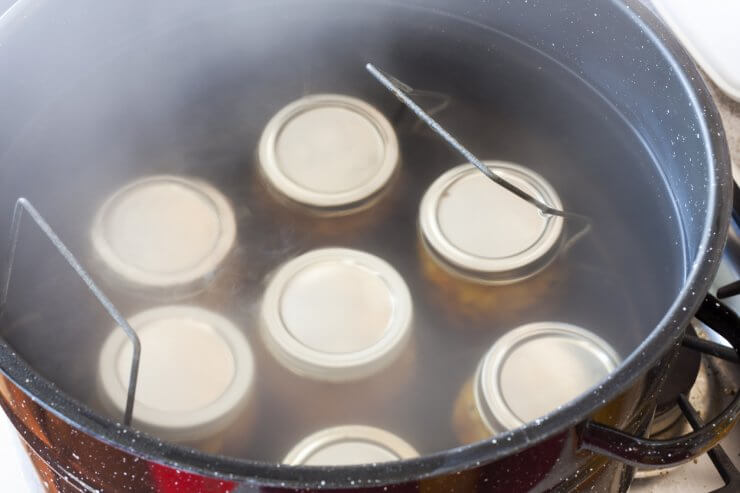
10. Safety first. In Pressure Canning Safety: 10 Rules to Live By, another reader asked why we take the rings off the jars when we are canning. My reply was that the bands have a tendency to rust and also trap food, so for food safety reasons it’s recommended to be removed. However, Deena M added a great point, “If you leave the rings on and the jar comes unsealed, you may never know that the jar failed, as sometimes they can reseal.”
11. Fritter time: And I loved this idea from Carole B. in How to Preserve Zucchini and Summer Squash 5 Ways: “I have been grinding up zucchini and draining it a bit and putting it in freezer bags to freeze for making fritters – like potato pancakes! Comes in handy during the winter when zucchini aren’t available!”
Fertilizer and compost gardening secrets:
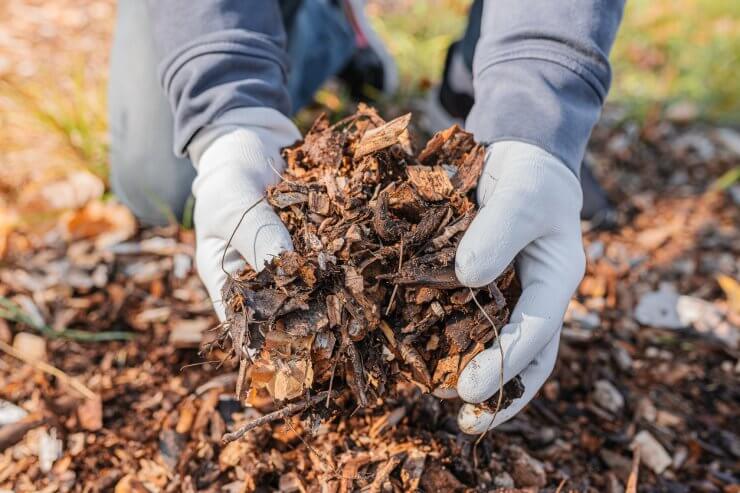
12. Horse manure. In Is Cow Manure Fertilizer Safe for Vegetable Gardens?, Gene E. writes, “I’ve used horse manure for decades with its higher nutrient content vs cows. Be aware that as non-ruminants, they carry the seeds of what they eat. My practice is to work it in at the end of the season as crops come out and deal with the seedlings as they emerge prior to planting on the late fall and spring as they emerge before planting.”
13. Grass for the win. And in How to Make Grass Compost in 4 Simple Steps, Gene adds, “I’ve used grass for years to break up and amend my natural clay soil without any composting delay. To avoid the smelly, anaerobic stage, just be sure to not leave 6-8 inches cut off from the air. I spread about 3-4” deep and ~6” wide on either side of my rows. After a day in the sun, it can be hoed into the soil. Repeat every week or so and within a month, the soil is loose. Fully breaks down over the winter.”
14. Ultimate composting. In How to Keep an Odor-Free Compost Bin in Your Home, J.B. writes, “For the last decade or more I keep a worm bin indoors for composting kitchen scraps and coffee grounds with papers but no citrus, no onions or garlic, no meat or dairy. Worms really thrive and the liquid drained off daily is amazing for plants. Egg cartons and strips of newspaper are needed to maintain a good balance. Outdoors we have 3 compost bins for garden trimmings – vegetable, lawn and flower beds, plus kitchen scraps that would overflow the worm bin. We keep both worm bin and composters in balance with newspapers (no shiny or coloured pages) and corrugated cardboard. Meat scraps and bones don’t go in composters but into a “green cone” digester . So far so good for little to no odours even in summer heat. We have similar set up at cottage except no green cone for meat scraps.”
15. Perfect potting soil. In How to Mix Your Own Potting Soil for Container Vegetables, Nancy writes: “For years, I have mixed potting mix, cow manure (bagged), and peat moss together. To a large bag of potting mix, I probably use not quite a 1/4 bag of manure and a couple of really big handfuls of peat moss. I mix it in a black trash can with a lid. I also mix in half a bag of potting mix etc at a time. Easier to mix up. If I don’t use all the mix at one time, I put the rest with the top on a can in the garage so it is not in the sun. If a plant needs something else, then I add it for the plant.”
Thanks to these readers for sharing some of their gardening secrets with us. After all, gardening truly brings together a community where we all can learn and grow.
Do you have any gardening secrets of your own you’d like to share? We’d love to read them in the comments here or on any of the articles above.
Discover 10 top tips for growing, harvesting, and enjoying fruits, vegetables, herbs and more from your home garden—when you access the FREEBIE How to Grow a Vegetable Garden, right now!