

There’s a certain amount of DIY attitude that comes with vegetable gardening. Even if you aren’t building your own greenhouse from reclaimed windows and cardboard boxes, you still have your hands in the soil digging up weeds or thinning out carrots. So why not DIY soil testing? What’s some big university lab got that I don’t have in my shed?
Well, aside from plenty of sensitive scientific equipment and the tools and knowledge to do a laboratory soil analysis? Because quite honestly, I don’t have room for all that equipment in my house. Nor do I have the hundreds or thousands of dollars to spend on “professional” soil testing equipment of dubious quality.
But DIY soil testing doesn’t need to be “all that.” And the question of whether DIY soil testing or lab testing is better is a little misleading. It’s like asking whether traveling by car or plane is better. The answer is, as always, it depends. So let’s look into some of the differences.


Discover 7 top tips for growing, harvesting, and enjoying tomatoes from your home garden—when you access the FREE guide The Best Way to Grow Tomatoes, right now!

The pros and cons of DIY soil testing
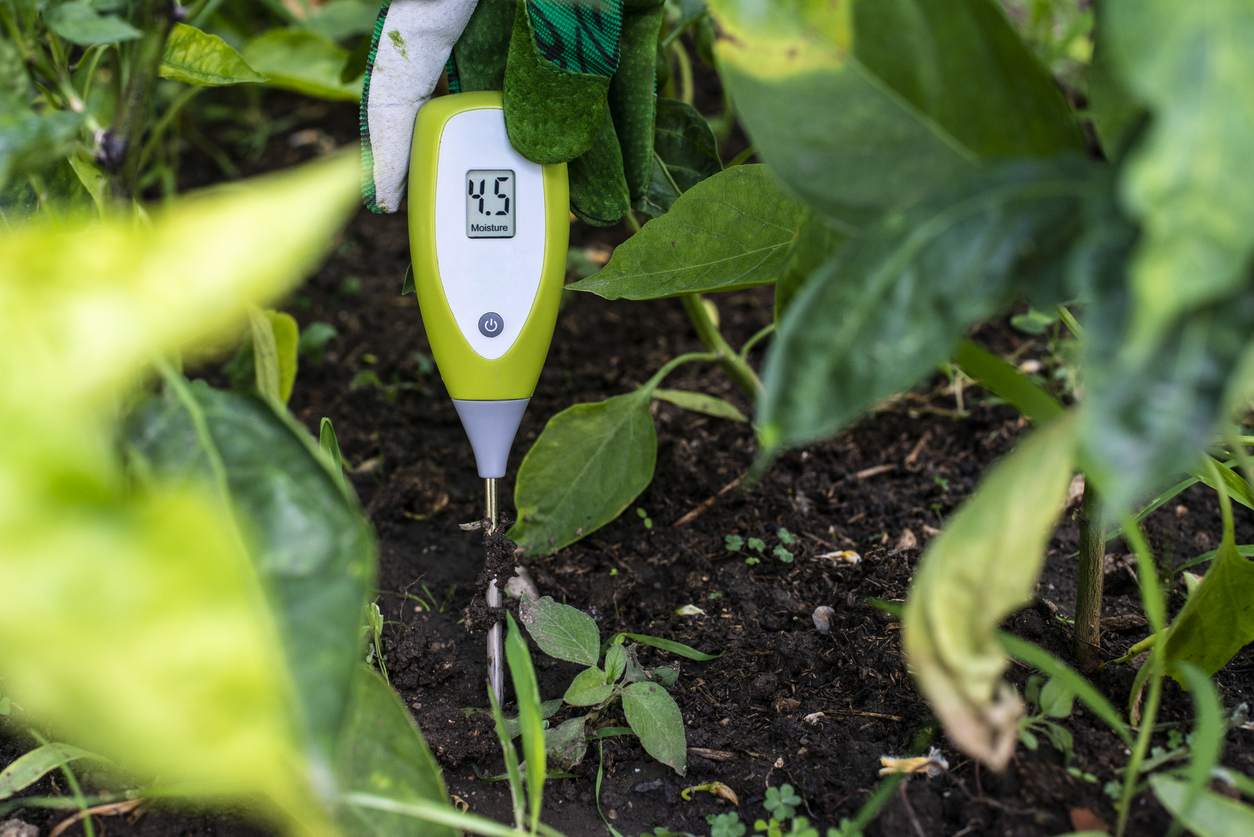
DIY soil testing absolutely has its place. You can pick up a test kit for under $60. In fact, you can get a basic test that measures nitrogen, phosphorous, potassium, and pH for around $15, or a pH and moisture probe for a little over $10.
You can even do some DIY soil testing for free. The Washington State University Master Garden Program offers several soil testing options. One of my favorites is this: “Measure the animal life in your soil by digging down at least 6 inches and peering intently into the hole for 4 minutes.” The more organisms you count, the healthier your soil. Easy, right!
They also offer an interesting pH test. From their website:
- Collect one cup of soil from the part of your garden you want to test.
- Put one teaspoon of soil into each of two separate containers.
- Add 1/2 cup of vinegar to one container of the soil. If it fizzes, you have alkaline soil, with a pH between 7 and 8.
- If it doesn’t fizz after doing the vinegar test,
- Add distilled water to the other container until the soil is muddy.
- Add 1/2 cup baking soda. If it fizzes, you have acidic soil, most likely with a pH between 5 and 6.
- If your soil doesn’t react at all, it is neutral with a pH of 7, and you are very lucky!
That all sounds fine and dandy, but before you decide that DIY soil testing is the way to go, you might be interested to know what the University of New Hampshire has to say about it.
They point out that home-testing kits vary widely in quality and accuracy. Additionally, a professional lab analysis will often provide recommendations with your results, so you know what to do with your information.
One other drawback that I’ll mention is that DIY soil testing kits can get pretty expensive if you want a complete soil analysis. While you can test pH and NPK numbers inexpensively, prices can go up quickly depending on what you’re looking for.
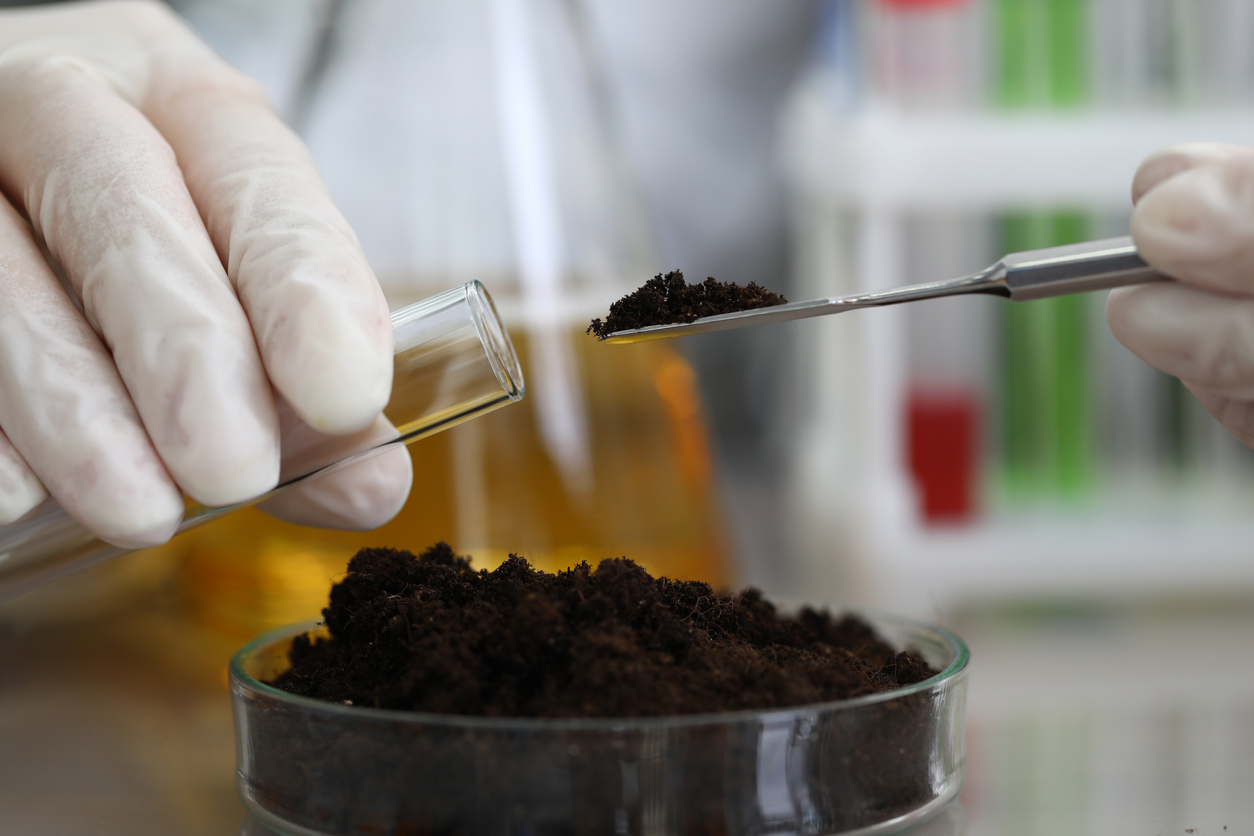
The pros and cons of laboratory soil testing
The most notable advantage of a lab test is accuracy. Many extension program labs can also test for toxic and non-toxic metals, such as lead, arsenic, cadmium, selenium, zinc, copper, and others. The Center for Agriculture, Food, and the Environment at the University of Massachusetts Amherst even offers testing for “soilless greenhouse media” and “plant tissue testing for nutrient analysis.” However, these tests are not always available.
Depending on your requests, these tests can be very affordable. The University of Rhode Island, for example, offers a free test that determines “soil pH levels, soil texture, and [provides] recommendations for establishing healthy soil.”
The drawback is that some of these lab tests can get expensive. Penn State, for instance, offers a bevy of tests, starting with a very affordable soil fertility test for $9. The program also has numerous additional analyses and services. They will test for organic matter, soluble salts, and nitrate nitrogen for $5 each. The test for micronutrients is an additional $6. But where you run into real money is in the testing for arsenic and lead ($27 each), mercury ($35), and PCBs ($80).
Of course, prices are dependent upon where you are. You can get a standard soil test for $20 from the University of New Hampshire that “includes conventional & organic fertilizer recommendations, calcium, magnesium, potassium, phosphorus, pH and organic matter content. This test includes a lead screening analysis.” Add on the Heavy Metals Package and the Texture Class testing, and you’re only looking at a total bill of $120.
Where does this leave us?
You can learn a lot from testing your soil. Certain plants prefer soil with more or less acidity. Knowing whether our soil is sandy or thick with clay can help us determine the best ways to water our vegetables and even what kind of vegetables we may plant.
A home test or inexpensive lab test is generally acceptable for this.
But in the case of contaminants like lead, mercury, arsenic, and so on, you don’t want to take chances that those toxins will get into your food supply. My suggestion would be to spend the money and get a complete laboratory analysis of your garden soil, at least the first year. That way, you have an accurate picture of your soil health.
After that? Unless there are any significant changes, such as flooding, chemical spills, or a neighbor scraping lead paint from a house, you’re likely fine with a DIY soil testing kit for a few years. Don’t forget that you can always dig a hole and “peer intently” into it! That won’t tell you what kind of metals are in your soil, but it will help determine how much life your soil can support!
Have you tested your soil? Did you go DIY or send soil samples to a lab? Would you recommend one over the other?
Discover 7 top tips for growing, harvesting, and enjoying tomatoes from your home garden—when you access the FREE guide The Best Way to Grow Tomatoes, right now!