


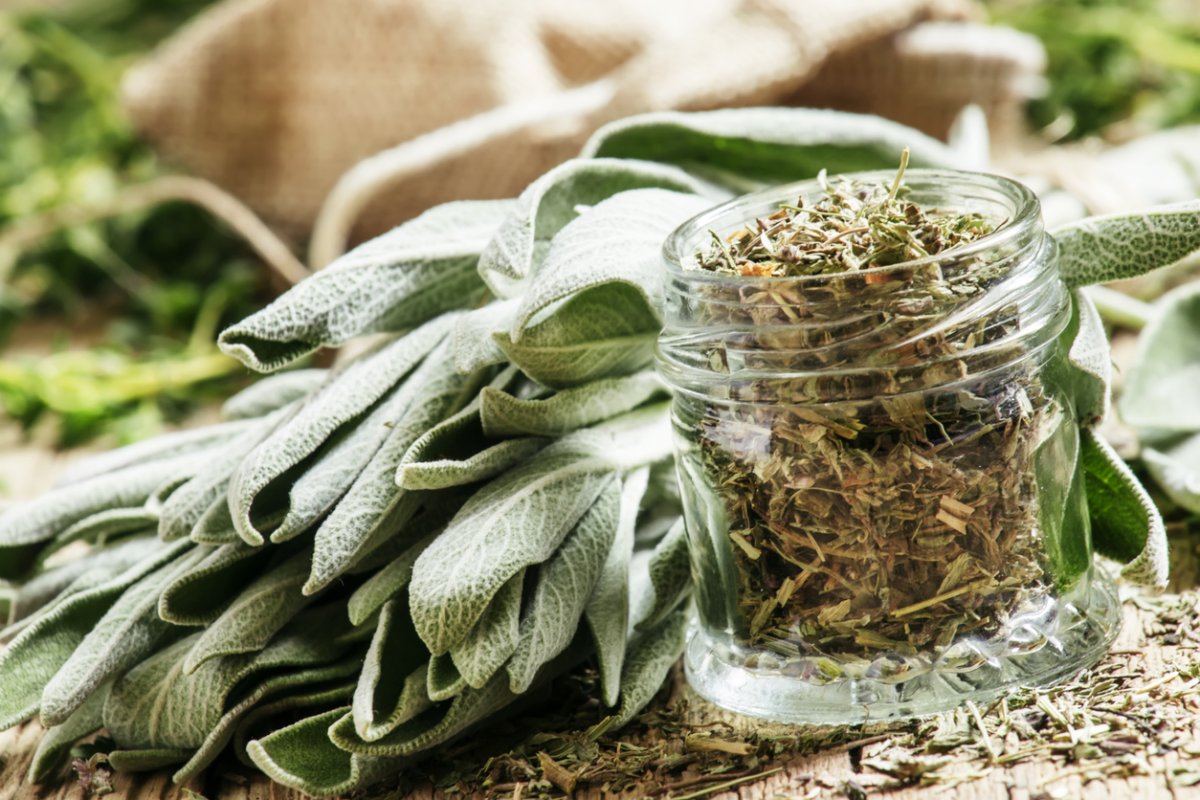
When I think about preserving sage, the first thing that comes to my mind is how I’ll cook with it. Dried sage has a more concentrated (read: delicious) taste when it’s dried than when it’s fresh, and it’s tasty with pork, sausages, poultry, and in stuffing.
To start preserving sage from your herb garden to dry, simply cut at the base of the stem, wash thoroughly, dry with a paper towel, wrap cotton string or twine around the base, and let hang for a few weeks. For a faster dry (in case you have some immediate need for a LOT of dried sage), you can also remove the leaves from their stems, create a single layer on a lined baking sheet, and bake at the lowest temperature your oven will allow—for about an hour—rotating halfway through. Observe, though, and remove if they begin to burn. When they’re done and cooled, simply crumble into a jar, and store in your cabinet.
Preserving sage in the freezer is another method. I love to have frozen sage ready to make bone broth, so when I harvest, I always snip a batch, wash and dry it, then put it in a freezer bag. It will last until the following summer!
Discover 7 top tips for growing, harvesting, and enjoying tomatoes from your home garden—when you access the FREE guide The Best Way to Grow Tomatoes, right now!

Finally, a great way to preserve sage for cooking is in olive oil. Wash and dry your sage, then puree it in a blender with some olive oil, and freeze it in an ice cube tray. I love this method for when I want to use it for stuffing. I wouldn’t use it as a cooking oil, though because the ice from the freezer could cause it to pop in the skillet.
Speaking of cooking oils, you can also make sage-infused olive oil. It won’t exactly use up a ton of sage, but it’s easy to make, and you can use it in place of regular olive oil when you baste turkeys or fry up fresh gnocchi! Simply find the bottle you want to use, and fill it with olive oil, so you know you aren’t making too much or too little. Then, simply pour the oil into a small saucepan with a handful of sage, and simmer at low heat for about five minutes. Remove from the heat and cover until completely cooled. Then, strain the leaves out and pour your infused oil back into the oil bottle and store it in a dark cabinet between uses.

In the winter, I keep a hydroponic herb garden, so I don’t preserve my herbs as much as most other people do, certainly not with the field of herbs my kitchen garden turns into by fall. So instead, I like to offer them to my neighbors and put up a bulletin in my local town forum offering free herb bouquets. I like to wrap up the sage with other herbs in my garden, wrap it in a little tissue paper, and tie it with some twine. They always go quickly!
Discover 7 top tips for growing, harvesting, and enjoying tomatoes from your home garden—when you access the FREE guide The Best Way to Grow Tomatoes, right now!
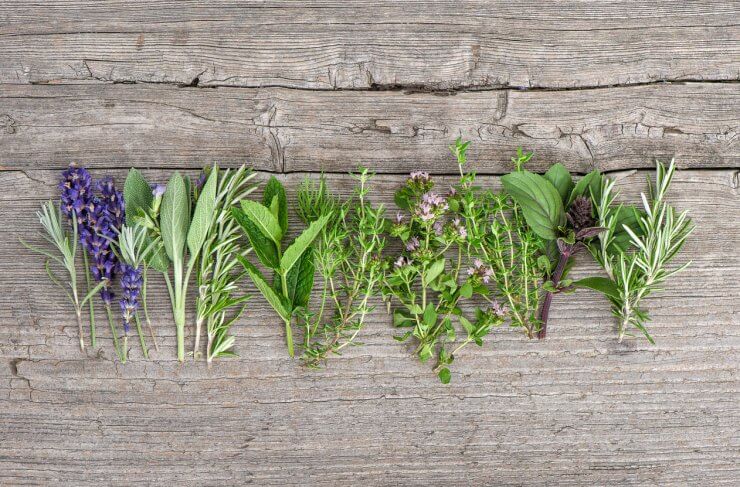
However, any herb that can be dried by hanging, like sage, can be bundled into an herb bouquet and hung to dry out too. Bundle it with lavender or another fragrant, dryable herb, and you can hang them decoratively for up to a year or more.


Outside of culinary purposes, sage has other uses, like making sage “smudge sticks.” I don’t claim to know much about the ancient rituals they’re used for when it comes to clearing spirits, but I do know that burning sage is proven to purify the air, clearing out toxins from cleaners, pollen, and even mold. Some people swear by burning them and waving them around a room where there’s recently been an argument to clear the negativity.
To make a smudge stick, all you need is sage and some cotton string. I like to use a full handful of sage. You’ll get an idea of how big the smudge stick will become by squeezing it a bit. I like mine to be at least an inch thick or more in my hand. Tie the base of your bundle in a knot with cotton string to keep everything together, then wrap your cotton string around the bundle, criss-crossing and keeping the bundle tight, going up to the top, then back down and tying a knot at the bottom. Then, hang it upside down in a cool, dry place. Sage is a bit of an oily herb, so it can take a couple of weeks to really dry out.
Discover 7 top tips for growing, harvesting, and enjoying tomatoes from your home garden—when you access the FREE guide The Best Way to Grow Tomatoes, right now!
I’d love to hear how you are preserving sage in your home, and what else you do with it. Any tips or tricks you’d like to share? I’d love to hear them.


One reply on “Preserving Sage: 6 Different Methods and Uses”
This blog answered ALL of my questions about sage! Thank you so much.