


If you’re the do-it-yourself type, maybe the idea of making your own DIY cold storage space has crossed your mind. And if you’re the do-it-yourself type with somewhat limited construction skills, perhaps you thought better of it.
Then you found out how much a commercial refrigerator cost, and you decided that figuring out a DIY cold storage solution was not such a bad idea after all. Look, if you have $2,999 and want this restaurant-grade refrigerator, by all means, go for it. It’s really not a bad way to keep your surplus veggies nice and cool. I certainly wouldn’t turn one down.
But it wasn’t all that long ago that people didn’t have the option of refrigeration. The refrigerator as we know it today didn’t come into widespread use until the 1930s. So if we just step back in time a little, we can discover all sorts of cold storage ideas, starting with a root cellar.


Discover 7 top tips for growing, harvesting, and enjoying tomatoes from your home garden—when you access the FREE guide The Best Way to Grow Tomatoes, right now!

Taking cues from the root cellar
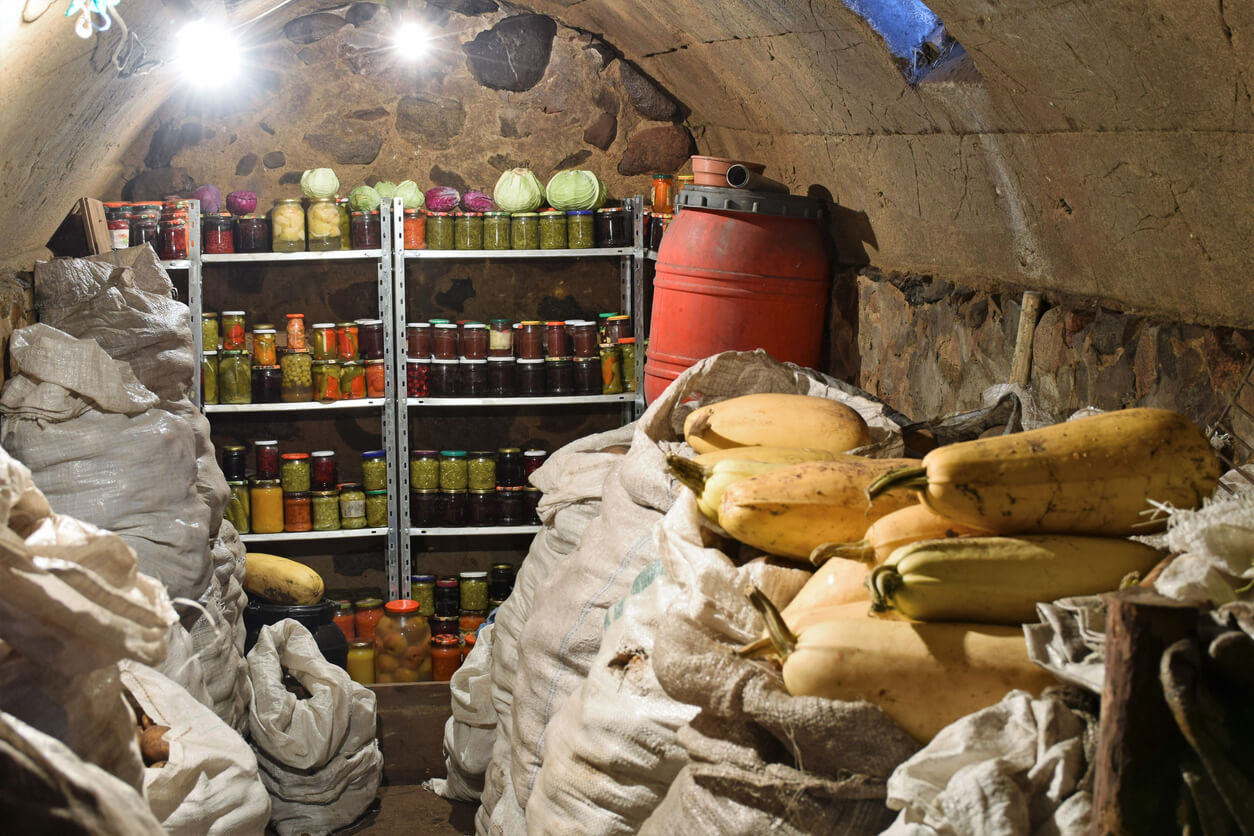
Root cellars were typically built into a hillside or constructed in the basement of a home. Because of the insulation of the earth and dirt floors, root cellars could maintain a somewhat constant temperature and humidity, making them ideal for storing beets, potatoes, winter squash, carrots, onions, and other similar vegetables.
Interestingly, these cold storage spaces were used to store vegetables over the winter to keep them cool, but not freezing. That makes a well-insulated root cellar ideal since it’s cold enough to keep vegetables fresh, but warm enough so they don’t freeze.
Put it all together, and we’re looking for something that doesn’t require electricity, will keep temperatures between 32 and 40 degrees Fahrenheit, and allows for plenty of humidity.
If you’re lucky enough to have an unfinished basement with a dirt floor, you’re off to a great start! Most of us will have to do a little more work.
Making DIY cold storage at home
For the many of us who don’t have an unfinished, dirt-floor basement, DIY cold storage is still possible. It’s possible even without a basement. Here are some of your options.
If you do have a basement, you can make a full DIY cold storage room with somewhat minimal construction involved.
- Find the northwest corner of your basement, ensuring there is ventilation available, such as a small window. Ventilation is essential to allow the ethylene gas from your vegetables to escape.
- You will still need to construct two walls. Secure 2×4 posts around the perimeter, spaced 4 feet apart. You’ll need some additional 2x4s horizontally between your posts for extra support. How many depends on the size of your space.
- Attach plywood or particle board to the outside, fill the inner portion with insulation, then add plywood on the inside to form a “sandwich.”
- Don’t forget to include a door!
- Insulate the ceiling, as well.
- Add wooden shelving (I prefer freestanding as it’s more flexible).
- Cover the window with thick fabric to keep the space dark. You can still open the window, but the fabric curtain will block most of the light.
- Add a humidifier or a few pans of water to keep the humidity levels high.
Alternatively, you can do something similar underneath the stairs to your basement, though that might involve some extra work to create ventilation.
What if you don’t have a basement? Don’t worry. You have options!
Bury a trash can. This will require some land and some digging, but this is the DIY cold storage version of a root cellar. Drill a few small holes in the bottom and the sides of the can to allow for air exchange. Dig a hole large enough for the can to fit comfortably in the ground and bury it up to the rim. Add straw between the layers of your vegetables, secure the top, then cover it with a thick layer of straw. You may want to cover the straw with a plastic sheet to keep it in place. A large trash can like this one could work well.
No basement and no yard? Still no problem.
Insulate a closet. Plenty of older homes where I live in the Northeast don’t have much in the way of insulation, meaning those perimeter walls can get pretty cold in the winter. If you have a closet along one of those walls, you’re in luck. You’ll need to insulate the closet, so the heat in your home doesn’t warm up the space, and you may need to add that bowl of water for moisture, but it’s dark and cool, making it potentially ideal for some cold storage. Depending on the size of your closet and your geography, something like this SilveRboard insulation kit could be ideal.
In short, you have numerous options, even if you can’t build your ideal cold storage space. And remember, it doesn’t need to be perfect. As with many things in life, we do the best with what we have. Even something as simple as a wooden crate in a dark corner of your home will help vegetables last a little longer.
Don’t forget to check out some of these articles on vegetable storage, as well.
- How to Store Potatoes for the Winter
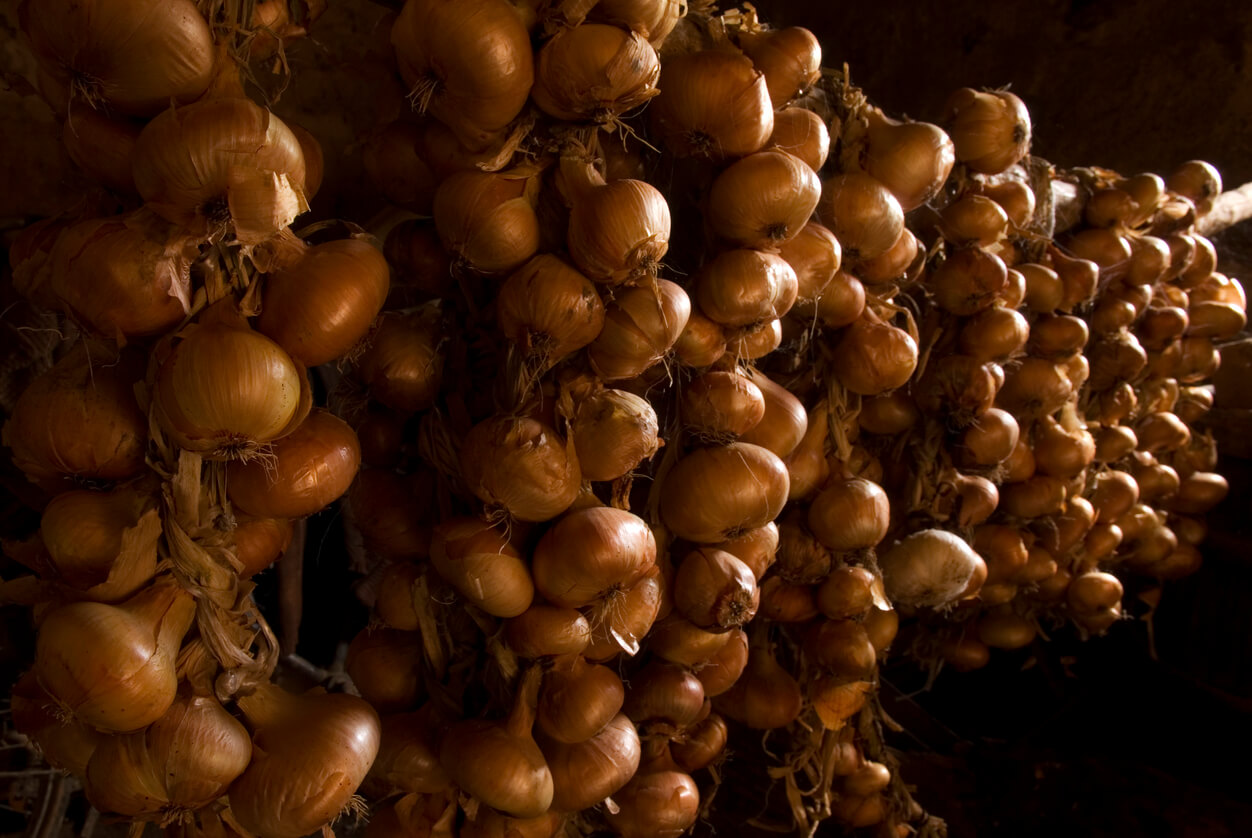
- Are You Storing Onions the Wrong Way? Learn How to Store Every Variety
- 7 Tips for Storing Squash No Matter What Type
Have you tried creating your own DIY cold storage? How did you do it? I’d love to read your story in the comments.
[affiliate_note]
Discover 7 top tips for growing, harvesting, and enjoying tomatoes from your home garden—when you access the FREE guide The Best Way to Grow Tomatoes, right now!


2 replies on “How to Make a DIY Cold Storage Room at Home”
What do you do if you live in an apartment building? Summer storage is a real problem, because the apartment becomes terribly hot in the summer months, winter time you unable to leave the vegetables outside because someone will steal them.
“Drill a few small holes in the bottom and the sides of the can to allow for air exchange”
If the can is in the ground, what air is being exchanged?
Also, could you define “small.” Is that 3/32 small or 3/8 small?