


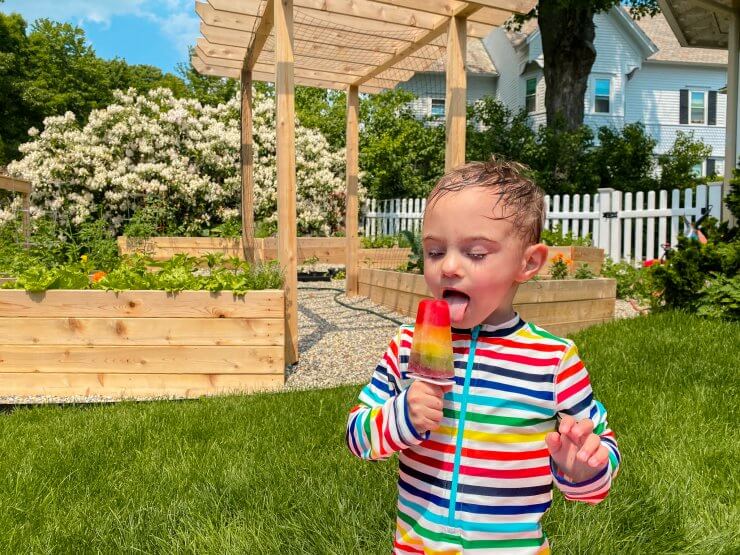
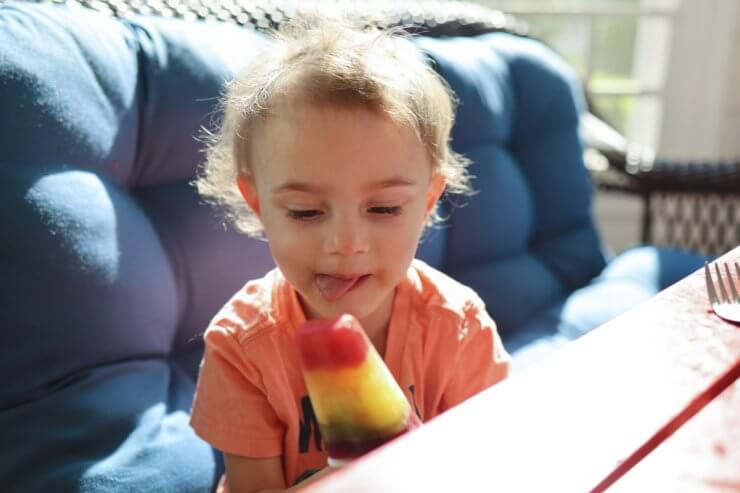
Have you ever considered what it really means to “taste the rainbow,” as the slogan goes? Who doesn’t love rainbows, right? Certainly, my three-year-old does, and when you make this homemade rainbow popsicle recipe, you will too.
And I know a lot of parents like me are doing our best to keep added sugars out of our kids’ food (and our own!) while going to extreme lengths to do it. That’s coming non-judgementally from a half-recovered almond and oat milker.
Putting it out there first: You’re making this homemade rainbow popsicle for the love of it, and the fun of it, and for the flavor of it. It will not be cheaper or easier than buying popsicles yourself, but I’ll admit it brings a bit of joy, and let me tell you, unlike those sugar-water travesties, you will literally taste the rainbow when you make these, and your kids will love them!

Popsicle Colors and Flavors
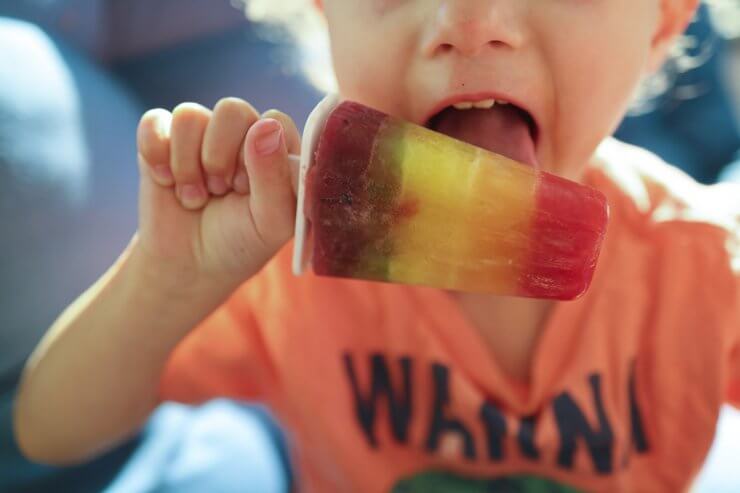
You can layer the colors any way you like, but I tried to follow the traditional colors of the rainbow, starting with red on top and purple on the bottom, and flavor-wise it holds up because even though you’re tricking them into some celery with the green layer, they’re starting off with ripe sweet strawberries.
- Red: Strawberry
- Orange: Cantaloupe (or Oranges)
- Yellow: Pineapple
- Green: Apples and Celery
- Blue/Purple: Blueberries
Popsicles tend to be watery and slightly sweet, but this homemade rainbow popsicle is such a delight to work your way through. There is so much flavor packed into one popsicle and each layer tastes completely different. It’s like a fruit salad on a stick!
Right Appliances for a Homemade Rainbow Popsicle: To Juice or Blend?
I think both juicers and blenders have their benefits if you want to make this homemade rainbow popsicle, but you can use either.
Do you only have a blender? That’s fine because blenders are much easier to clean. You’ll need to add cheesecloth or a fine-mesh strainer into the mix to get the “juice” out which is no biggie and really, if you don’t want to, you can keep the pulp and fiber.
Even though blenders work great, juicers will do a better, easier job of “juicing”. On the other hand, juicers are a pain to clean, but I’ve come up with the most ideal order so that you only have to clean once while you’re making the juices.
- Pineapple
- Cantaloupe (or Oranges)
- Strawberries
- Blueberries
*Clean so it doesn’t turn brown* - Apples and celery


All-Natural Homemade Rainbow Popsicle Recipe
Taste all the colors of the rainbow with these homemade Rainbow Popsicles, made with fresh juice from strawberries, cantaloupe, pineapples, and more.
- Prep Time: 15 minutes
- Cook Time: 2 hours
- Total Time: 2 hours 15 minutes
- Yield: 6 Popsicles 1x
- Category: Desserts
Ingredients
- 1/2 lb cut pineapple
- 1/2 lb cantaloupe
- 16 oz strawberries
- 1 pint blueberries
- 1 large green apple
- 3 stalks celery
Instructions
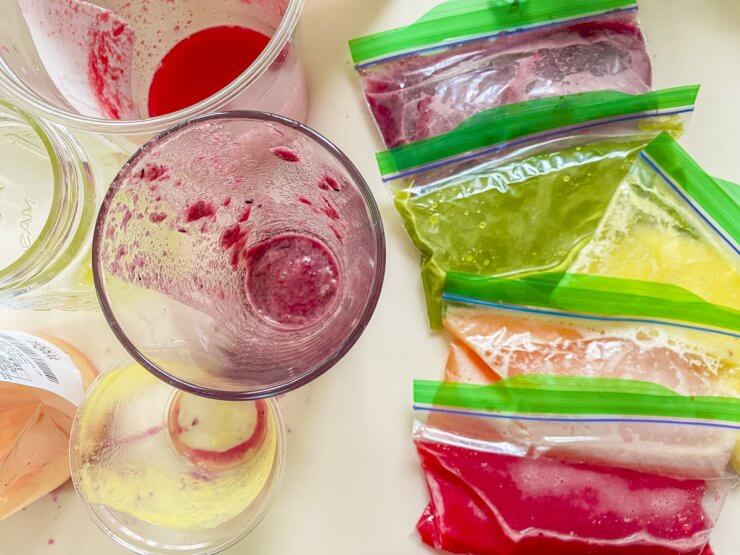
- Press or blend the juice one at a time in this order: pineapples, cantaloupe, strawberries, blueberries, transferring the juice to a cup, jar, or bag after each one. Clean machine after the blueberries and before making the green juice, or it will turn brown. Add celery and green apple to make juice and set aside.
- Pour juices into Ziploc or silicone bags and store in the freezer for at least 15 minutes.
- Remove the strawberry juice, pour the first layer (about 1 tbsp if it’s a pointed popsicle mold), and add your popsicle stick. Freeze for 30 minutes to an hour. Ensure this first layer is totally solid, so the stick is firmly in place for the next layers.
- Repeat for each color, following red with orange, yellow, green, then blue/purple. Use about a tablespoon per layer. Mash the juice bags each time you add a new color so they don’t freeze solid. Remaining layers should take about 15 minutes to be firm enough to add the next color. By keeping the juices in the freezer, each layer will freeze faster.
Notes
- There will be extra juice. Make yourself a fruit punch, or save it for next time.
- Use a popsicle tray that’s open and that you use popsicle sticks in. Once that bottom layer freezes, the stick is in place and you’re good. However, if you use a kit that has included recyclable sticks with bottoms, you won’t be able to pour liquid in without removing the stick. That’s fine, you can add it at the end, the layers shouldn’t be so frozen that you can’t put the stick in at the end.
Grow Your Own Rainbow to Make Homemade Rainbow Popsicles
Want to grow a colorful garden? Strawberries are among the most popular home crops, growing everywhere from hanging pots to open land gardens. In our Strawberries Collection, you can get all the details that go into raising delicious, sweet berries of your own. We’ve got everything from the history of strawberries to planting to winterizing and, of course, eating. You’ll want to check out our recipes for salad, strawberry shortcake, and even strawberry smoothies. These recipes make it all the more rewarding to grow your own strawberries. Finally, you’ll get nutritional benefits and some sweet home beauty remedies for the crimson berry. If you want to grow your own strawberries, check out our Strawberries Collection and our other fruit, veggie, and herb collections.
Do you think you’ll make these homemade rainbow popsicles? If you do, let me know what you think!